Thorough firearms training includes what are known as task-focus isolation drills. These exercises are important because they can help you develop and improve your skill with each of the rifle shooting fundamentals you need to master.
In this blog post:
Before you can engage in task-focus shooting drills, you need to procure a diagnostic target.
Diagnostic targets are not the same as conventional shooting range targets. For starters, diagnostic targets are designed to be more visible. Some target makers amp-up the visibility by printing them in ultrabright inks. Others employ reactive splatter technology that produces a colourful border surrounding each point of projectile impact (sparing you the need to walk downrange to get close enough to the target to see exactly where your rounds landed).
Diagnostic targets are sold online, and your local range almost surely carries a selection. The one we recommend (and will describe in this post) is a paper, double-sided diagnostic target available from U.S.-based Achilles Heel Training (AHT). They cost under USD$2 apiece, but you get a discount when you purchase them in bulk.
One side of AHT’s diagnostic target presents the outline of a human torso from the hips up. It includes a faintly visible but anatomically correct skeletal structure with the heart and lungs depicted more prominently. Three primary hit zones are marked over the torso.
On the reverse side is a set of eight task-focus isolation drills. Let’s take a look at each of them.
Matchstick target
The first of these is the matchstick exercise (top left) that we described in our earlier post about sight picture and mechanical offset.
Reloads malfunctions and transitions target
At the top right of this diagnostic sheet is a target for working the kinks out of making the transition between your carbine rifle and a pistol as well as for dealing with reloads malfunctions.
It doesn’t look like a target, but it is: inside a 10-inch-tall by 5-inch-wide (25.4 by 12.7 centimetres, respectively) rectangle is an inverted blue triangle with the AHT logo superimposed over it in white, and below that is the AHT logo in greyish-black against a white background (the presence of the logos can lead you to believe that it’s just the maker’s branding).
Dot torture target
The dot-torture target (center right) consists of eight 1-inch dots arrayed in two columns (four dots per column). Vertically, there is a 1-inch (2.54-centimetre) space between dots; horizontally, the distance between them is 2 inches (5.08 centimetres).
This diagnostic isolator is designed to help you nail the process of refining your sight picture to account for the mechanical offset of your carbine and to let you practice interrupted motion to manipulate the trigger without disrupting your sights.
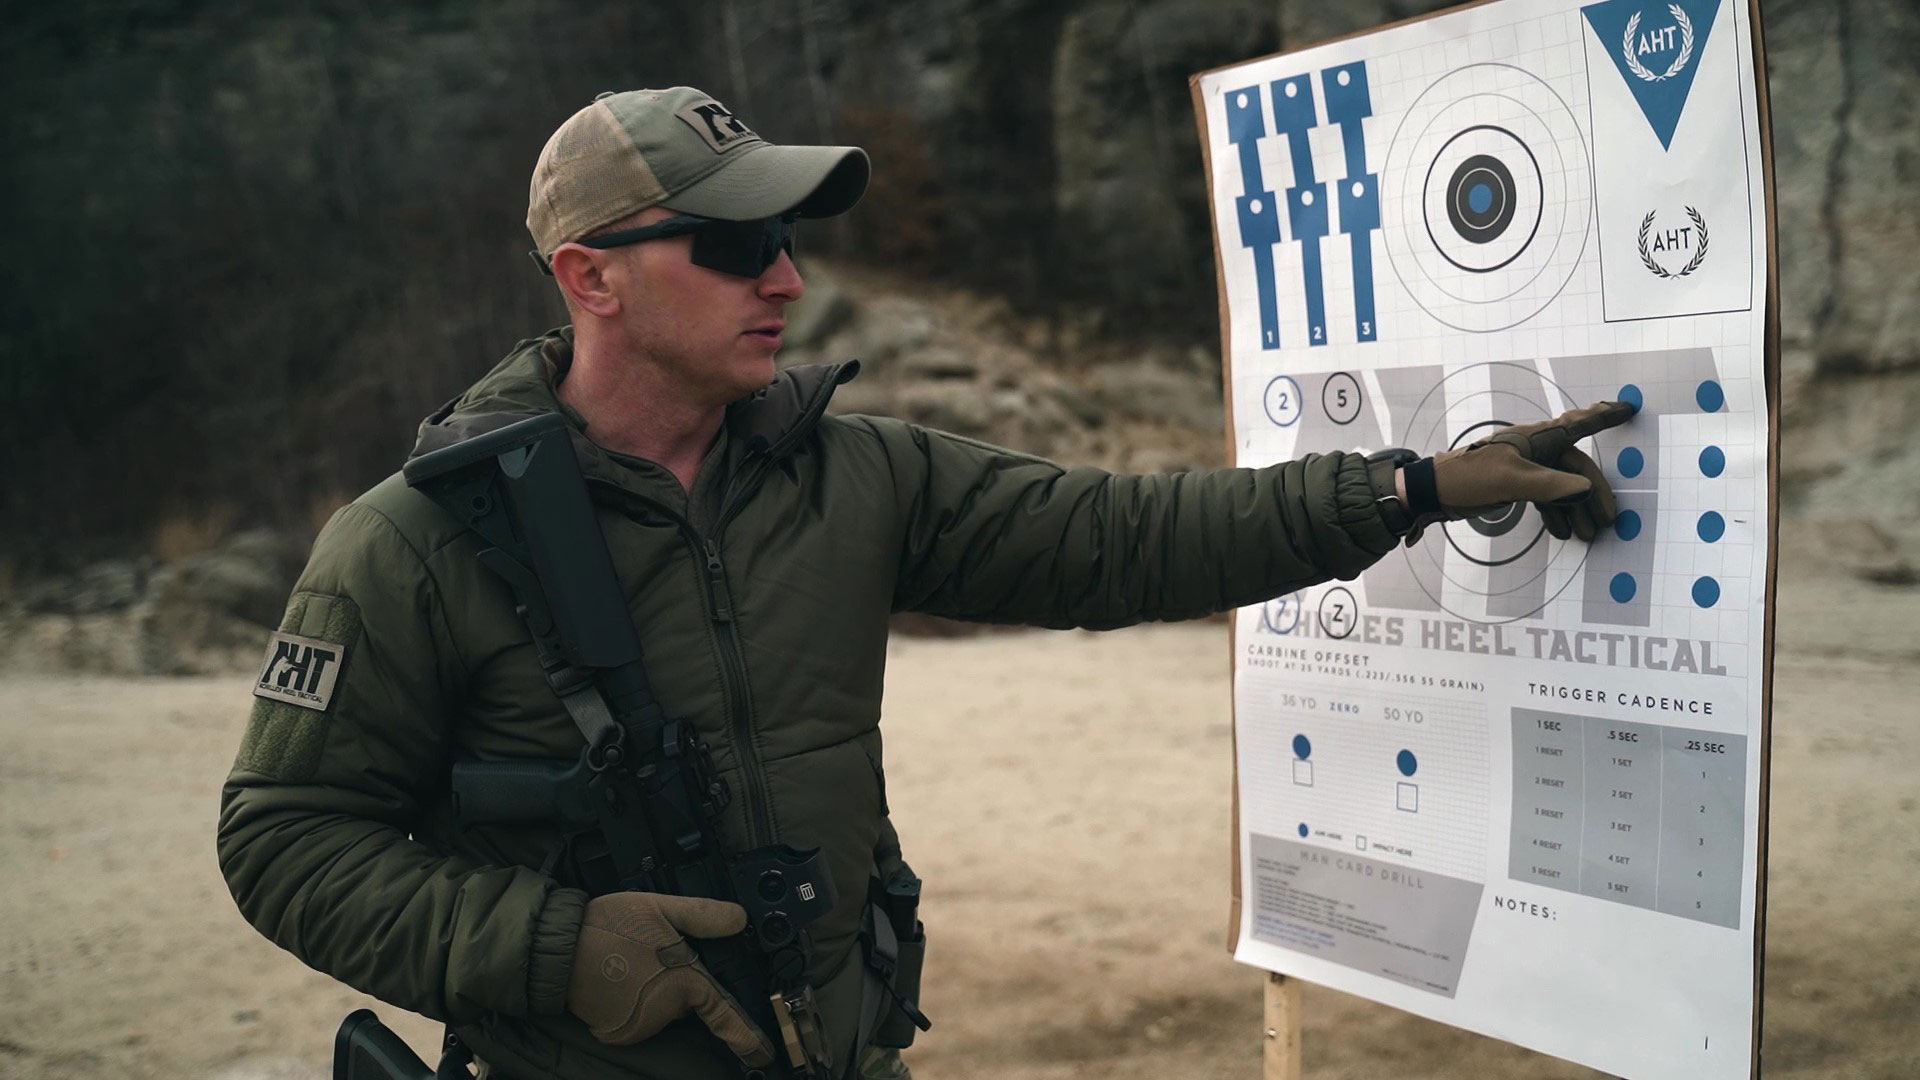
Command drill
Another section of this target sheet (center left) presents a command drill. This entails waiting for a “threat” command before presenting, aiming, and firing your weapon.
You can simulate a threat command by having on hand a shot timer equipped with a par function. Set the timer to count off two beeps. You’ll begin executing at the sound of the first beep and complete it on or before the sound of the second beep.
Trigger cadence development target
On the lower right is a trigger cadence-development target to aid you in shortening the time it takes you to see your sights and squeeze off multiple rounds with 100-percent accountability for every shot.
The goal is to be able to execute with rapid and accurate fire but at a rhythmic pace. For that to occur, you also need to pay attention to trigger manipulation and reset as well as to mitigating the recoil impulse, all of which this target helps you do.
Carbine offset at 25 yards (22.86 metres)
Across from the cadence-development target is a carbine offset target. You shoot at it from a distance of 25 yards (22.86 metres), but it’s configured to train you to be able to zero the weapon as if you were instead shooting from distances of 36 and 50 yards (32.92 and 45.72 metres, respectively).
This is important because point of aim and point of impact vary as the distance between you and the target increases.
AHT offers a different but free printable shooting target for trigger cadence-development only and you can download it here.
‘Man Card’ drill
In the bottom left you’ll find AHT’s “Man Card” drill. This isn’t a target you shoot at; it’s a list of performance-on-demand challenges you execute against the clock.
For example, on the list is a challenge to accurately land one rifle round within the C zone of a steel target 25 yards (22.86 metres) away, then instantly transition to a pistol and hit that same target with equal accuracy, all within 2.5 seconds.
There are also challenges that start with your rifle at a low-ready and a high-ready position and end 1 second later when the single round you fire hits the target. You’re considered to have failed if your shot lands outside the C zone or if you take longer than the allotted time to complete the challenge.
The drill is intentionally stressful to bring to the surface hidden deficiencies in your grasp of the fundamentals.
10-inch (25.4-centimetre) circle target
Lastly, AHT’s diagnostic target also includes two 10-inch (25.4-centimetre) circles for working on recoil management. One circle occupies the exact center of the sheet while the other is printed directly above it (top center).
They’re meant to help you mitigate as much recoil impulse as possible while at the same time staying within a refined sight picture.
Take notes, keep improving
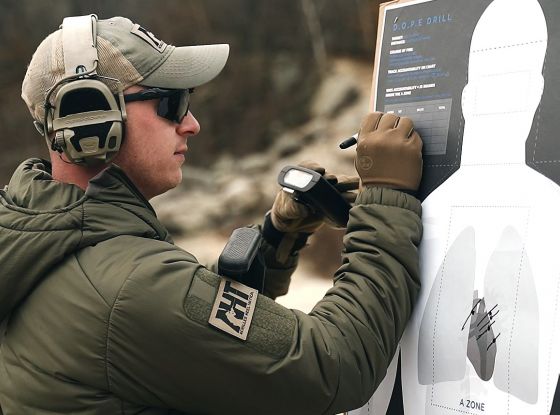
Since the purpose of any diagnostic target is to help you improve your skills, the one available from AHT includes a note-writing section (bottom right) where you can jot down small but important details for future reference.
For example, you can indicate whether a particular tweak you tried out worked well, poorly, or not at all. And, of course, you can use this space to write down the date of the practice shooting session, how many minutes you worked on each drill, and any benchmarks that will allow you to see improvement when you revisit this sheet a few weeks or months later.
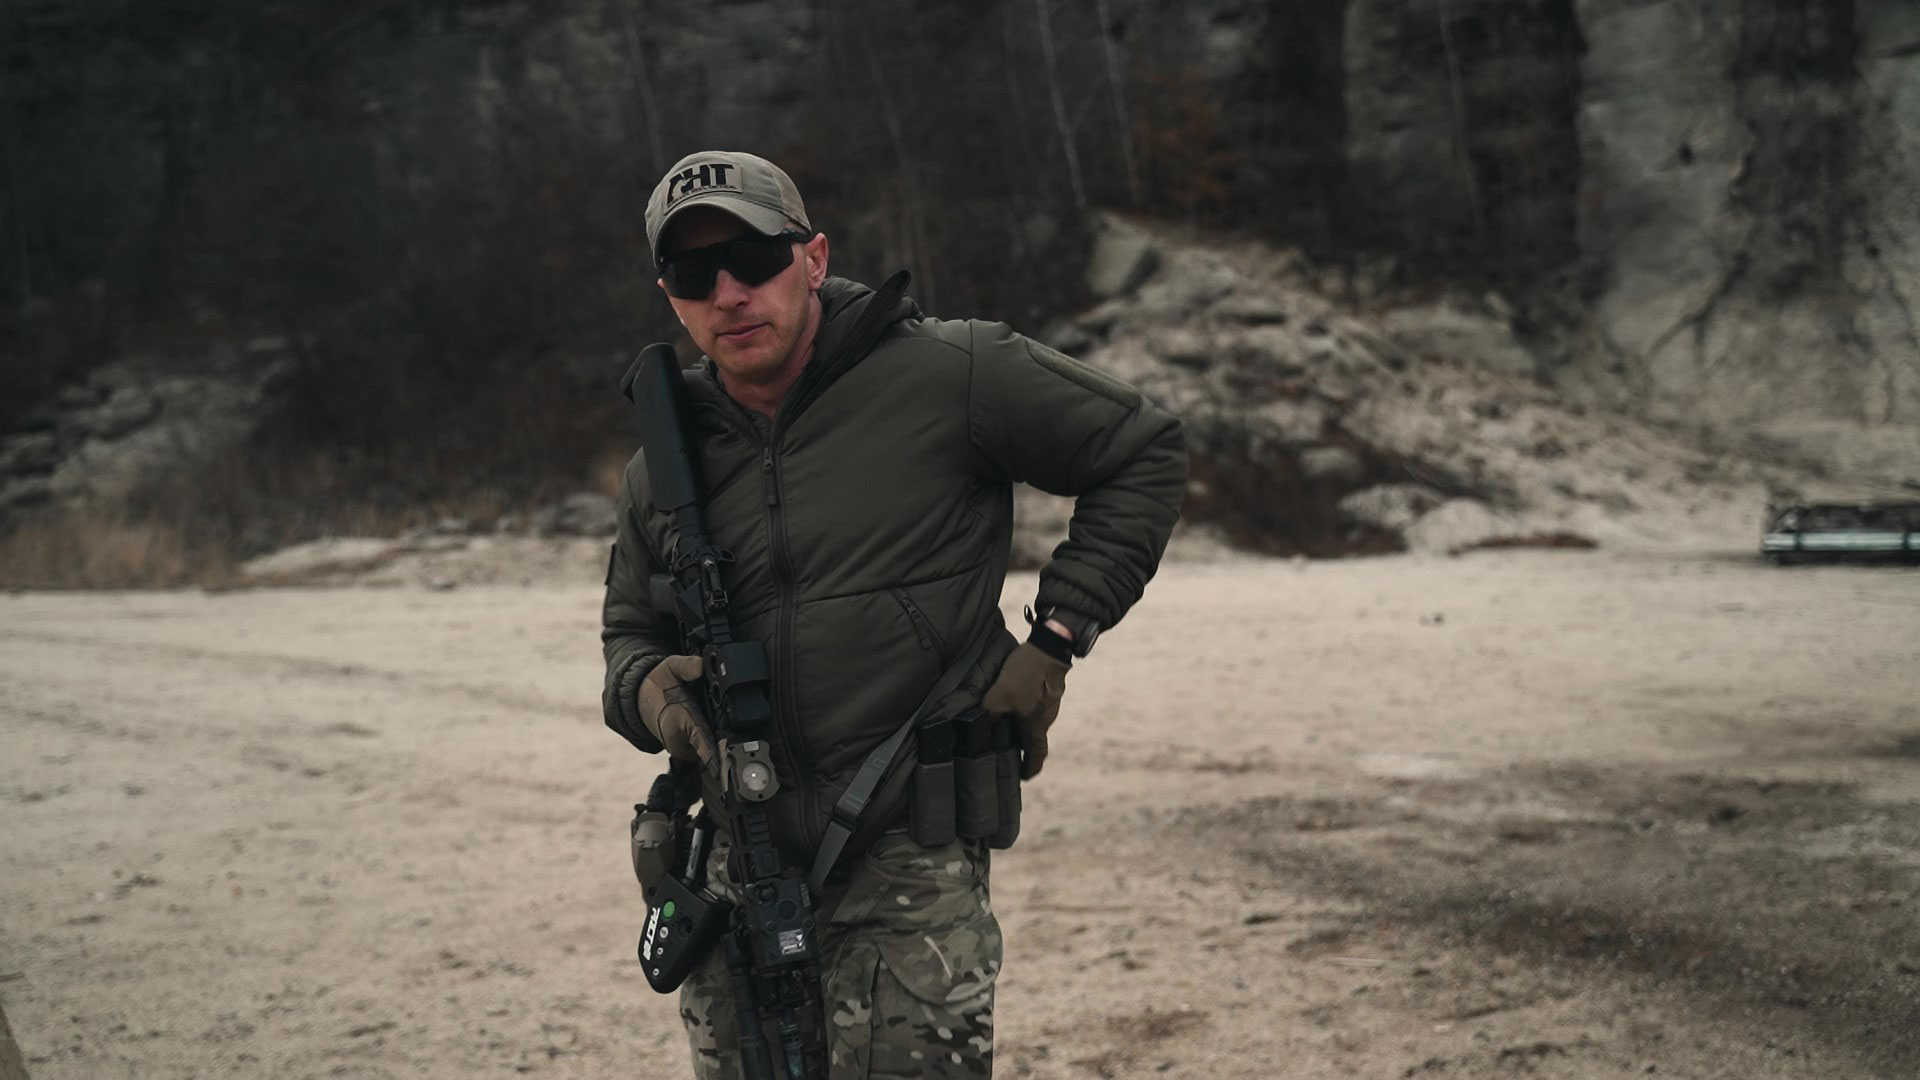
First-line gear placement
Also worth a mention is the matter of where to place your first-line gear (namely, your extra magazines) while you engage in task-focus isolation drills. Some pros recommend securing your rifle’s extra magazines in a row of belt-attached pockets or holders along your waist on the side of your body where your nondominant-side hand is.
In other words, if you’re right-handed, the extra magazines will be on your left side.
With the magazines lined up like this, you’ll be able to easily reach down to grab a fresh magazine with your nondominant-side hand, rotate the magazine, and insert it in the weapon while maintaining a sure grip on the rifle with your dominant-side hand. The result will be a fast reload of your carbine.
Conclusion
Task-focus isolation drills are worth performing on a regular basis. Granted, it takes discipline to keep working at them, but discipline is the very thing that separates the pros from the posers when it comes to shooting.
You can see each element of AHT’s task-focus isolation drills target by viewing Episode 5 of our Pro’s Guide to Rifle Fundamentals.