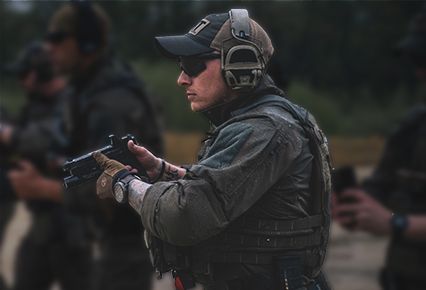
This blog post explains how to improve the accuracy of your aim when shooting with a carbine. Discussed is the concept of sight picture and the need to take into account mechanical offset in order to create proper sight alignment. The post concludes with a description of an exercise to develop mechanical offset accounting skill.
In this blog post:
Sight Picture
If you spend time at the range and in the presence of high-level professional shooters or instructors, you’re likely to hear the term “sight picture” thrown around like so much hot brass spewing from a carbine’s ejector port.
Alright then, sight picture; what exactly is it?
Sight picture is the image you see when the rifle sights are aligned correctly with the target. We’re not going to discuss sighting in a rifle (that’s a topic for another day), but assuming your gun is indeed sighted in correctly, you’ll be able to place your rounds where you’re aiming as long as the sight picture is solid and you don’t disturb it.
There are two types of sight picture: gross and refined. Let’s take a look at each.
Gross Sight Picture
Gross sight-picture is what you’re first going to see when you draw up your rifle and present it for firing at the target.
Were you to squeeze the trigger while looking at the gross sight-picture, you would likely hit the target but not with pinpoint precision.
The reason for the lack of full-on accuracy is that gross sight-picture requires adjustment.
Refined Sight Picture
Refinement of your gross sight-picture basically means you’re going to aim small to miss small.
A good way to think about gross versus refined sight-picture is to imagine yourself looking at a person standing 25 yards in front of you and facing in your direction. From that distance, initially what you see is the person’s entire body. Here you have a gross sight-picture.
But then you realise that this person has a moustache. Now you’re no longer seeing the whole of his body because your focus has narrowed to just that one spot between the nose and upper lip. Here you have a refined sight-picture.
When it comes to your carbine rifle, refined sight-picture includes adjusting your aim to compensate for mechanical offset.
Mechanical Offset
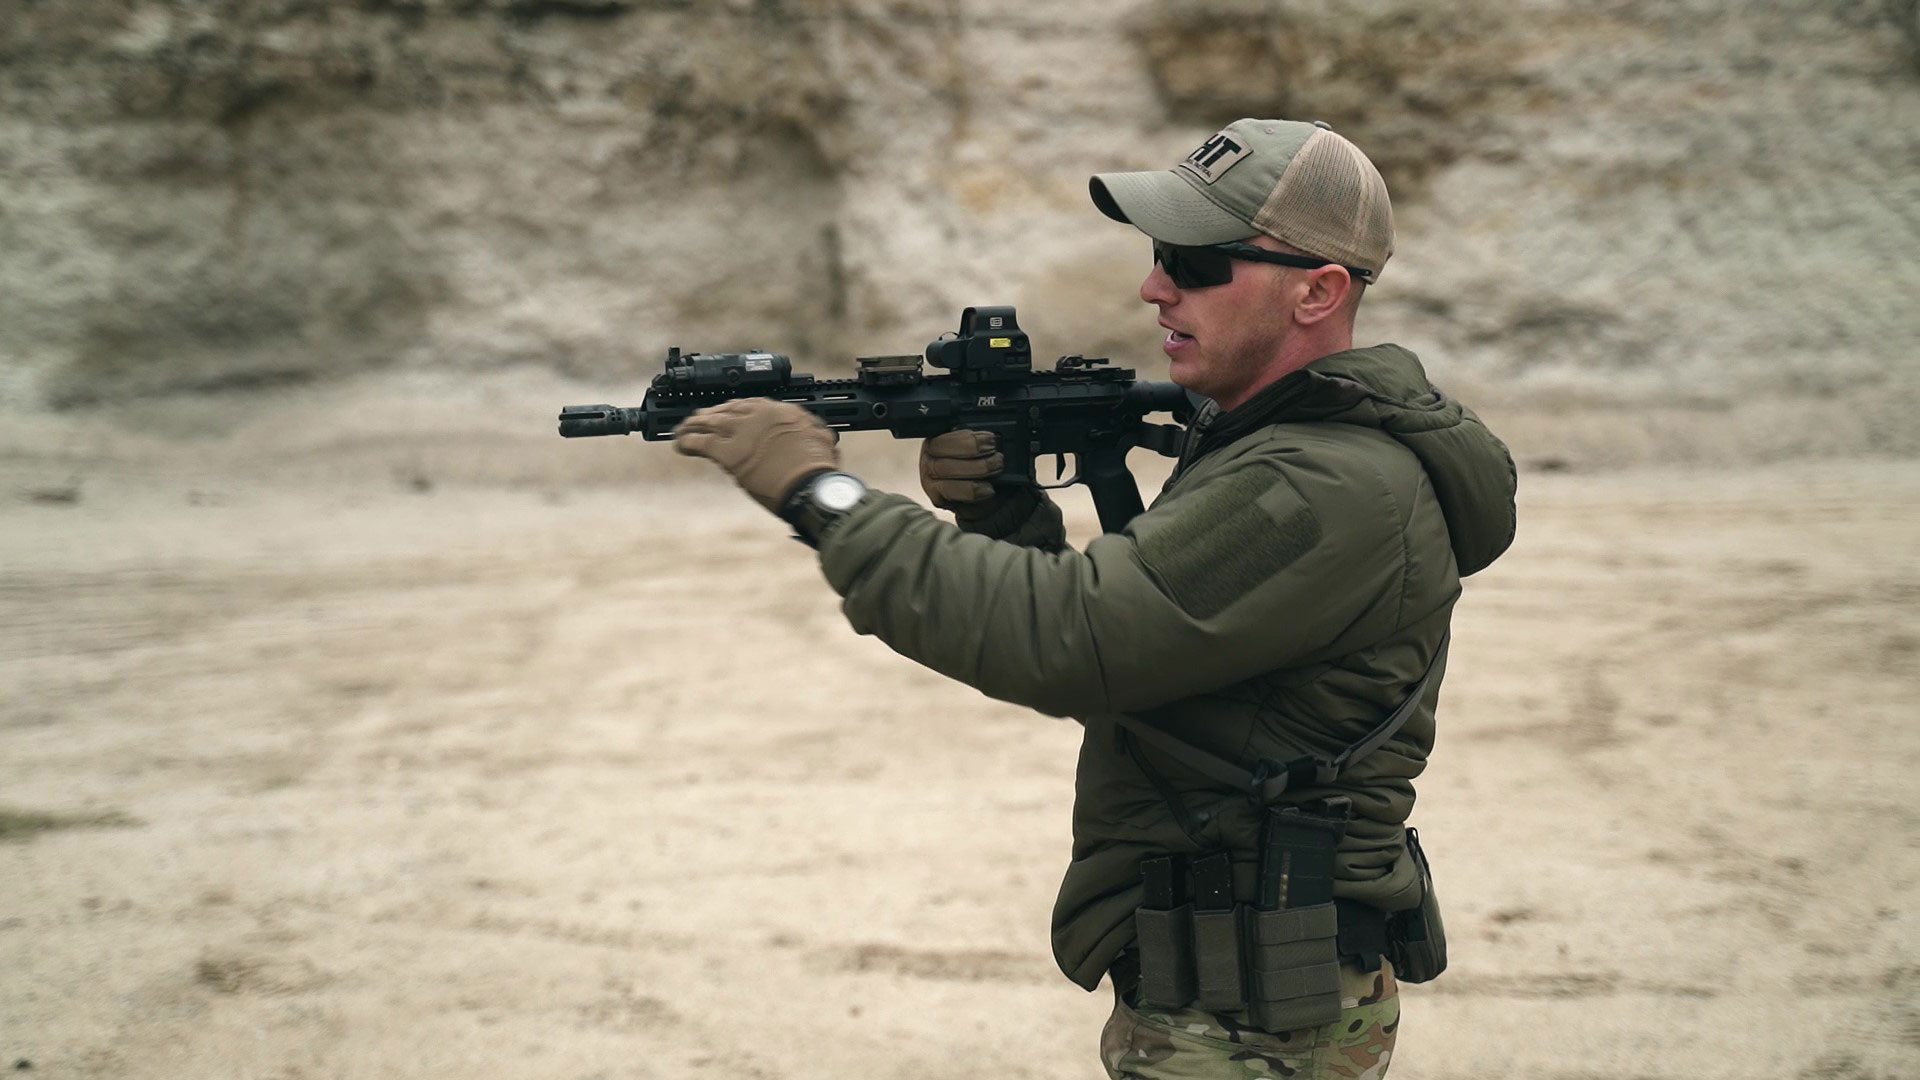
Mechanical offset is the distance between the bore of your weapon and the optic attached above it.
Depending on your rifle’s height-over-bore articulation, what you see in the refined sight-picture may not be your actual intended point of impact. In all likelihood, your refined sight-picture will have you aiming a little higher than where you want to place the rounds you’re about to fire.
Refined point of aim
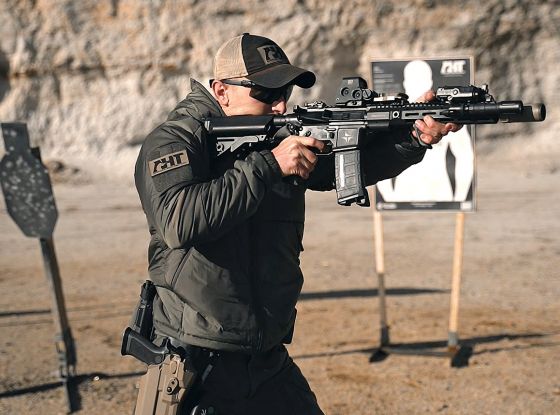
After you have positively decided to shoot the target and have acquired your gross sight-picture, proceed to refine what you see through the sights.
Now superimpose your reticle over the refined sight-picture. Fire one round. Upon recoil, return the superimposed reticle to your refined sight-picture while also staying on home.
Sight Alignment
Sight alignment is not the same as sight picture.
Sight alignment means positioning the weapon so its front and rear sights and your eyes are all in a straight line. Sight picture refers to placement of those aligned sights on the target.
There is an exercise you can perform at the shooting range to train yourself to account for mechanical offset so that you can create proper sight alignment.

Create sight alignment to account for mechanical offset
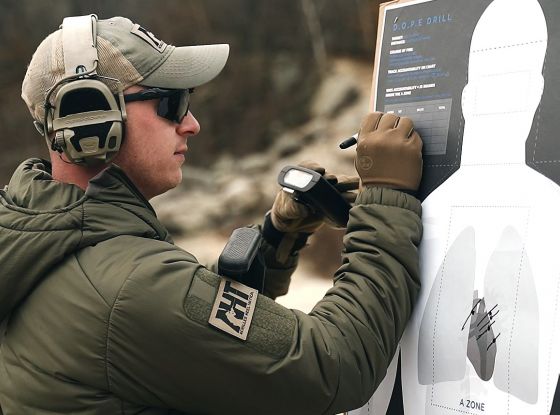
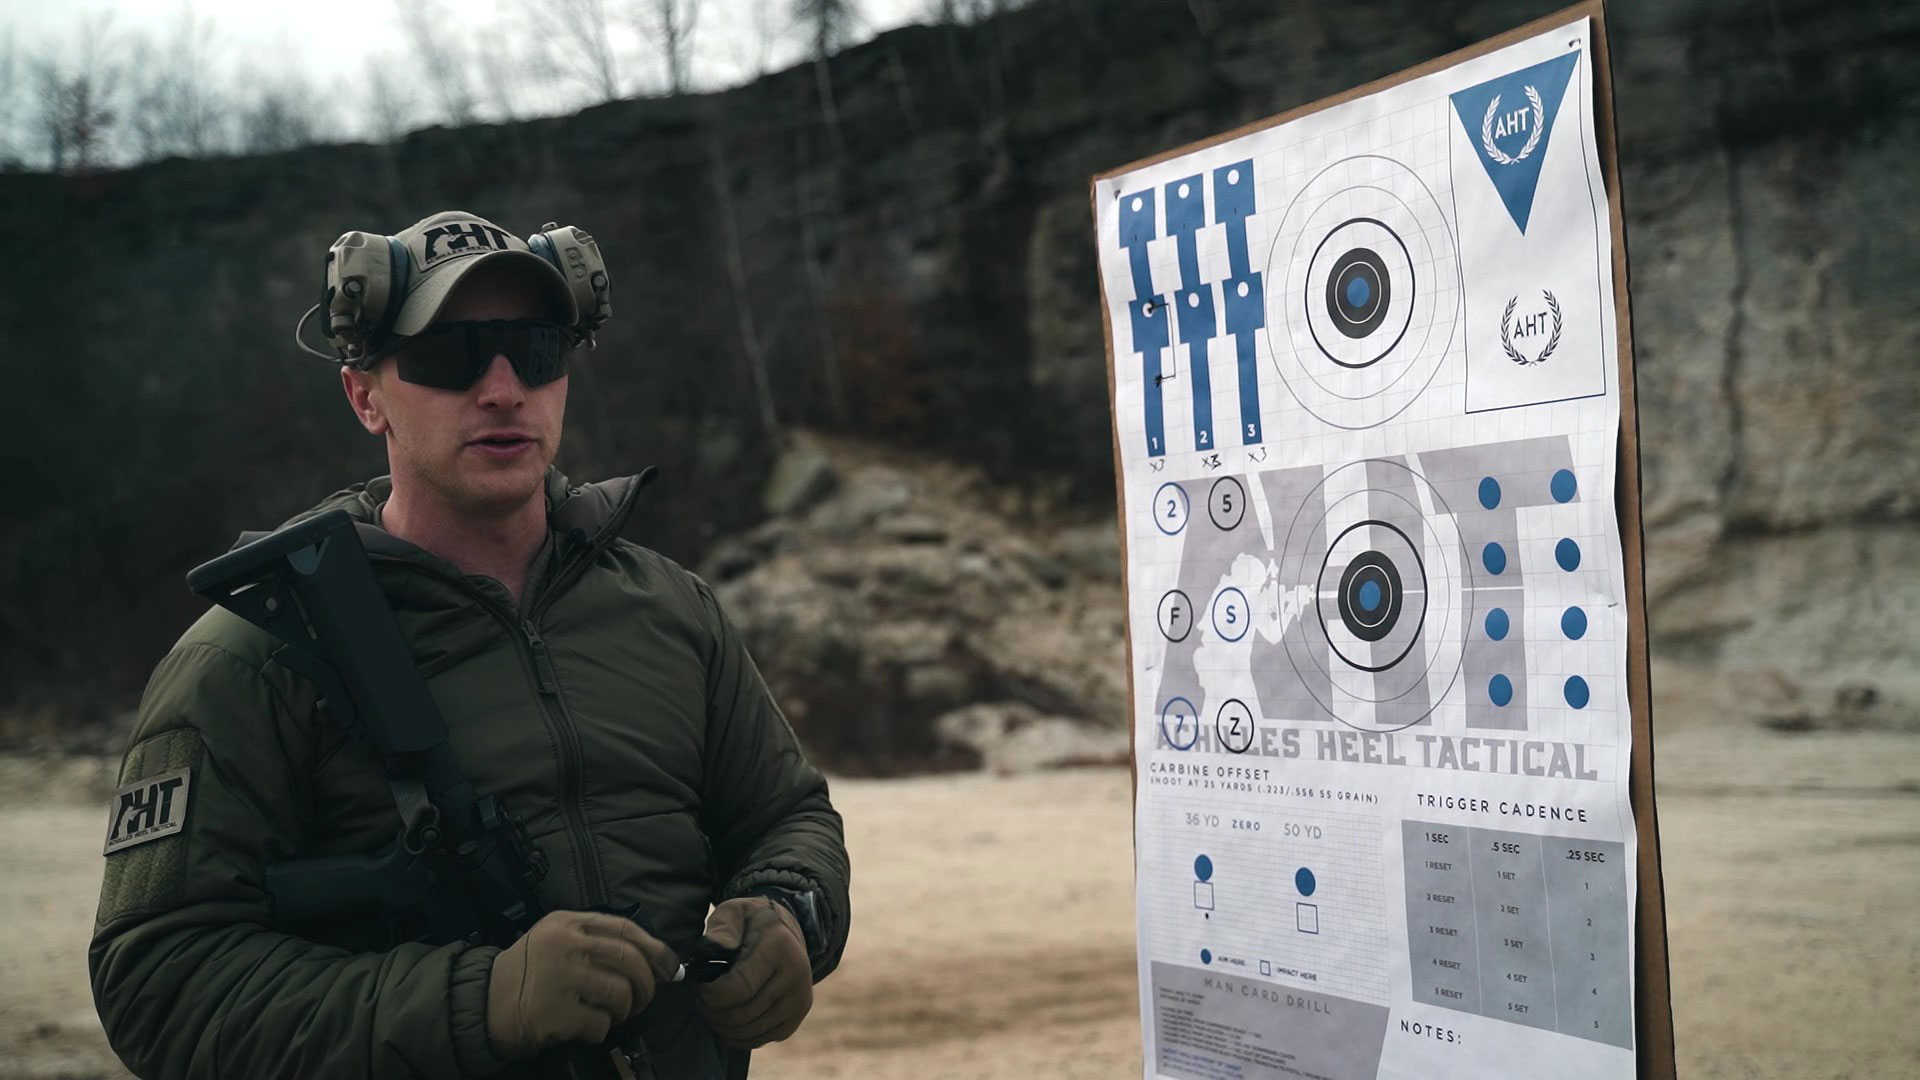
1. Target sheet
For this exercise, you will need to obtain a task-focus target sheet designed to help you work on your mechanical offsetting. The target sheet depict three gunmetal blue “matchsticks” positioned side by side, about 2 inches (or 5 cm) apart at the stem. The stems are 1-inch (2.5 cm) wide and atop each one is a 2-inch-square head; in the upper center of each head is a 0.5-inch (1.27 cm) white dot.
Immediately above each matchstick on this specialized target is a duplicate of it. This arrangement results in three rows of two matchsticks for a total of six matchsticks. Overlaying the entire matchstick group is a printed grid made up of 1-inch squares. You’ll use this grid to aid you in quantifying the unit of measure of distance within height-over-bore.
1. Baseline
Start by shooting at the first matchstick—and the first one only—without attempting to account for mechanical offset (the first matchstick is the one at the lower left of the group). Simply position your point of aim dead-center of your intended place of impact (which on this target will be the 0.5-inch white dot at the top of that first matchstick).
For discussion’s sake, let’s say the carbine you’re using is an M16 outfitted with the most commonly used optical and that this weapon system will consequently produce a shot that lands on the target about 2.5 inches below the white dot at which you were aiming.
Slowly fire three rounds at that first matchstick’s white dot. Put your weapon in safe mode, lower it, and walk up to the target.
Now, take a base unit of measure by drawing a horizontal line through the white dot. Take a second base unit of measure by drawing a horizontal line through the spot lower down on the matchstick where the three-round group landed.
Then draw a vertical line to connect the two horizontal lines. Using the grid overlaying the matchstick, count the number of one-inch squares between the two horizontal lines. In this example it will be two-and-a-half squares (or 2.5 inches).
Take those 2.5 inches and measure straight up above that first matchstick’s white dot (the one you were intending to hit). Measuring up 2.5 inches will take you (on our example target sheet) into the matchstick above the first one to a point a little below its white dot. Use a marking pen to denote this spot.
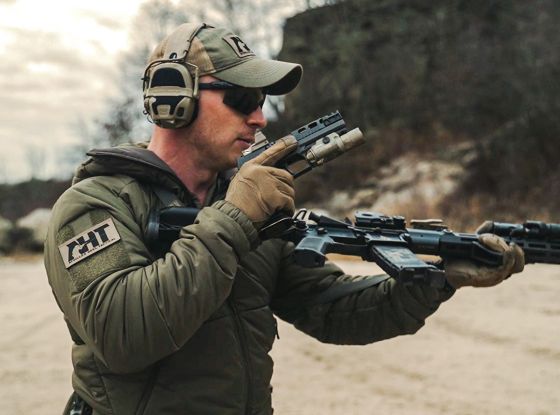
2. Refined point of aim
Step back to your previous firing position. Aim your rifle at the spot you marked with the pen, and you’ll have accounted for mechanical offset.
Fire another three rounds, again slowly, at your new refined point of aim (the place you marked 2.5 inches above the white dot of the first matchstick). Each of those rounds should now land exactly on the white dot of the first matchstick (the one in the lower left of the group).
If they do, then you can consider the mechanical offset data you collected with your initial three shots to be confirmed.
Next, transfer the confirmed data of the first matchstick directly across the grid to the unused ones to its right.
3. Accountable hits
Continue the exercise by shooting the white dots of the two remaining bottom matchsticks three times each. As you do so, use the grid marks you translated from the first matchstick to help you refine your point of aim.
The goal is to have accountable hits every time.
Notice that you still have the unshot white dots of the three matchsticks in the upper half of the group. The mechanical offset required to hit those dots will be more challenging because there’s no grid above them that you can use for reference.
What you’ll need to do in this circumstance is have a strong mental image of what the unit of measure for your mechanical offset looks like (based on the results of your shots at the matchsticks making up the bottom half of the group) so that you can adjust and hold accordingly.

Conclusion
Sight picture and sight alignment are crucial elements of precision shooting with a carbine. You need to get good at them in order to advance and become a high-level shooter. The only way to get good at them is to visit the range often and practice a lot.
If you’d like a visual demonstration of the sight picture and sight alignment concepts and exercise described in this post, we recommend you tune into Episode 3 of UF PRO’s Pro’s Guide to Rifle Fundamentals video series, hosted by certified firearms instructor (and ex-Marine and former SWAT team member) Rick Crawley, founder and CEO of U.S.-based Achilles Heel Tactical.