Understanding how to utilize the position and angle of the sun can dramatically improve your ability as a tracker to see sign. Tracking instructor Boris Vos shares three intermediate exercises to get you started toward developing that knowledge. This blog post also covers the topic of light-source positioning and offers two additional sun angle-related exercises.
In this blog post:
Introduction
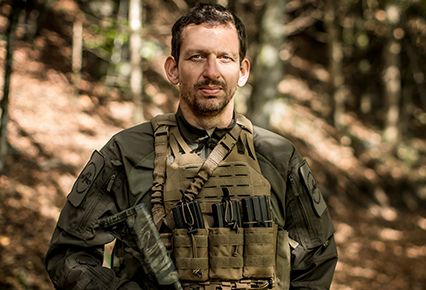
By Boris Vos
Light is very important for tracking. It creates a shadow effect in the tracks and reflects the surfaces that have been disturbed, which helps them stand out to the tracker’s eye.
Although moonlight or artificial light can be used in tracking, the light source you’ll use most and will need to know best is the sun because understanding how to utilize the position and angle of the sun can dramatically improve your ability to see sign.
Exercise 1: Light-source positioning
[Total time required to complete this exercise: approx.10 minutes]
We begin with the positioning exercise, designed to teach you how the position of the sun in relation to the sign affects your ability to see sign. Ready?
Preparation
- What do I need?
No special equipment is needed for this exercise.- When should I do this exercise?
The best time of day for this exercise is when the sun is low in the sky—early in the morning and late in the afternoon.- On what kind of terrain should I practice?
It’s best to use a surface similar to your first pace-to-pace exercise. If you missed that exercise, you can catch up here.
Pick an area about 10 metres by 10 metres in size, one free of any distracting sign. It also must be free of shadows from nearby buildings or trees.
Now find the center of this area. There, leave a good firm shoe print. Now step back about 4 or 5 metres.
![]()
Look for the optimum sun angle
Start walking slowly in a large circle around the shoe print you made, always keeping a distance of about 4 to 5 metres from it. Complete a full circle and note how the appearance of the shoe print changes.
![]()
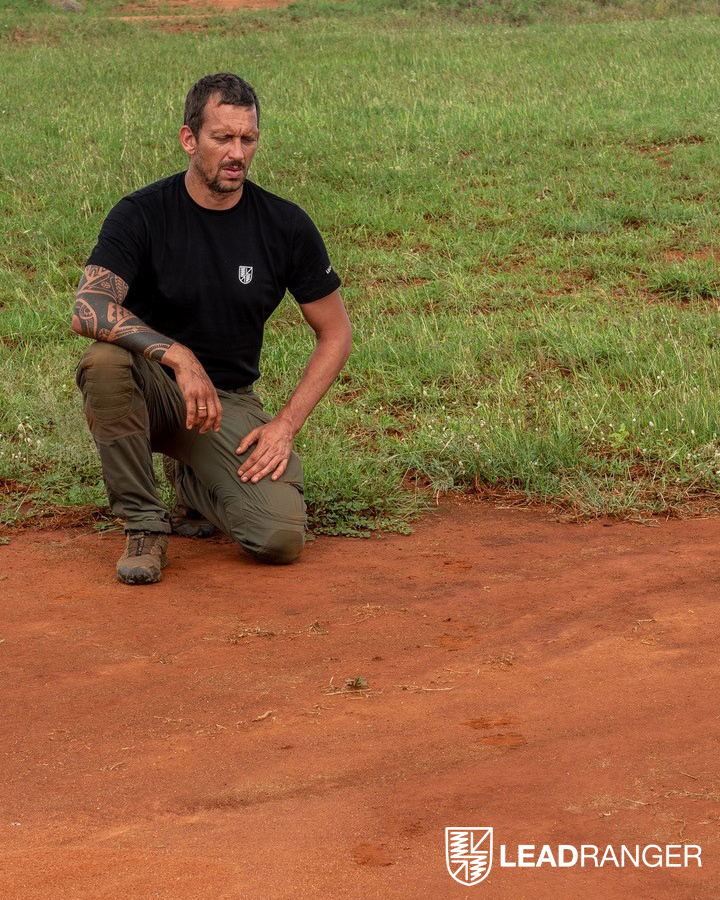
Now, walk around the circle a second time. Stop where you think you can best see the shoe print. Found it? Great!
Note three things: your position, the position of the shoeprint, and the position of the sun. You will find that the spot you chose is where the shoe print is between you and the sun.
![]()
This is because that spot is where the sunlight casts the strongest shadow inside the shoe print’s depression. With the shoeprint between you and the sun, you create an optimum angle for this shadow effect to hit the retina of your eye. Got it? Great!
Remember: always keep the sign between you and the most prominent light source. It will aid you greatly in seeing the sign.
Exercises 2 to 4
[Total time required to complete these exercises: approx. 1 hour, 15 minutes]
Remember the first pace-to-pace we did together? We set it up in such a way that the track ran directly towards the sun. This was done to give you a boost: when you’re just starting out, it makes it easier if the sign is between you and the sun. Now you’re ready to spice things up a bit.
Let’s get going by setting up that same pace-to-pace once more—run it at the same time of day as before, over the same terrain and surfaces, and using all the same procedures. But instead of laying the track directly towards the sun, this time lay it out with the sun to your right at a 90° angle.
When you start the track itself, you will find it necessary to position yourself to the left of the sign, so be extra careful to avoid stepping on any sign. After you complete this pace-to-pace, lay another but with the sun 90° to your left and with yourself positioned to the right of the sign.
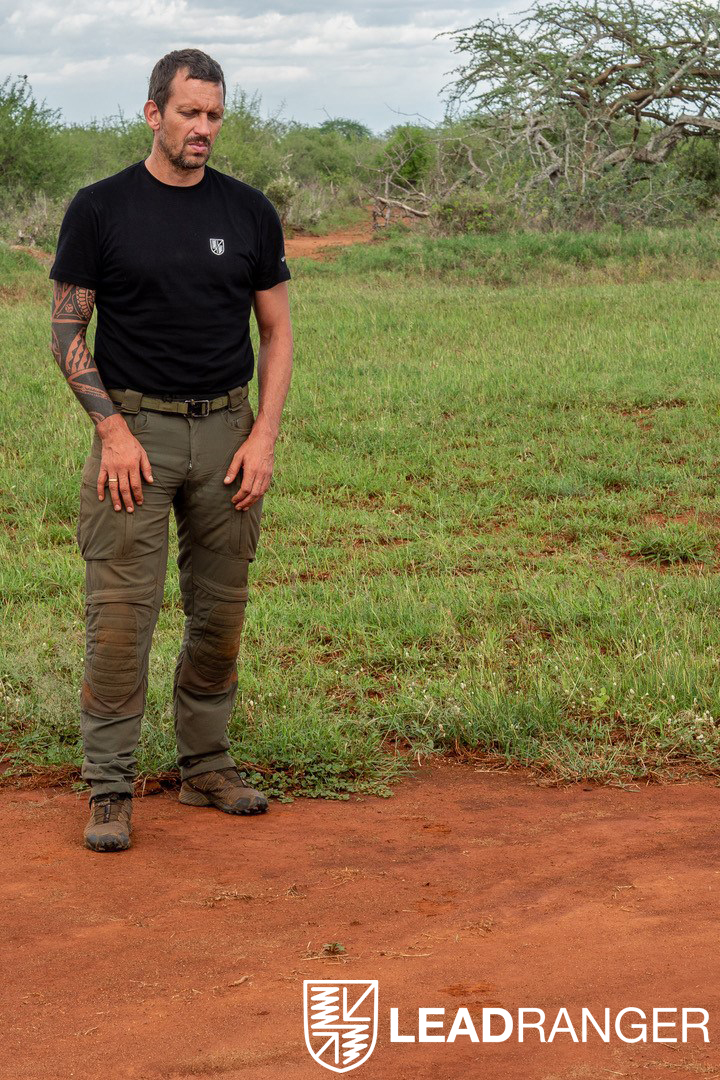
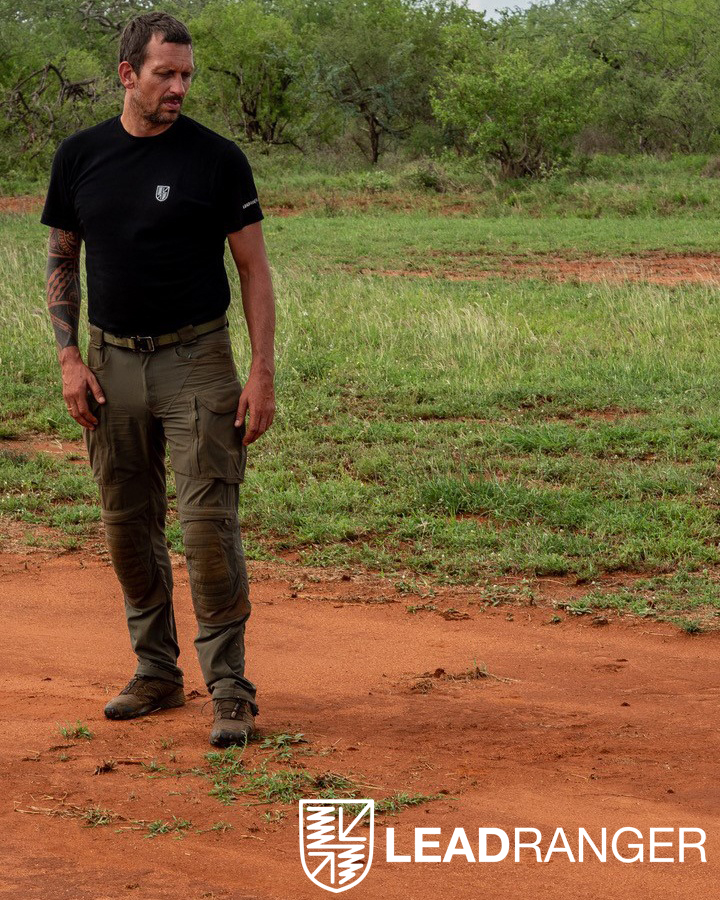
Make sure as you perform both variations that your body always points in the same direction as the track and that you keep your head turned to look at the track.
Your body position sets you up for when you are going to use tracking in a tactical - i.e. threat - environment. You keep your head up to allow your peripheral vision to do its job; detect movement at the edges of your vision. Don’t get sucked into the track, and forget about your surroundings. You may find yourself standing very close to your quarry without noticing!
|
 |
|
 |
|
 |
|
 |
|
|
 |
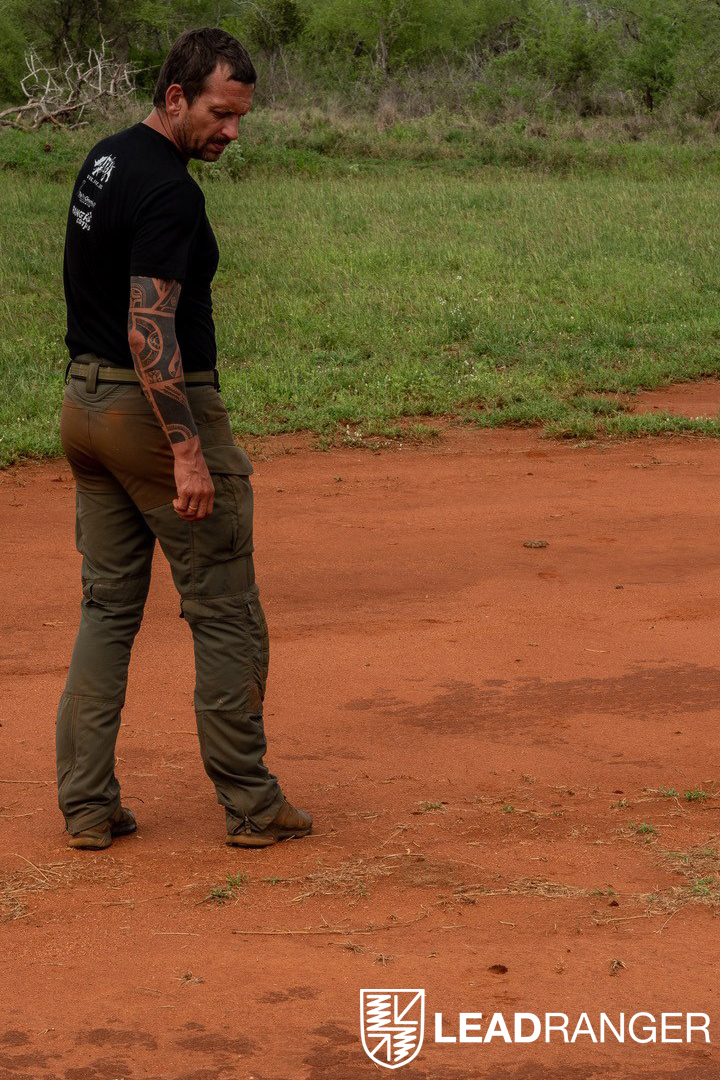
 Wrong position! Looking down on the track, head down, completely losing peripheral vision.
Once you complete these two variations, you’ll next lay the track 180° away from the sun. When you start this third track, position yourself to the front left or right of it. Turn your head and look back at the tracks (it’s now even more important that you avoid stepping on any of the sign). As with the first pace-to-pace, take your time, find every single shoe print, and identify the regularity, flattening, and colour change.
Below are these three exercises in chart form for handy reference:
| Terrain: Firm, compressed underlayer with a top layer of dirt or sand. | |||
|
# |
Time of day |
Sun direction |
Position while tracking |
|
2 |
Early morning or late afternoon. |
90° right |
Left of sign |
|
3 |
90° left |
Right of sign |
|
|
4 |
180° behind |
Front left or right of sign |
|
Exercises 5 to 19
[Total time required to complete these exercises: approx. 8 to 9 hours]
So far, you’ve done your tracking exercises either early in the morning or late in the afternoon, the times of day when the low sun creates the best shadow effects in the tracks.
If you’re going to track, those are the best times to do it. However, the reality is you rarely have the luxury of choosing when we track. Often, you must track when the light is less favorable. As a result, you need to sensitize your eyes and brain even more so that you’re able to pick up tracks any time of day.
The light is less favorable the higher the sun is in the sky. A high sun produces smaller shadows, making them harder to see in the track. Worse, seeing the minute details becomes a real challenge. The graphic below illustrates how this is so:
![]()
OK, so now it’s time to put all this into practice. Back to our pace-to-pace exercises. In the table below you will find a series of exercises intended to train your eyes and brain to see sign in all these conditions. You’re still sensitizing yourself to see sign, and the only way to do it is by practicing. Time to sink your teeth in!
|
Terrain: Firm, compressed underlayer with a top layer of dirt or sand. |
|||
|
# |
Time of day |
Sun direction |
Position while tracking |
|
5 |
Early morning |
0° front |
Behind sign |
|
6 |
Mid-morning |
||
|
7 |
Midday |
||
|
8 |
Mid-afternoon |
||
|
9 |
Late afternoon |
||
|
10 |
Early morning |
90° left or right |
Right or left of sign |
|
11 |
Mid-morning |
||
|
12 |
Midday |
||
|
13 |
Mid-afternoon |
||
|
14 |
Late afternoon |
||
|
15 |
Early morning |
180° behind |
Front left or right of sign |
|
16 |
Mid-morning |
||
|
17 |
Midday |
||
|
18 |
Mid-afternoon |
||
|
19 |
Late afternoon |
||
Conclusion
If you are diligent in completing all the above exercises plus the first pace-to-pace, you will have about 12 hours of quality dirt-time under your belt and a solid start to becoming a tracker. Pour yourself a cold one, you definitely earned it!
As always, take some pictures, tag us on Instagram (@rangerboris and @ufpro) and let us know how you’re getting along with these tracking exercises. In the next post, we will talk about more challenging terrain and substrates. Go get it!