Shooting that puts the round exactly where you want on the target happens only if you know the right way to stand and hold the weapon. This blog post discusses the basics of stance, posture, and grip when shooting a carbine, and includes a walkthrough of an isolation drill you can perform to test whether you’re employing those basics correctly.
In this blog post:
Stance and Posture
To shoot a carbine accurately and efficiently, you must learn to mitigate and absorb the forces of recoil and of the environment in which you’re operating.
The best way to deal with those forces is to build a sustainable, moldable, and adaptable platform from which to shoot. The two factors that matter most when it comes to building such a platform are your stance and posture.
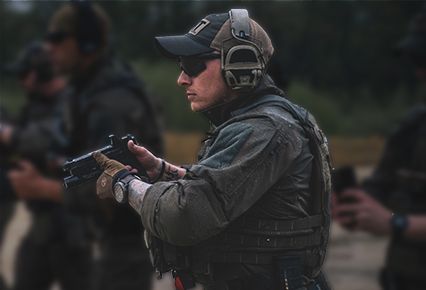
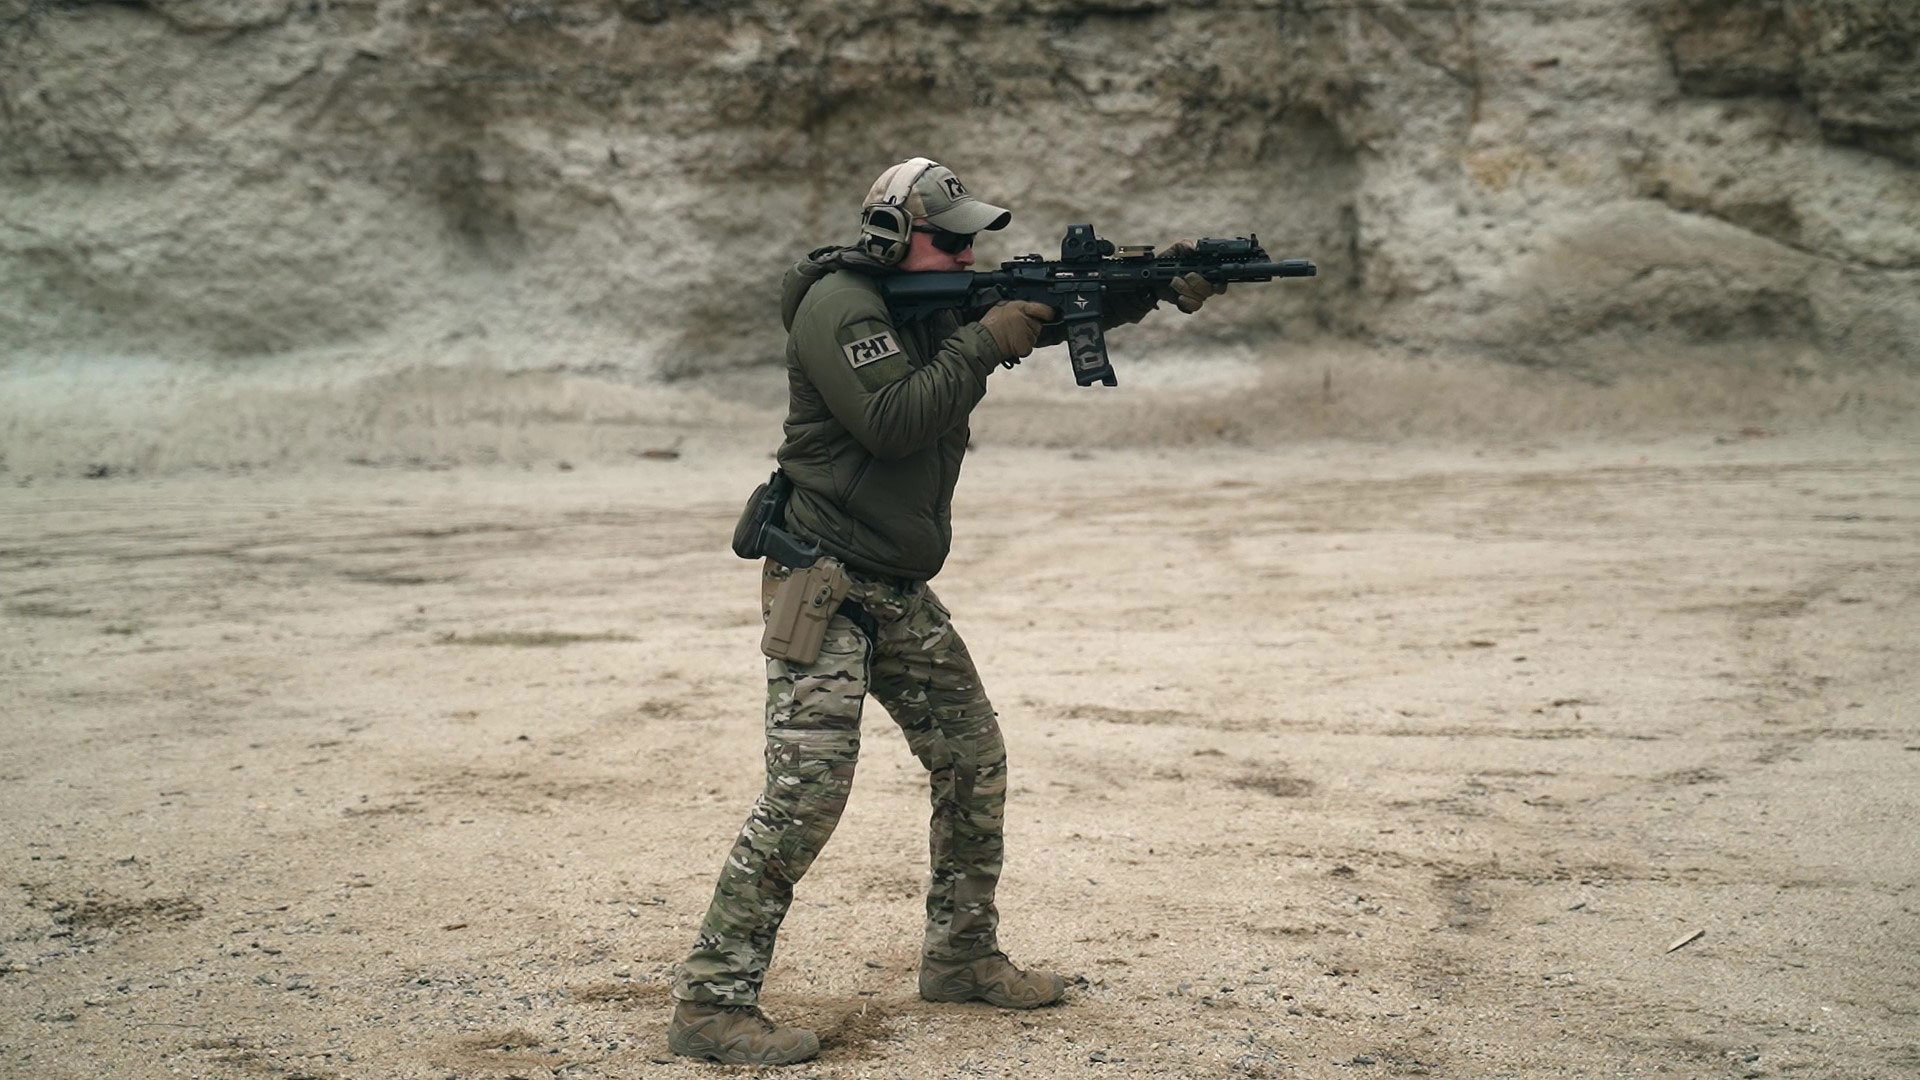
Let’s begin with your shooting stance. It should not be relaxed. Rather, it should be athletic. To achieve an athletic stance, stand with your feet apart, approximately shoulder width (never stand with your feet together). Your shoulders and hips should be square to the target you intend to engage.
Next, you must be cognisant of your shooting posture. From the hips down to your feet, is your posture prepared to handle a significant amount of dynamic pressure on the musculoskeletal structure of the lower extremities? The technical term for this is “loaded posture.”
Loaded posture isn’t necessary above your hips; there, you need only good posture. Good upper body posture means not standing tall and neutral, and not leaning back. Think of it this way: your upper body posture is correct if your shoulder blades don’t stick out past your heel.
In actual practice, as you begin to present your weapon, you achieve correct upper body posture by engaging forward from the hips and bringing your chest up over your belt line. Your elbows also need to be pulled in tight against your body (more on that in just a bit).
Grip
Closely related to stance and posture is the way you grip the weapon.
First of all, there are four locations on a carbine rifle where your body will make contact with it. They are the:
-
Grip below the trigger (your dominant-side hand goes there)
-
Vertical grip fixture under the rail at the front of the gun (your nondominant-side hand goes there)
-
Stock weld (it rests against the crook of your dominant-side shoulder)
-
Cheek weld (the spot atop the stock where you lay your dominant-side cheek)
Rifle stock placement
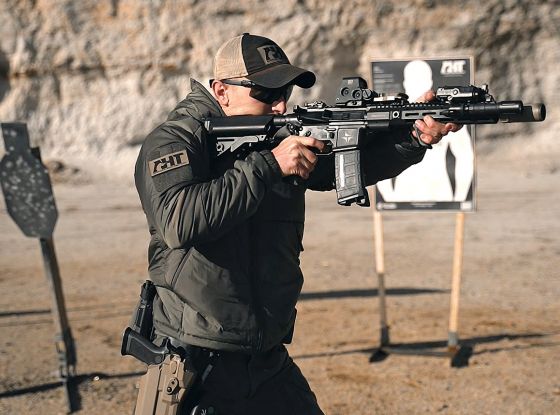
You may be wondering where along your shoulder to place the stock weld. To find the correct position, place your dominant-side hand on the rear grip and your nondominant-side hand on the forward grip, then drive the rifle straight up to your eye so that the eye box of your optic is directly in front of your eye.
The sweetspot for the stock weld should now be evident.
As you perform this exercise, be careful to not let your head tilt to the side or you’ll end up having to cantilever the rifle to allow you to find the eye box. That’s inefficient and destabilizing.
You never want to be compelled to fight a natural human response while operating your weapon, so don’t put yourself in a situation where you have to go looking for the optic; instead, drive the optic straight up to your eye.
With regard to placement of your cheek on the cheek weld, that will be completely dictated by the height of your optic. Nonetheless, the goal is to achieve solid, consistent, correct contact with the cheek weld the instant that weapon is fully raised.
Fire control hand grip
Your dominant-side grip is your fire-control hand. Make sure you can manipulate the safety selector switches with this hand. Also make sure that within the trigger control you can isolate from a single joint.
Note that your dominant-side grip is not utilized to drive pressure back into your body. Rather, it’s function is simply to establish a high, firm purchase.
Non dominant side grip
Now this may surprise you, but it’s your nondominant-side hand that receives the greatest emphasis when it comes to rifle grip. Here’s why. You fire the weapon and of course it recoils. That causes the nose of the gun to rise which messes up the great sight-picture your optics have provided. Consequently, the accuracy of your next shot is adversely affected.
Overcoming nose rise is thus crucially important. Responsibility for making that happen belongs to your nondominant-side grip.
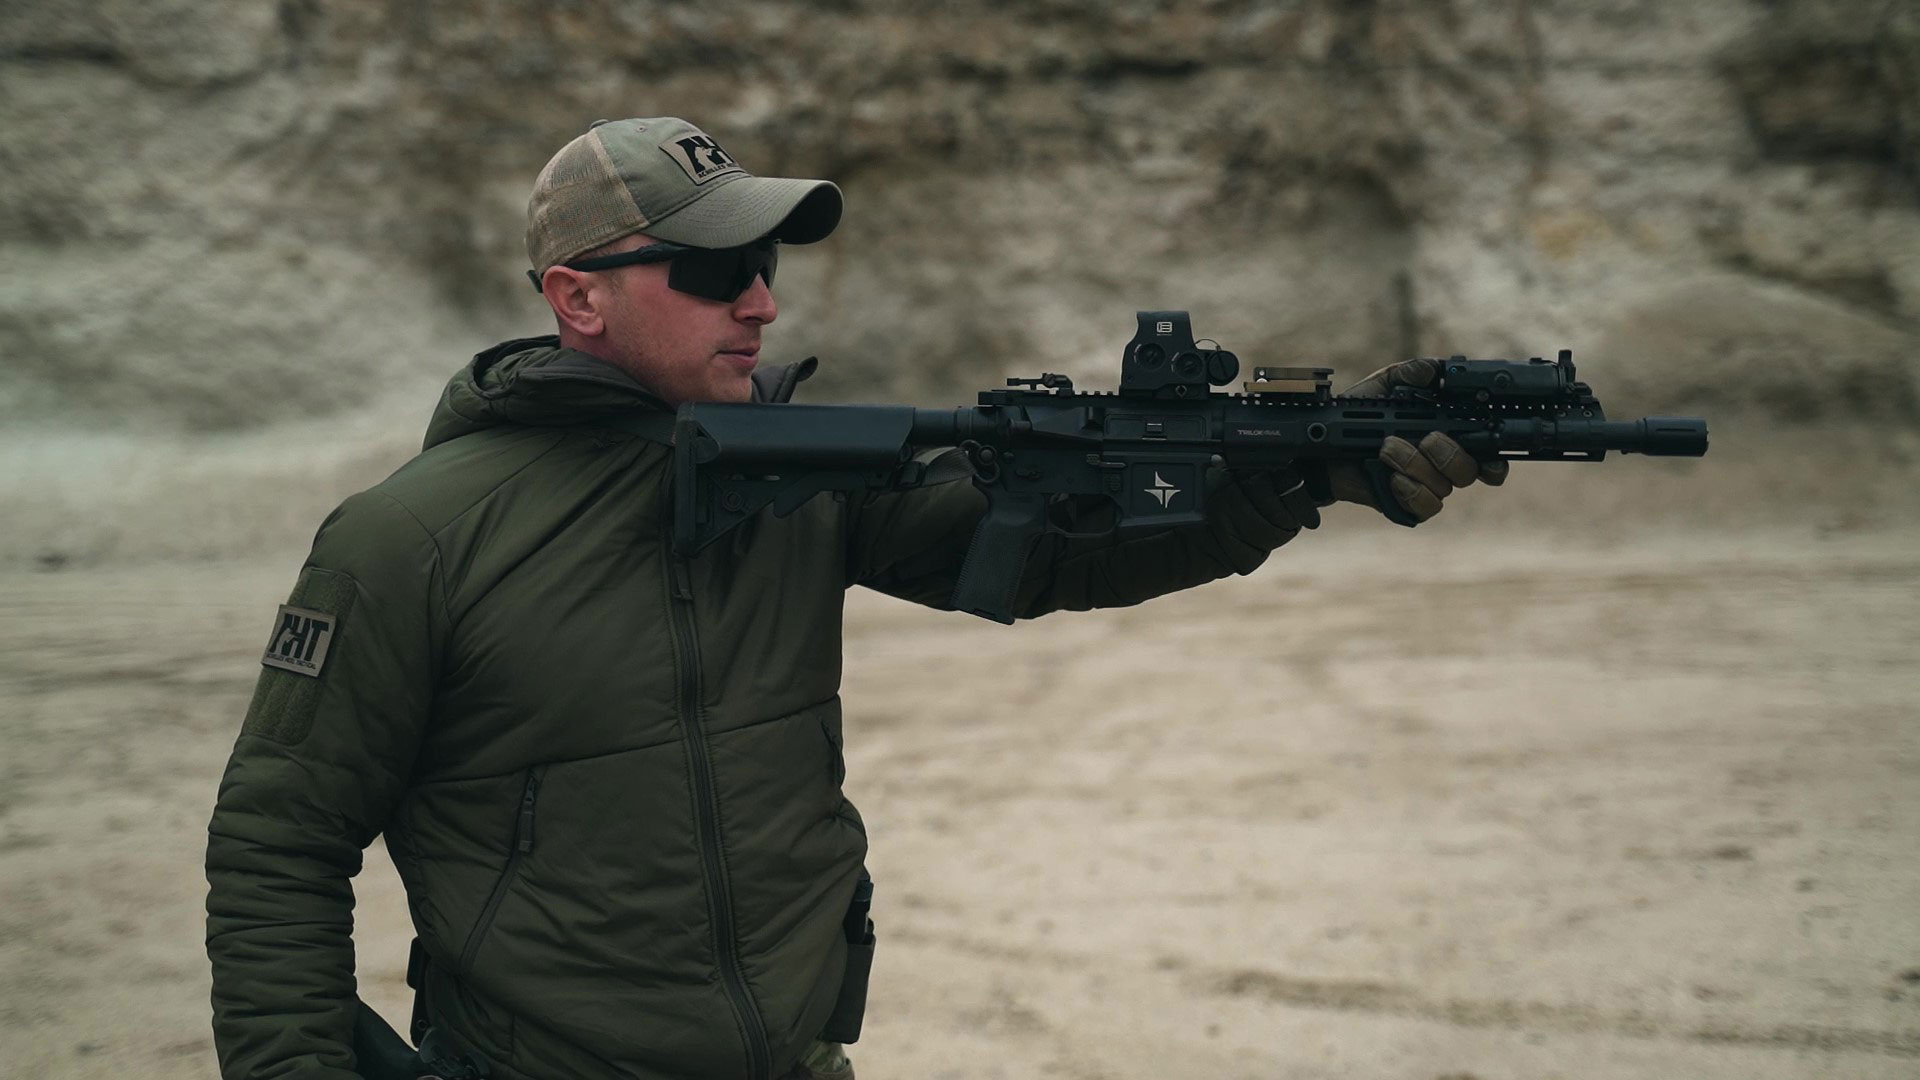
There are two mistakes that shooters tend to make when trying to control the front end of the gun. One is they cradle the weapon by letting the bottom of the front grip fixture rest in the palm of their hand. The second mistake is they hold the front end by the grip fixture alone.
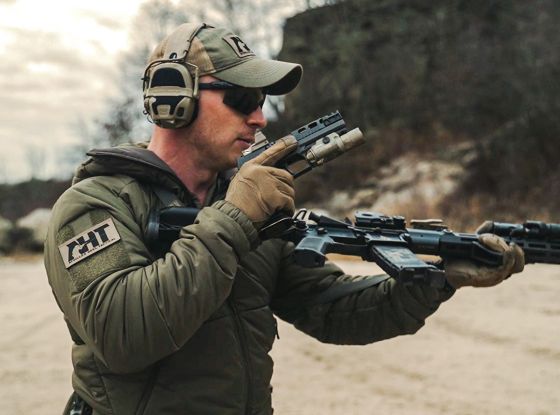
The right way to control the front end of the rifle is by wrapping your thumb over the bore and the other four fingers below it, with the vertical fixture abutting the rear of the palm.
A positioning strategy you should employ to enhance your ability to control the front end of the gun and minimise nose rise involves your elbows. You can increase the stability of your weapon by bringing your elbows in as tightly as possible to the sides of your body so that they are in line with the rifle.
Conversely, the farther out you hold your elbows, the less stability you achieve. And the less stability, the greater the potential for nose rise.
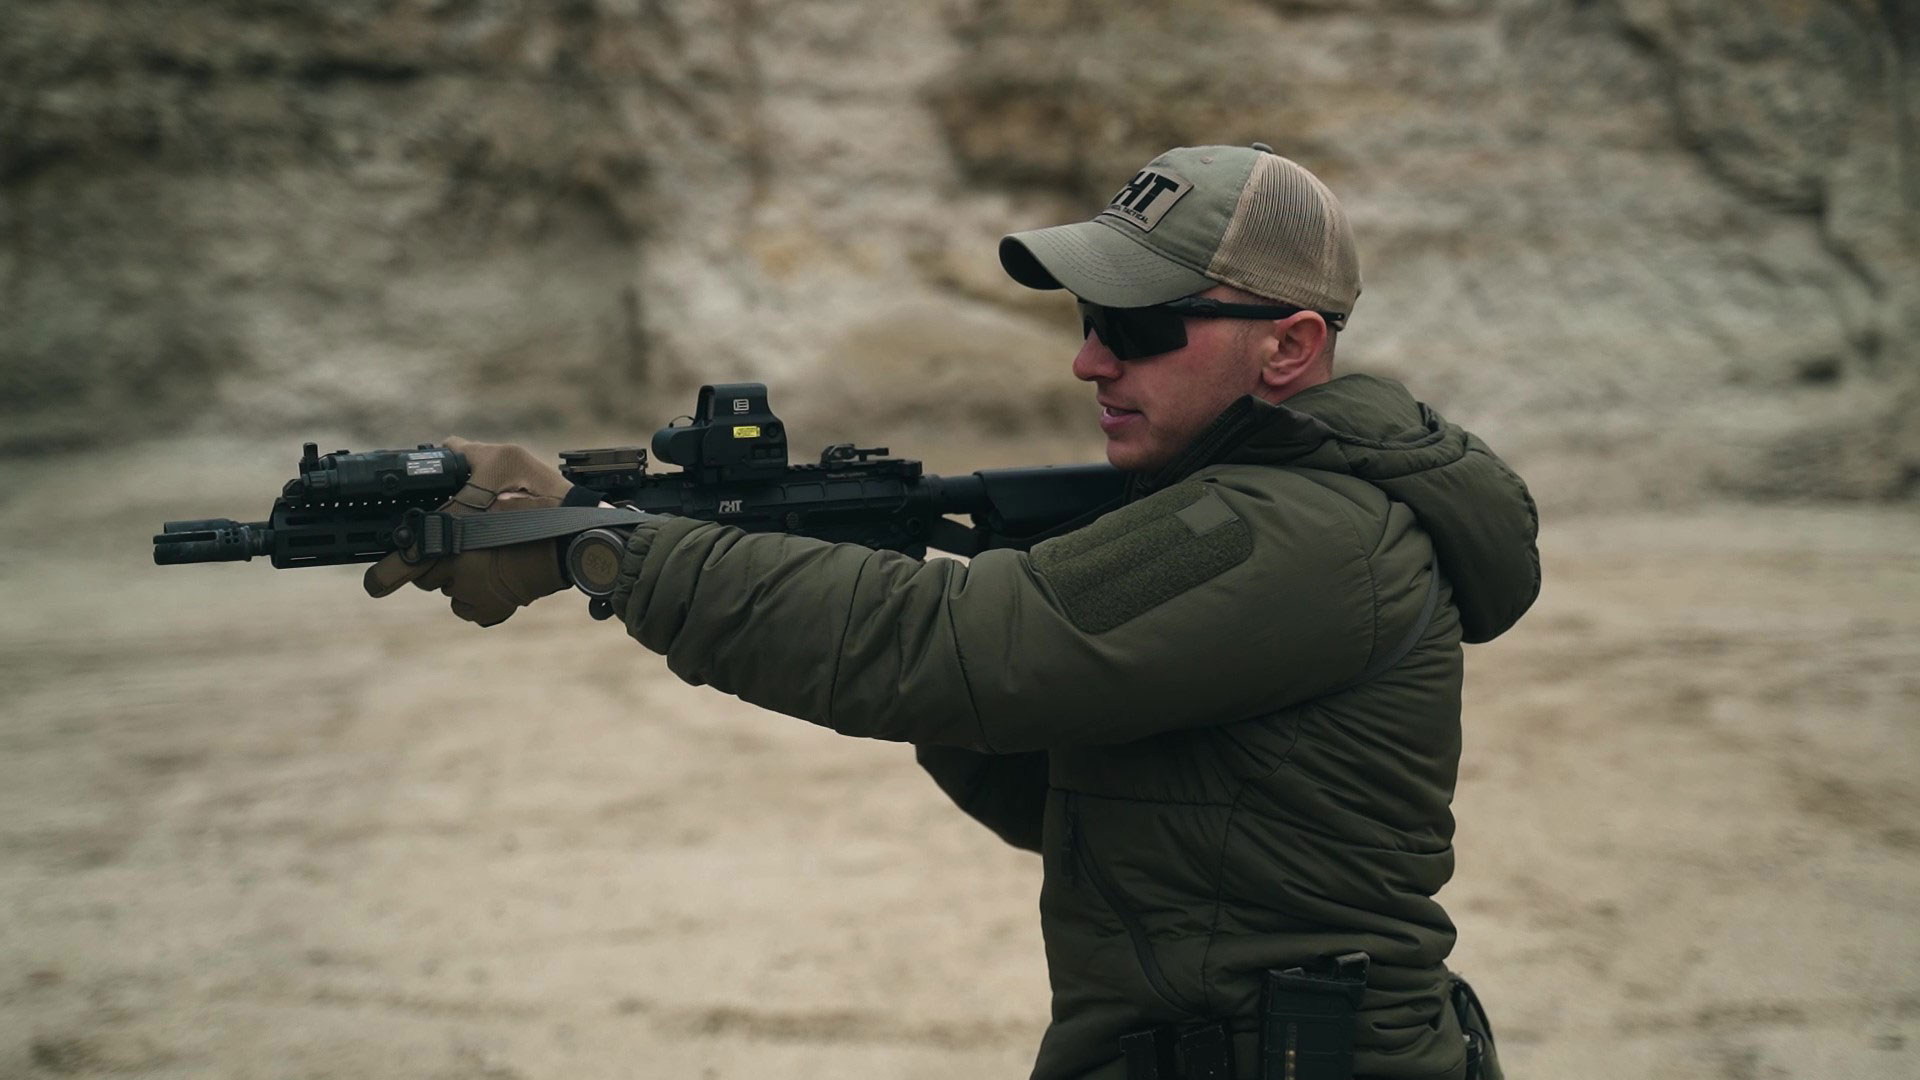
If you recall from our previous post, you learned about running your sling from the forward attachment. Doing so allows you to lay the strap over your nondominant-side hand’s radius bone. Situated like that the strap will develop tension as you bring your elbow into its proper position. This tension will supply additional stability for the nose of the gun, further helping you mitigate the effects of recoil and keeping your sights down on target
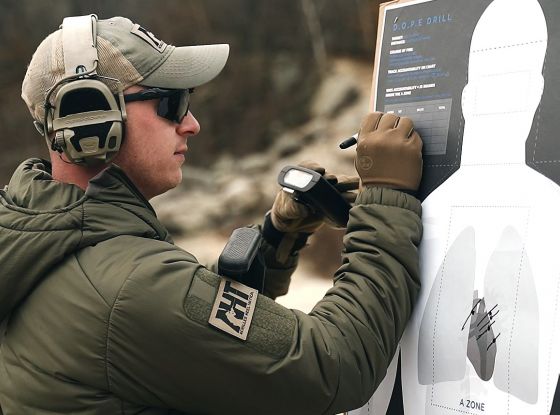
Testing your posture, stance, and grip
Test what you’ve just learned about counteracting the recoil impulse by getting into position as described above, aiming the weapon at your designated target, and preparing to fire. But before you squeeze the trigger, look straight down at your feet. Fire three rounds while continuing to look down.
Because your eyes are looking toward the ground, the recoil impulse will be something you feel rather than see.
Now that you’ve felt the recoil impulse from three shots, keep looking straight down and fire five more shots. If your posture and stance are incorrect, your toes will lift off the ground each time the gun is fired. The reason this happens is you do not have a sufficiently loaded lower extremity. To overcome the problem, adjust your stance to properly load your feet, calves, and thighs.
If your posture is correct, the baseline of your stance and grip will not change when you fire the weapon.
If you're having trouble finding stability within your stance, repeat this isolation drill as necessary to take the focus off your sights and put it on your body.
Conclusion
As you might expect, there is much more to the concepts of shooting stance, posuture, and grip than can be presented in a short post like this. We recommend you visit your nearest shooting range and talk to the instructors there for more information or to sign up for an onsite training course.
Meanwhile, if you'd like to see a demonstration of the information contained in this post, tune into the Pro's Guide to Rifle Fundamentals series and watch Episode 2 hosted by instructor Rick Crawley.