A carbine is a sophisticated weapon system that one cannot casually pick up and begin using; there are certain procedures involved in getting a carbine ready for operation. This post details the various considerations of carbine setup.
In this blog post:
Carbine Setup
In order to become proficient with a carbine, you need to practice with it at the rifle shooting range. However, before you can practice with it, you need to set it up. And it needs to be set up so that it conforms to your body.
In conforming the rifle to your body, you must be careful to avoid fighting human behavior or natural human response. Thus, the place to begin setting up your carbine is where it connects it to your body.
Length of Pull
One place where the carbine connects to your body is the crook of your arm. The specific part of the rifle that connects to your body there is the stock.
On a carbine rifle, the stock usually is adjustable (the adjustable section, called the pull, adjusts by expanding or collapsing it). So the question is: how long should the stock be for optimal configuring to the body? The way to find out is by extending the pull all the way out and placing the butt in the crook of your arm (the arm on the dominant side of your body). Then reach out for the grip just behind and below the trigger.
The length of the pull is correct if your trigger finger can manipulate the safety selector switch and achieve joint isolation good enough to operate the trigger.
If the fully extended length is too long, collapse the pull a notch and check again. Repeat until the length is correct for your body.
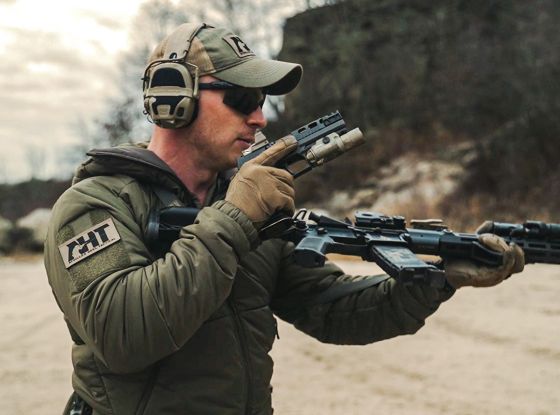
Proper Sling Adjustment
Rifle shooting is more accurate if you attach a sling to the weapon. But where do you attach it?
Some experts prefer to connect the sling’s rear attach-point to the carbine’s lower receiver. However, there’s no rule that says you can’t connect it to the buttstock or to the back of the receiver or to the left of the billet receiver.
As for the sling’s forward attachment point, the pros recommend you place it as far forward as possible where you naturally grip and control the gun with your non-dominant side hand.
Adjust the sling tension initially for the administrative position (in that position the sling will be completely collapsed). Then adjust the tension for the deployed position (completely opened). To confirm that the sling fits your body, put it in the deployed position, place the strap over your body, and then adjust it into the administrative position (it should be tight against your body).
Sling tension is proper if, when you slide the adjuster back to the fully deployed position, you can grab the rifle without fumbling for it, easily raise it, and readily present the weapon for use.
If it’s properly tensioned, a two-point sling when you raise a carbine rifle will naturally run over and across the radial bone of your wrist on the non-dominant hand. This is very beneficial because it makes your weapon more stable in your hand and helps tame the recoil impulse. However, for this to work properly, the forward attachment must be just in front of your hand.
Optics Setup
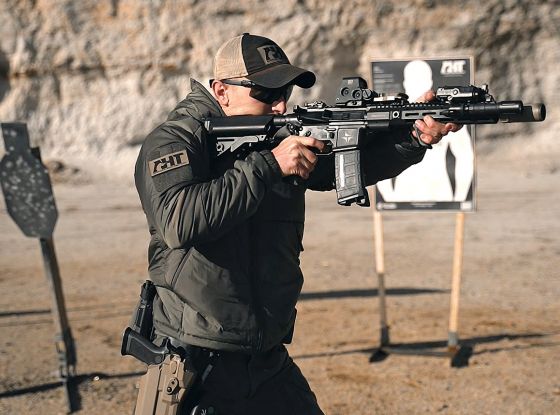
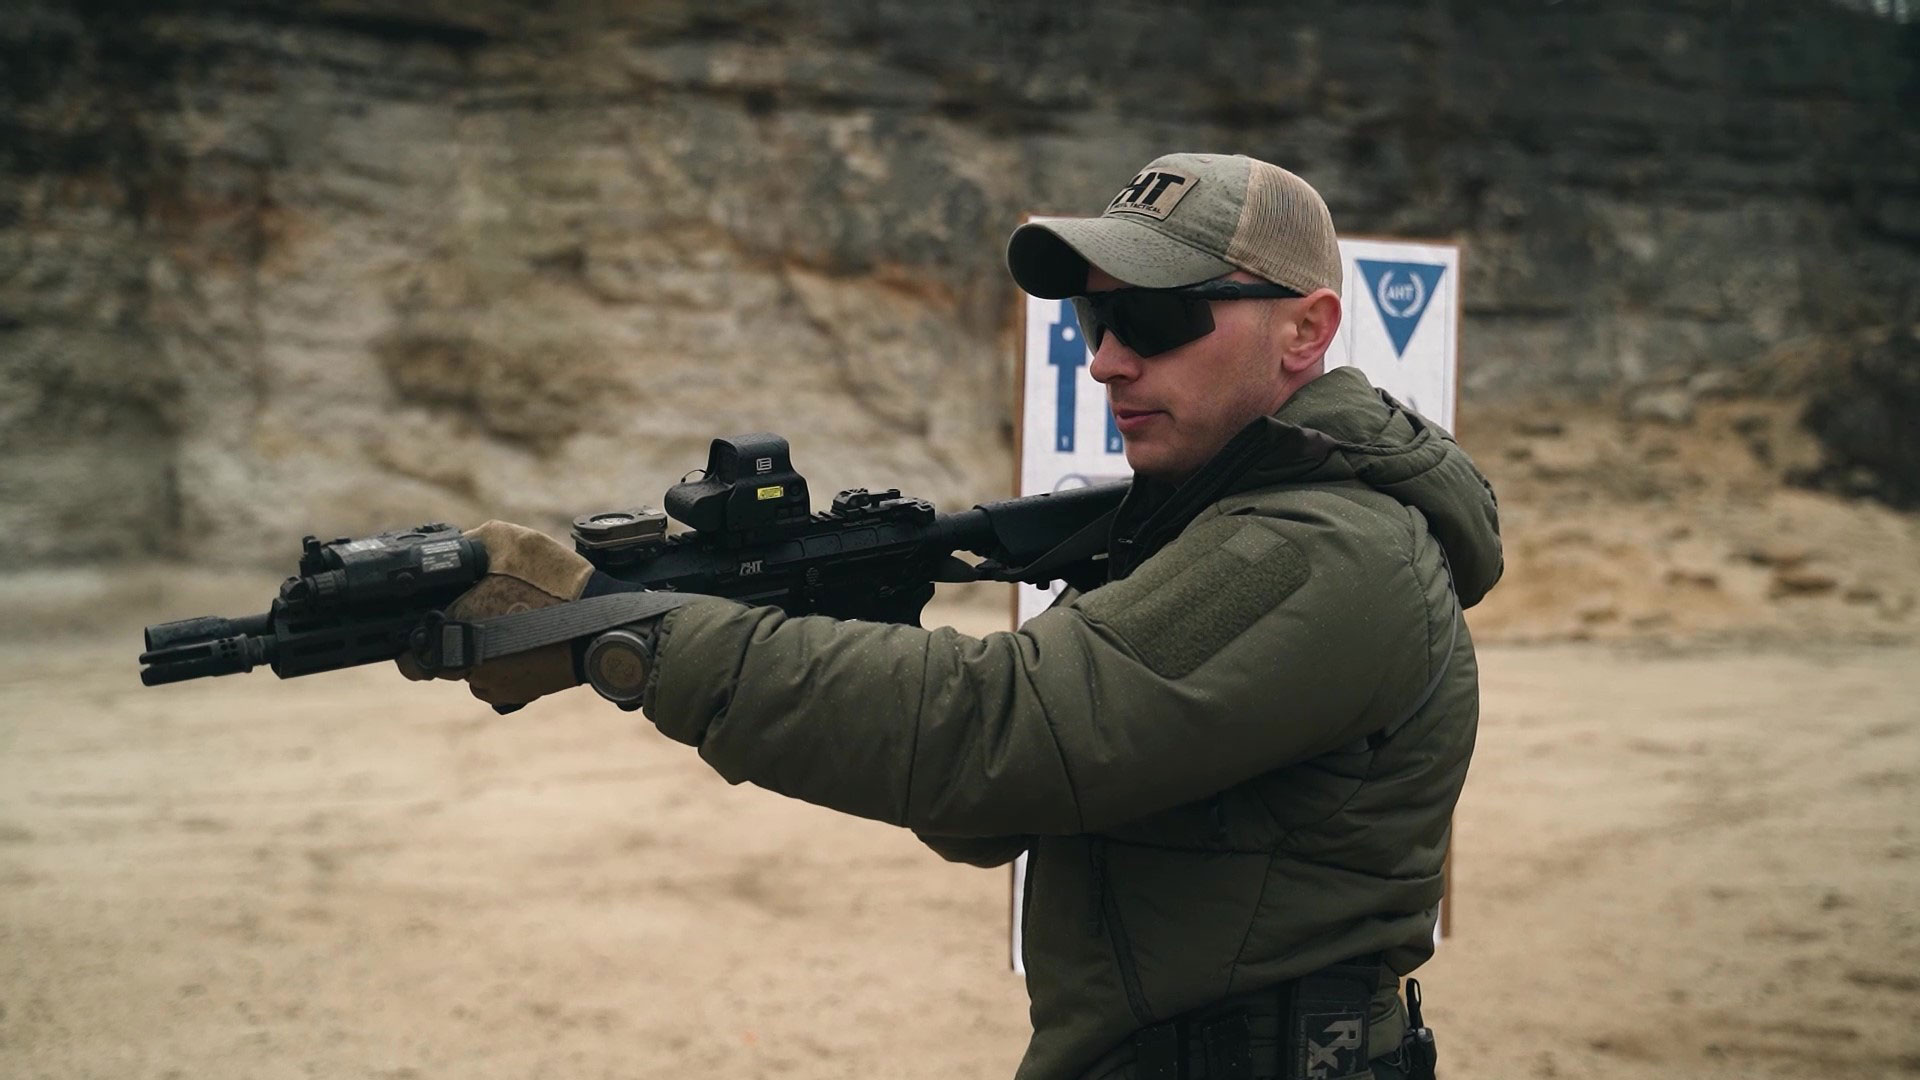
The next order of business is optics set up. Begin by making sure you’ve got proper eye relief. Do this by getting down behind the gun (meaning, rest your cheek atop the stock and look through the sights). Watch out that you’re not putting stress on your neck, tensing up, or otherwise putting your head and upper shoulders in an unsustainable position.
You can choose from among a variety of optics. These include low-powered variable optics, red dots, prisms, and holographic sights.
Whichever you choose, it’s imperative that you be thoroughly familiar with it; you need to know its increment unit of measure of adjustment, you need to know how to sight it in, and you need to know how to properly mount it.
Front Grip Setup and Controls Placement
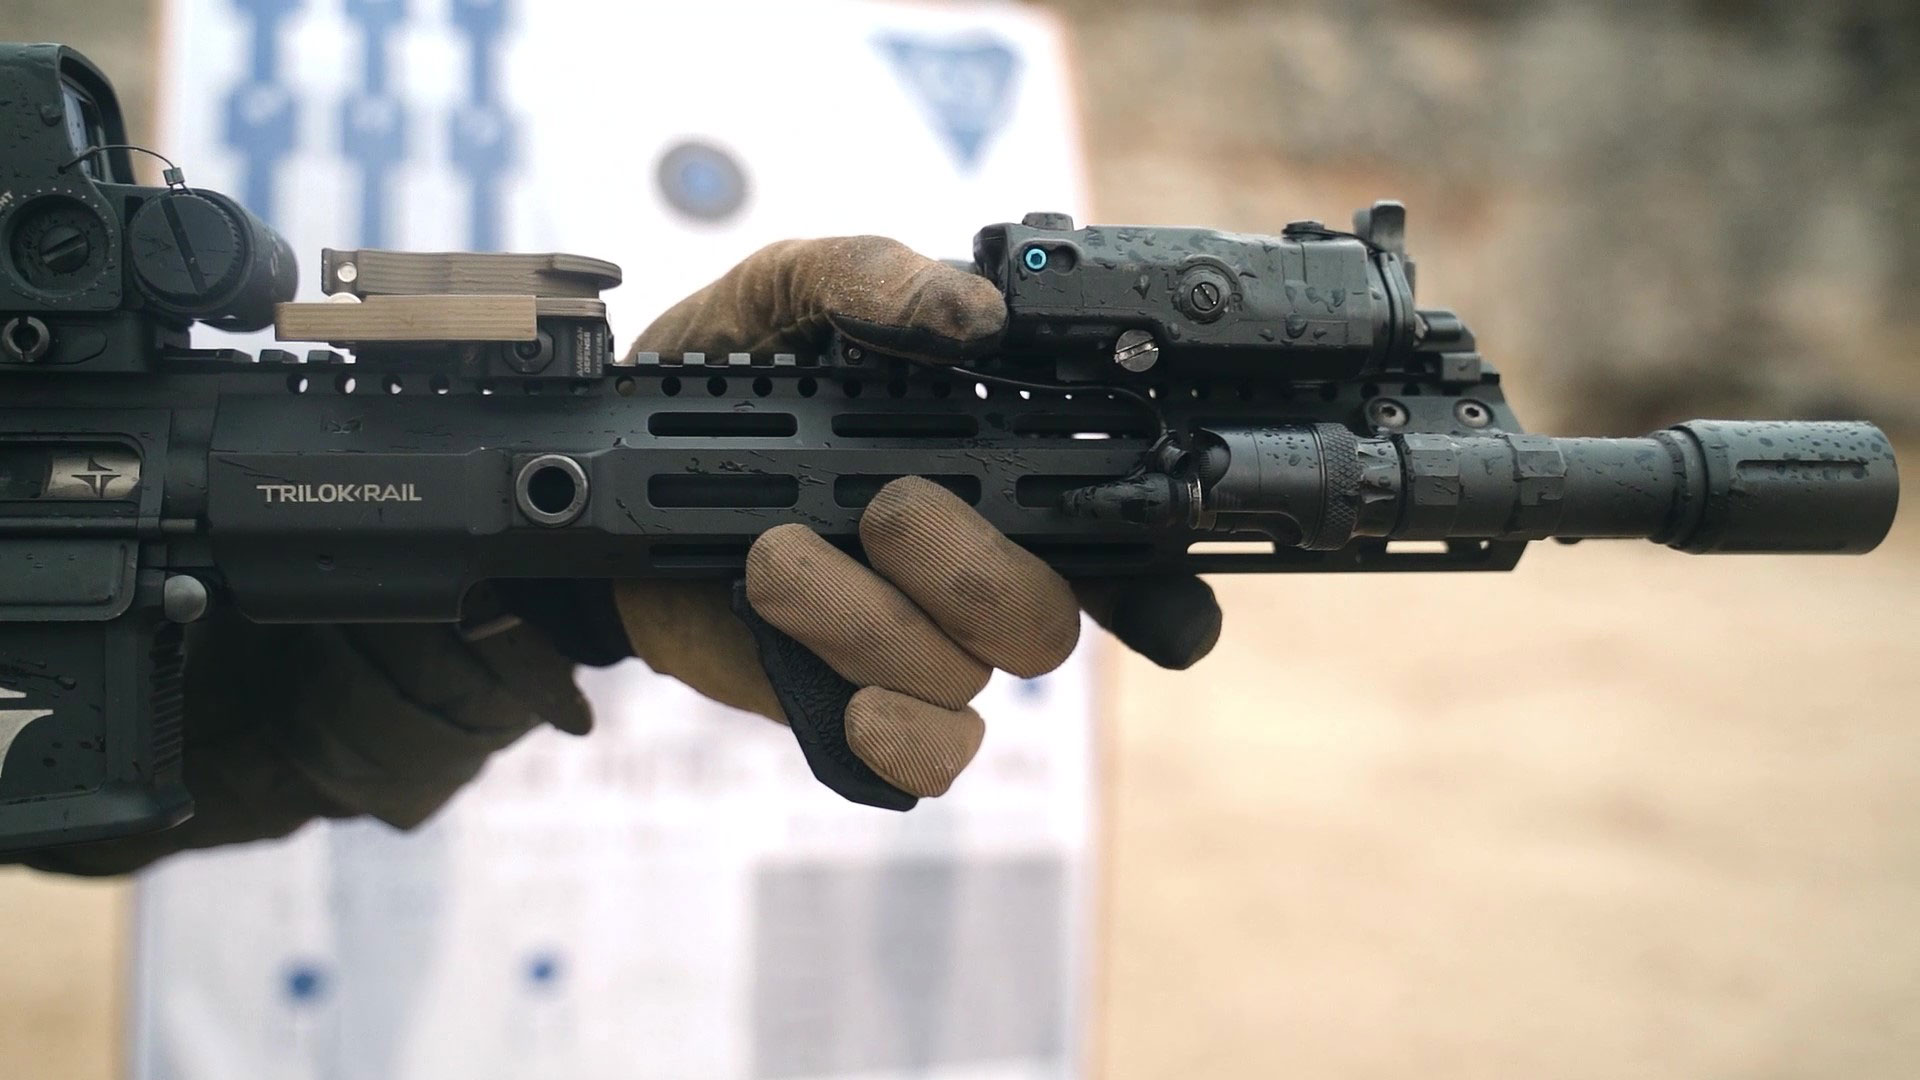
Let’s say you’re using forward end lights, lasers, and end grips. Where do you place them? Consider first your natural human response, meaning you want to build this rifle to your particularities.
Get in your sling and deploy your rifle straight up. Don’t look at the rifle, look down at the ground and close your eyes if that will help. Now, with the hand of your non-dominant side, reach up and grasp the barrel.
Wherever that hand naturally lands is where you’ll place your controls and grip.
Lights & Lasers
Place your light as far forward as possible. You’ll find that positioning to be advantageous if you’re running a suppressor (reason: it’ll eliminate a significant amount of the shadow that comes off the suppressor when the light is engaged).
Run your laser at the 12 o'clock position. If you have a backup iron sight, it’ll work either in front of or behind the laser.
Barrel Length
You might wonder what length of rail you should run. The choice is entirely based on personal preference. Just make sure you have enough barrel real-estate to accommodate your lights, lasers, controls, and any other attachments.
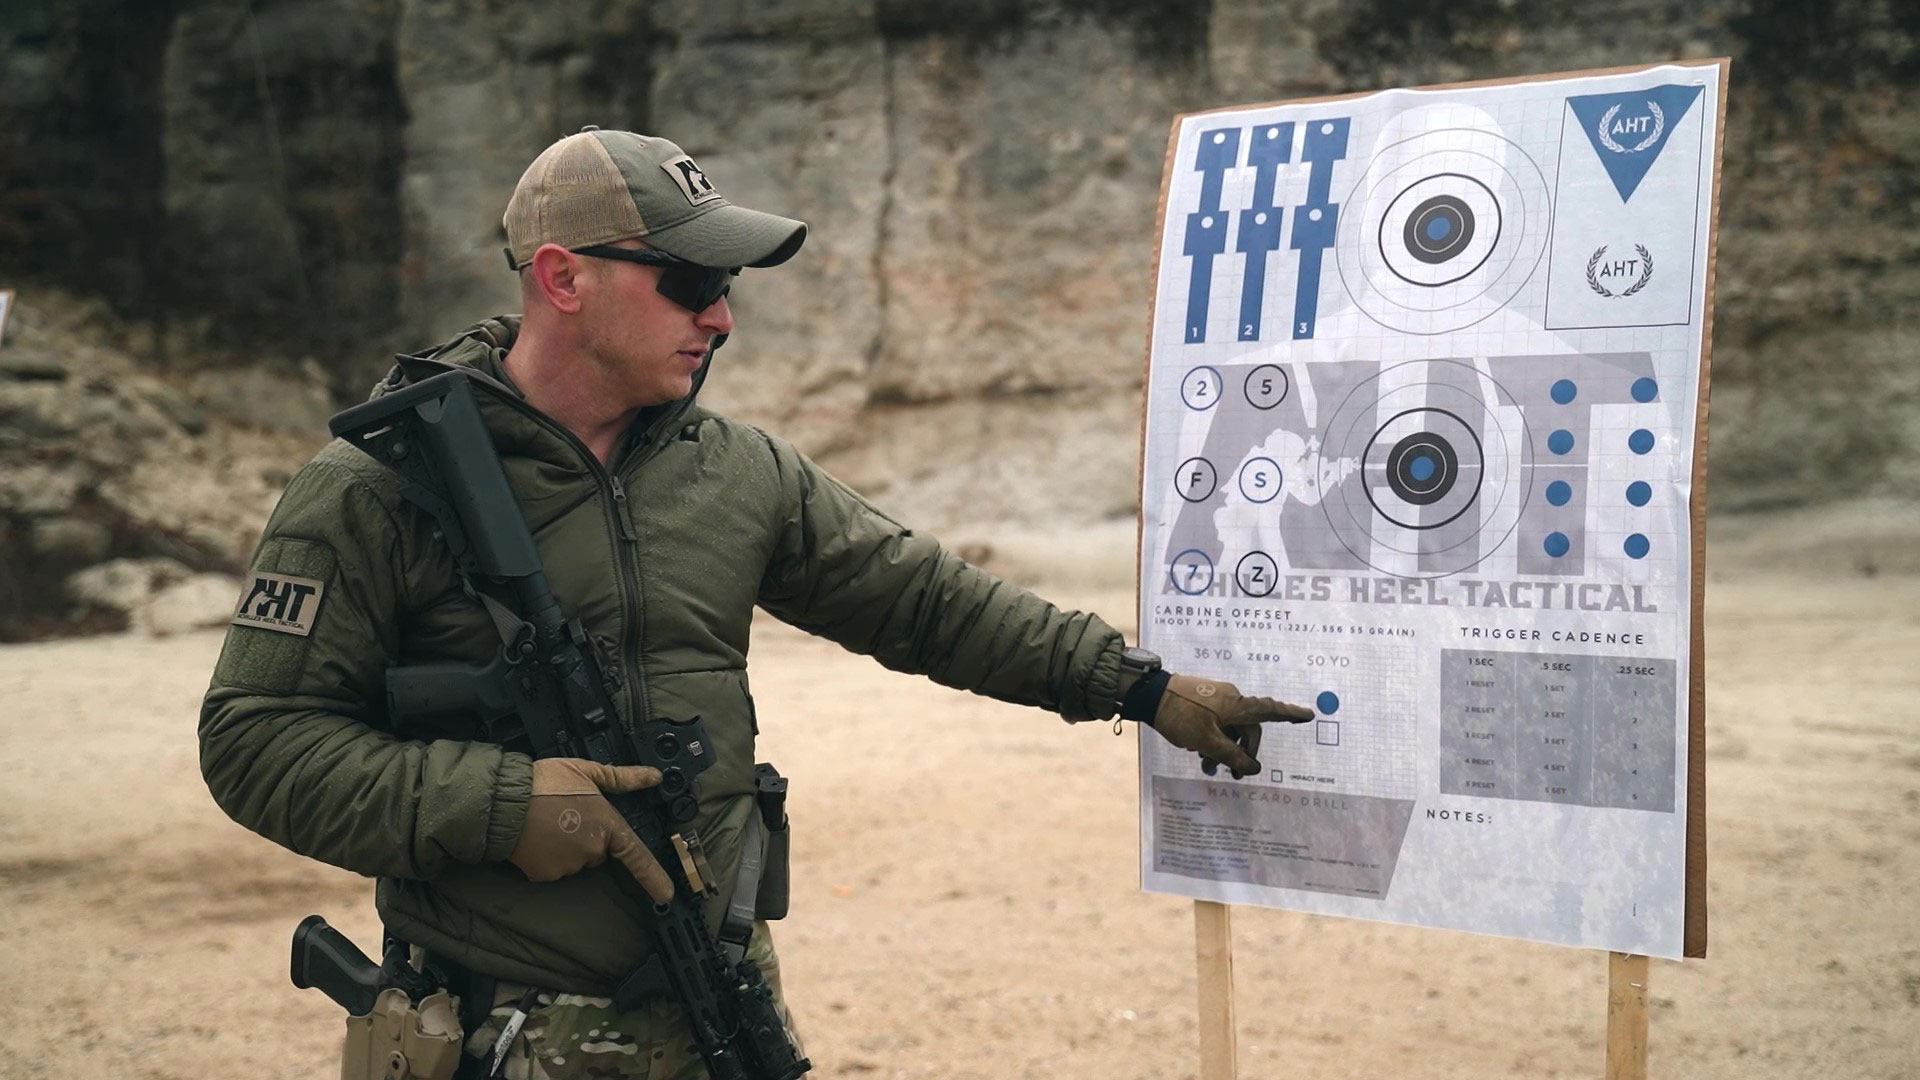
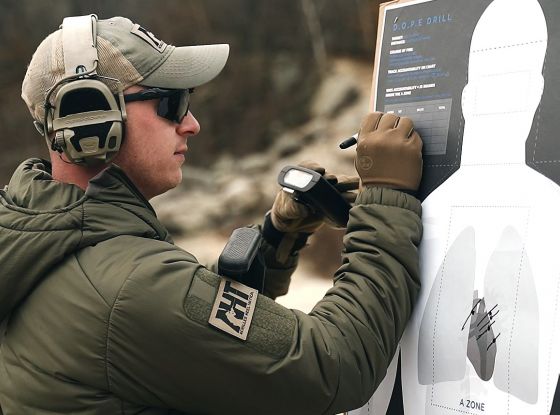
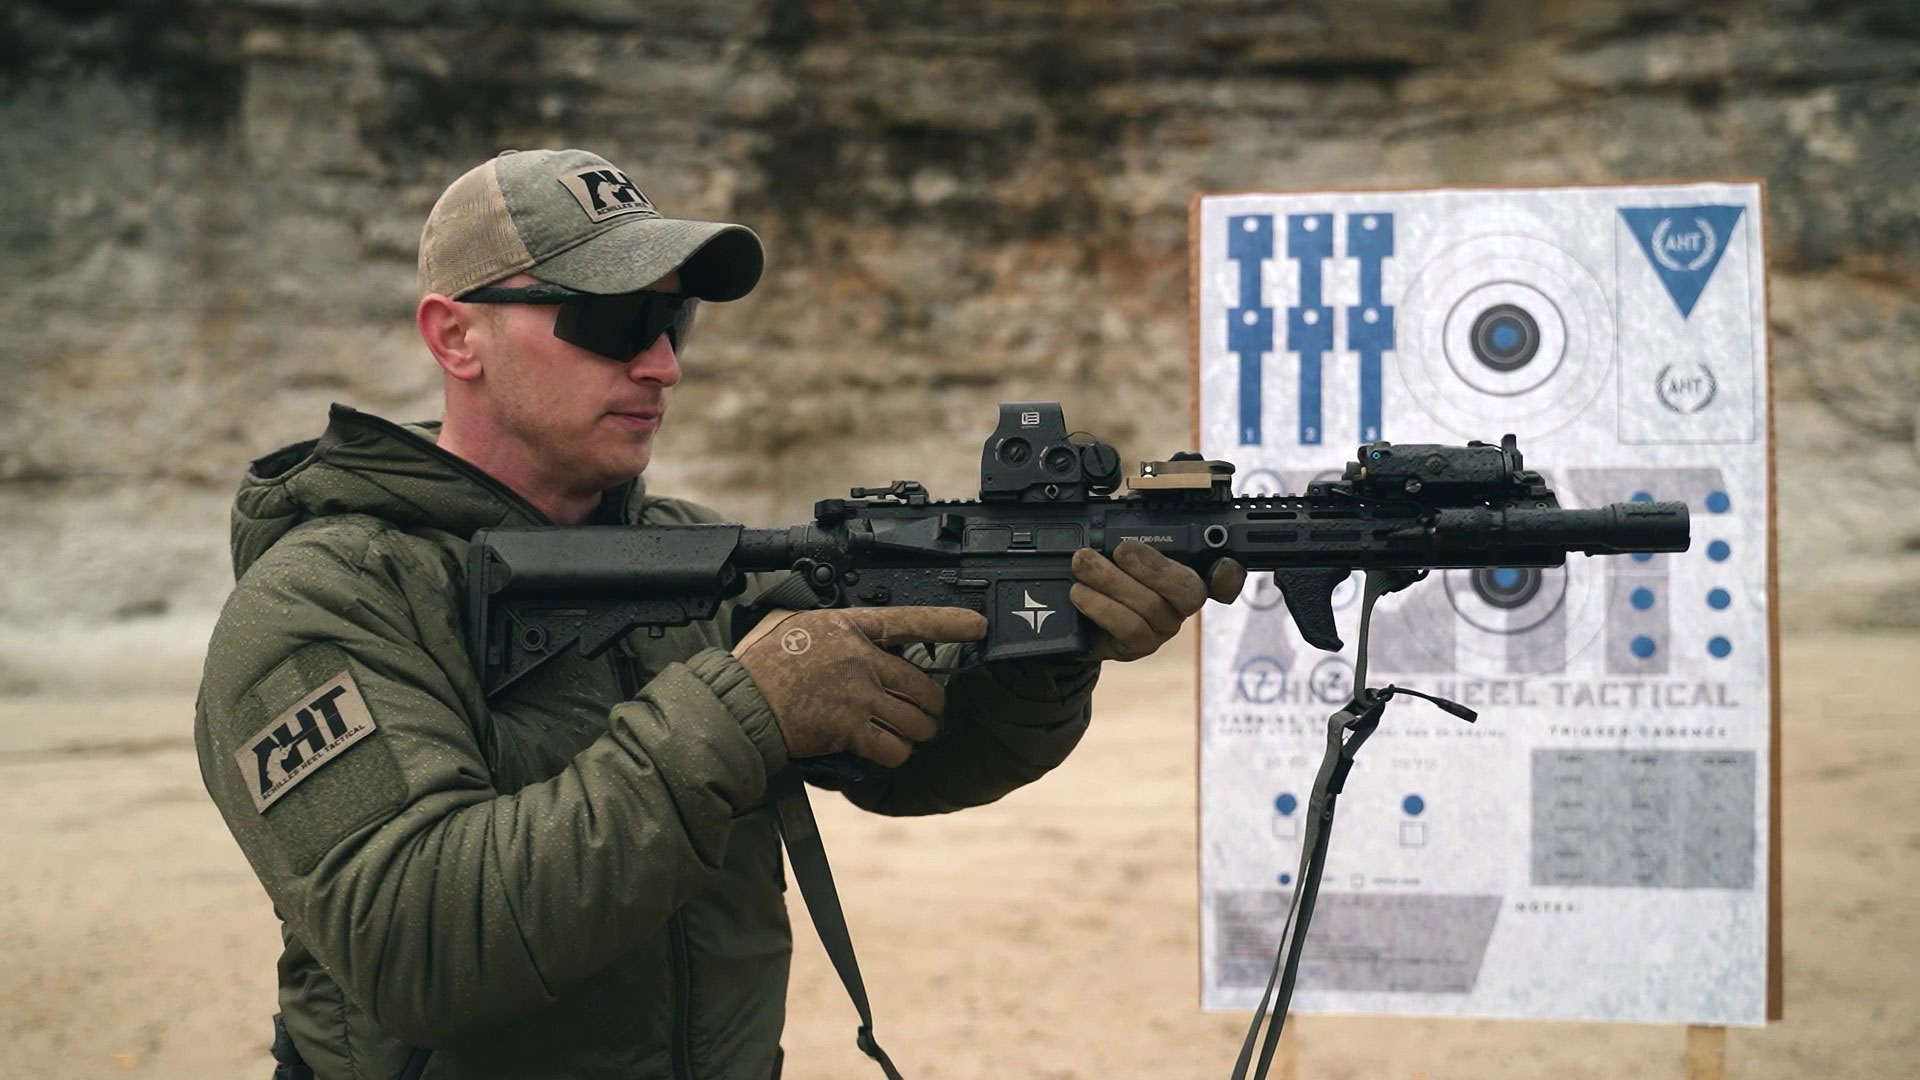
Effective Zeroing
Now you’re ready to work on zeroing targets. For this you’ll need a diagnostic target.
Let’s say you want to have three effective zeros shot at 25 yards. Your point of aim on the diagnostic target will be a blue 1-inch dot sitting atop or slightly above a blank 1-inch square. You’re zeroed at 25 yards when your shot group lands within that blue one-inch dot. You can also do others, such as a 36-yard zero at 25 yards or a 50-yard zero at 25 yards.
Whatever you zero to, you must mentally lock in the holds that were required to achieve it.
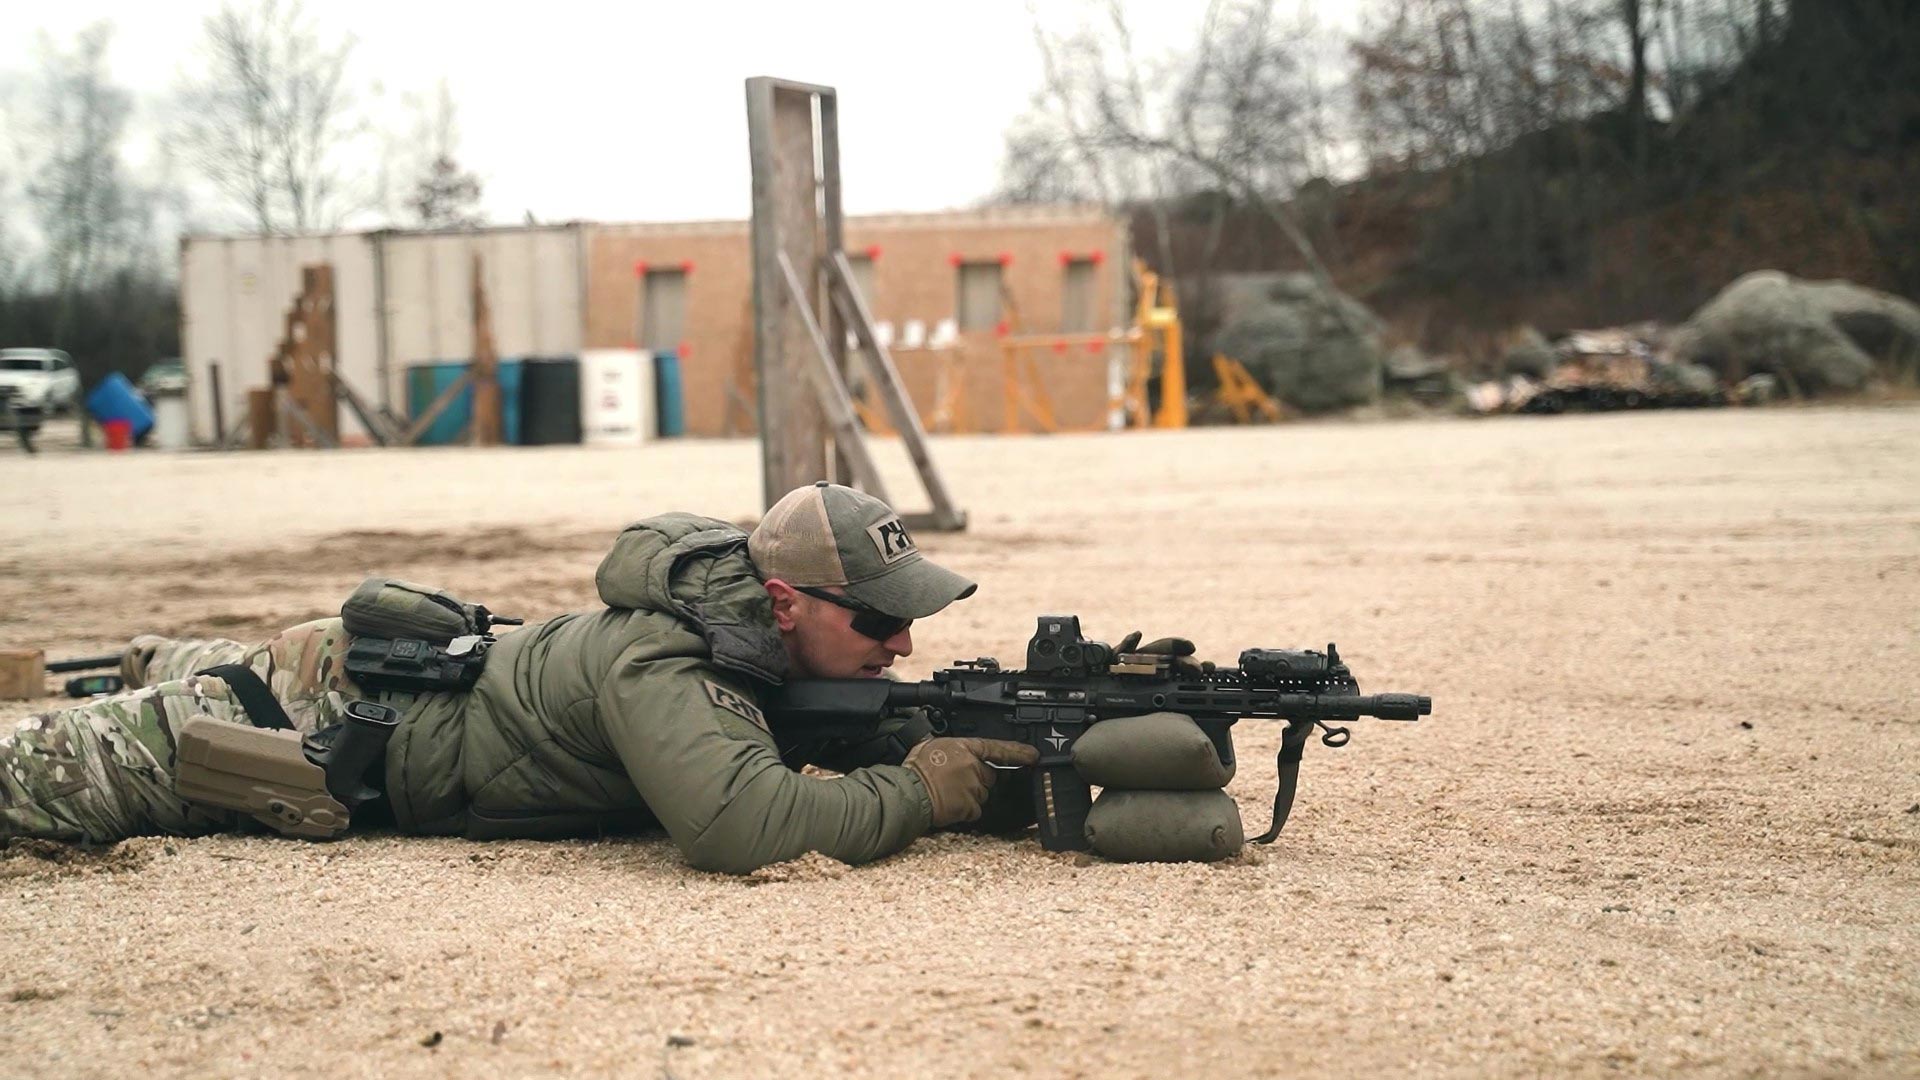
Prone Position Shooting
You’ll achieve best results by establishing your zero in the most stable, least mobile position. That’s the prone position. When shooting in the prone position, look for as much artificial support as possible. A shooting bag works well for this purpose.
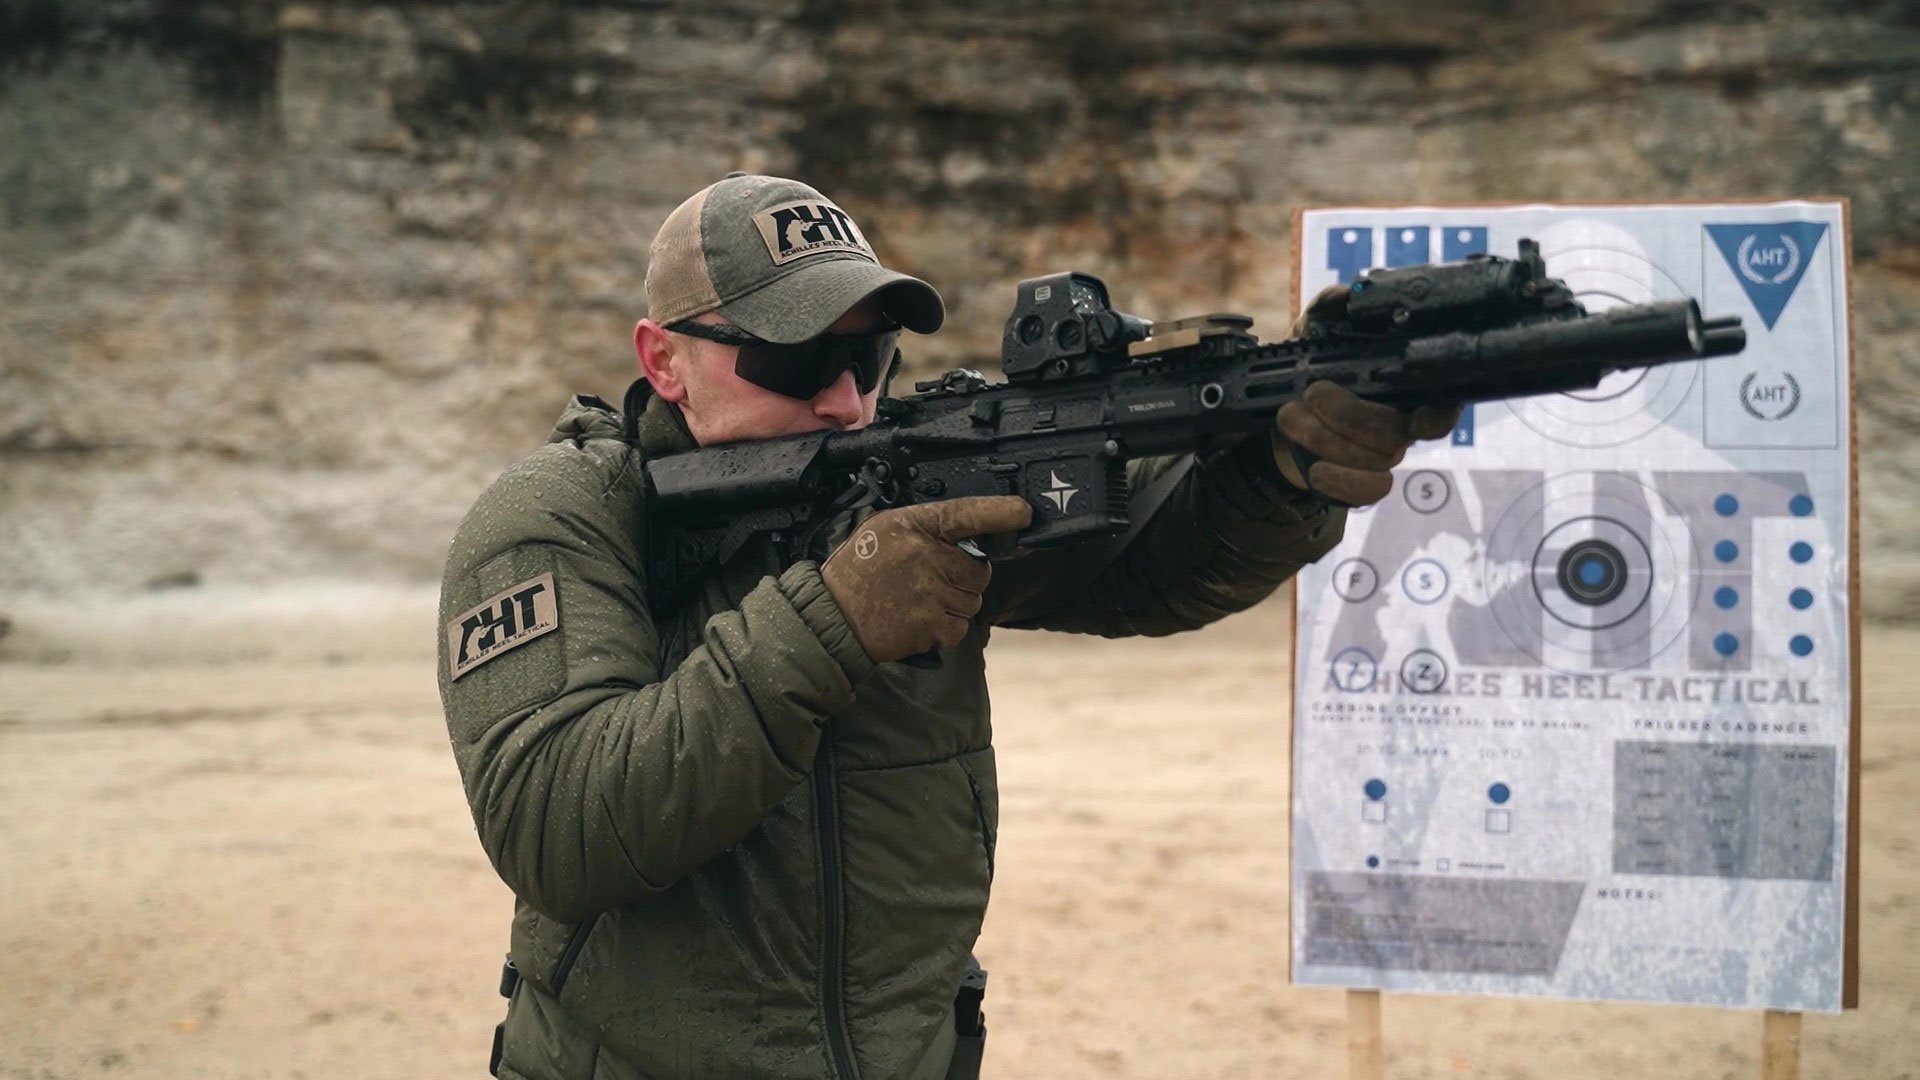
Step1: Configure the carbine.
Assume you’re going to zero at 25 yards from the prone position. Make sure your weapon is loaded BEFORE going prone. Also, before you go prone, drive your gun straight out and adjust the reticle of the optic. You’ll want to make sure you don’t have a large red dot from which to zero; instead, you’re striving for as much of a refined reticle prior to going prone and zeroing.
After establishing the correct brightness of the optic, take your magazine and observe which side the round is on. Assume it’s on the left side. As you insert the magazine into the gun, push and pull it. If it’s not seated it’ll come right back out (this is a much more reliable testing method than tapping on it). Perform this check to give yourself assurance that the magazine is in fact seated so that it’s not something you need to worry about when you’re lying on the ground and getting ready to peel off your rounds.
Next, press check the bolt carrier group. Do this by grasping the charging handle, pull it straight back to the rear, and then let go of it. If the bolt carrier group does not seat, use your forward assist to send it forward.
Step 2: Get into position.
When everything is properly seated, proceed with zeroing. Come out of the sling and align your body and spine with the target. Grab your shooting bag. Bring it with you as you drop to your knees.
Set the shooting bag at arms’ length in front of you. Rest your rifle atop the bag, with the weapon aligned to the vertical axis of your body. Make sure the rifle fully engages the shooting bag at as many points of contact as possible.
From the kneeling position, now push your legs straight back and settle in behind the gun (this is where the building of good body-spine alignment really matters). As you settle in behind the gun and are now lying flat, sink your diaphragm into the ground (some pros also like to elevate their rump while pushing down their toes).
Step 3: Find your natural point of aim.
You’re ready now to begin finding your natural point of aim. Your natural point of aim is extremely important while zeroing. Your natural point of aim is where the dot or the reticle settles on the target naturally (don’t use your muscles to force it).
Step 4: Establish natural respiratory pause.
With your natural point of aim squared away, it’s time to identify your natural respiratory pause. Your natural respiratory pause is the brief second between exhalation and inhalation. Knowing where this occurs is crucial because your natural respiratory pause is the best place to start breaking the shot.
Step 5: Apply isolated pressure to break the shot.
Resist “telling” the gun to go off at the natural respiratory pause. Instead, break the shot by “asking” the gun to go off. You do this by applying and implementing isolated pressure straight back into the rear without disrupting the sights.
Step 6: Check your target.
Fire three to five rounds, then put the weapon back on safe. Take your hand on the non-dominant side (the one that was not implementing force) off the gun. Press up and come to a kneeling, controlled underarm carry position, and work yourself back up to the standing position. Walk over to the target and check the grouping.
Now make any adjustments required by utilizing the quarter inch unit of measure that's provided on the diagnostic target. Reshoot, recheck the grouping, make more adjustments, and repeat until you’ve fully zeroed.
Conclusion
When you pick up a carbine, that weapon needs to become a part of you if you hope to be able to wield it effectively. The steps outlined in this post will help get you going in the right direction. There’s more you need to know, and we’ll share it with you over the coming weeks in the Pro's Guide to Rifle Fundamentals series. Meanwhile, be sure to watch Episode 1 of the new UF PRO video series about rifle fundamentals if you’d like to see demonstrations of the information presented in this post.