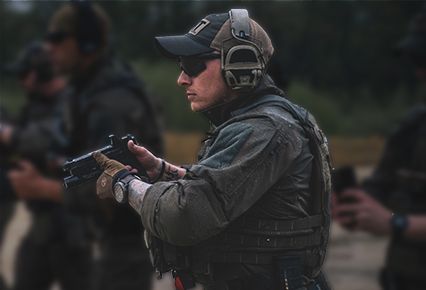
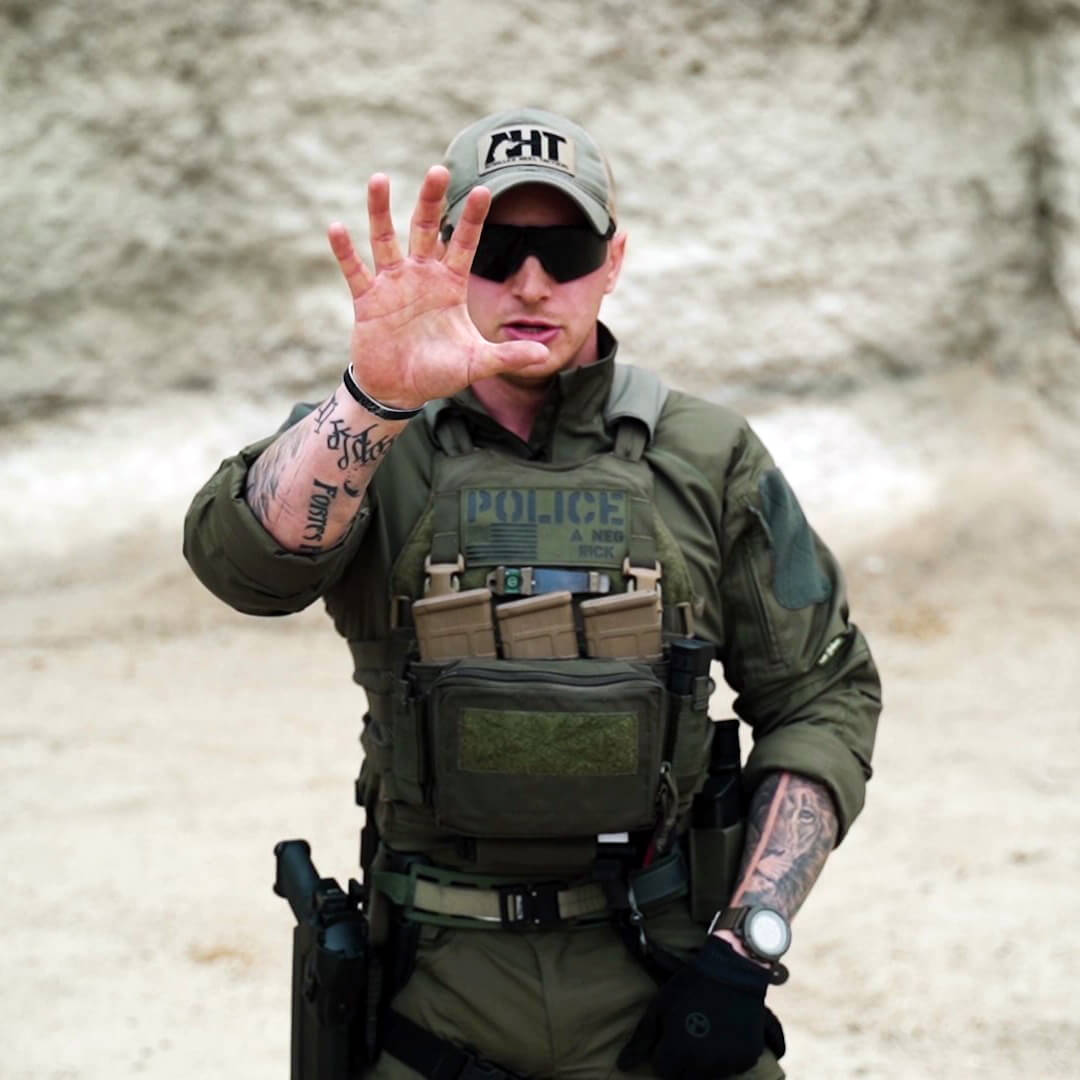
When it comes to pistol shooting, consistency breeds precision. In this blog post, former U.S. Marine Rick Crawley (and now CEO and chief instructor at Achilles Heel Tactical in North Canton, Ohio, U.S.A.) discusses seven fundamentals of pistol shooting and offers advice to help you become a more proficient shot. Topics covered include stance, grip, draw and outside presentation, sighting and alignment, trigger control and follow-through, emergency reloading, tactical reloading, and more.
Jump to a section:
Introduction
When it comes to pistol shooting, consistency breeds precision. But to be consistent you have to get a grip on the fundamental skills of using this particular type of firearm.
In this blog post, I’d like to share with you some actionable insights concerning seven pistol shooting fundamentals that can help you become a more proficient shooter.
Whether you’re new to pistols or are a seasoned pro interested in sharpening your skills, I think you’ll find this intel of value.
Stance
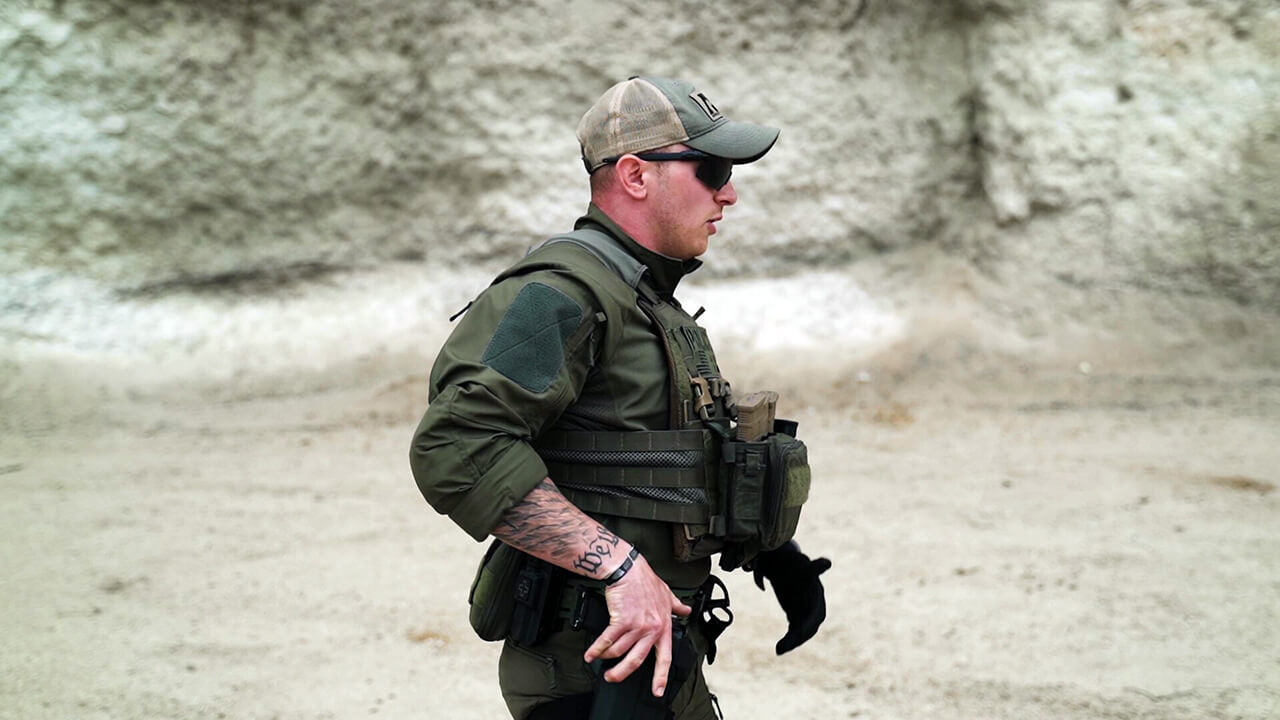
We’ll start with the element of stance. Stance needs to be your natural athletic platform. Here is a breakdown of the proper stance:
- Legs should be comfortably shoulder-width apart, with one foot offset from the other.
- Load the front non-dominant side leg. Load the quad and bring the kneecap forward. You need to be able to absorb and mitigate the recoil.
I cover posture separately from stance, however. Posture is what’s seen from the hips up. As I draw the gun and present it to target, I’m aggressive with posture toward the target or objective area.
Grip
I’m sure you’re familiar with the 60/40 rule (which concerns the amount of pressure you apply to the gun). I believe this rule is of no practical use. I can prove it to you if you think otherwise. Just ask your friend to shake your hand at 40 percent pressure and then your other hand at 60 percent pressure. He won’t be able to because we human beings cannot accurately quantify pressure percentages with just our bodily senses.
In the grip section, we want to focus on ergonomics. Or put more simply: how to take the most “real-estate” of the gun by covering a large amount of its area.
As I grasp the pistol, I want a high tangible grip with the dominant hand and establish immediate strength. Immediate strength is not muscling the gun (squeezing too tight), but rather relying on leverage.
Where, then, does the non-dominant hand lie on the gun? Answer: on the gun’s void surface area. It’s there that you’ll want to apply leverage and then friction with your non-dominant hand.
Leverage, by the way, is built with the fingertips plus good pinky pressure, and, lastly, surface-area friction.
Little-finger pressure exercise
The foundation of good grip-pressure is the little finger of your dominant hand (your pinky, in other words). Starting immediately as you grab hold of the gun, your pinky meets the gun first and wraps it. Now you have a position of dominance on the gun.
Here is a simple training exercise you can do with a buddy:
- Shake your friend's hand without the pressure from your little finger.
- Ask your buddy to try and escape from your grip.
Your buddy should have no issues escaping the grip, even if you squeeze hard.
Now repeat the same exercise but focus on maintaining pinky pressure while gripping the hand.
- Shake your friend's hand and focus on establishing the grip with pressure from your little finger.
- Ask your buddy to try and escape from your grip.
Different right? Your buddy should have a much harder time escaping your grip. If you are extremely proficient at this he won’t be able to escape at all.
Draw and outside presentation
Setups need to be consistent. We cannot fight human behavior, so we have to go toward our natural responses. Luckily, we are humans—and, luckily too, we wear pants. Pants come with two features that are easy to notice with your hands: seams, and front pockets.
Somewhere between the seam and the front pocket, you need to establish grip and find your holster. Same goes for the holster on your non-dominant-side grip—you need to find aid somewhere in between the pocket and the seam.
Your belt is the first line of gear. It’s also the first line of defense, first line of care, and first line of aid. If your gun is down and you need to feed it, you should not fight natural human response. Instead, you must be able to get to these features without thinking about it.

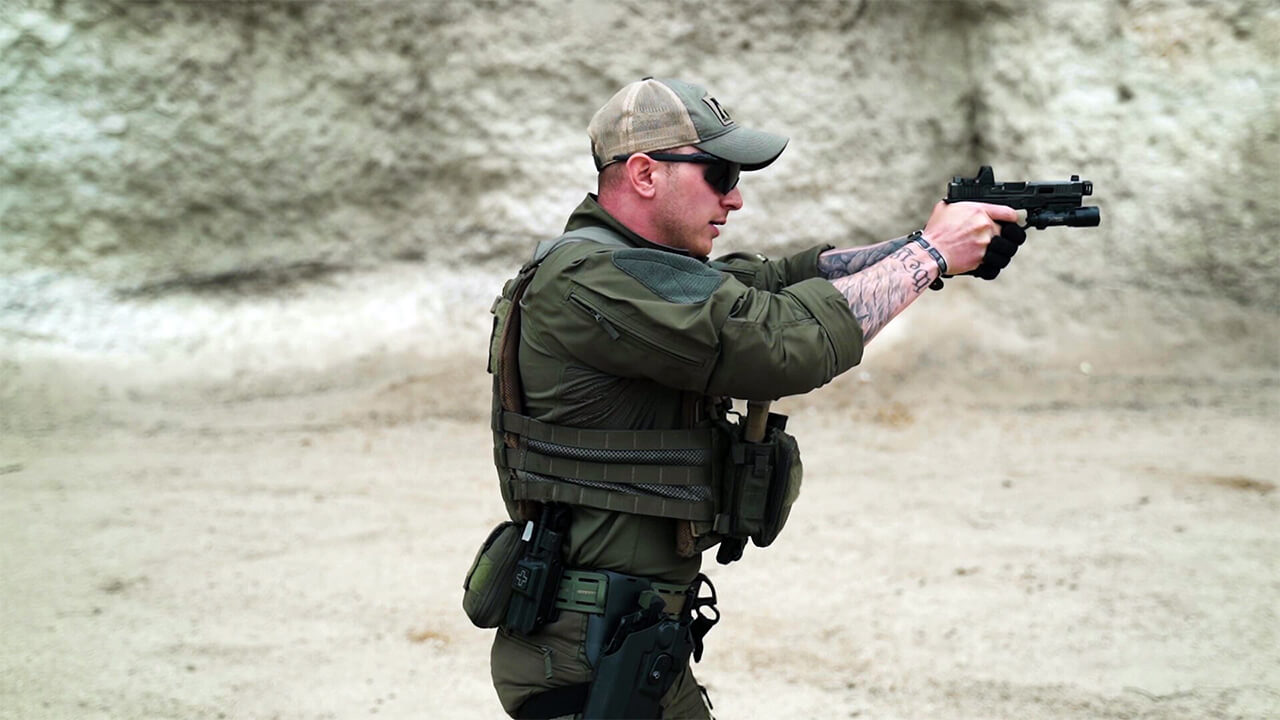
To establish that high, firm grip, trace up to the natural reference point (your pocket) and establish the dominant side grip. When you establish it, get high up on the tank and wrap it with your pinky.
Drive the gun straight up, drive the elbow straight down, and then do the “hands marriage.”
Where do our hands get married? A great reference point is to clap. Everyone has a natural reference point where they clap, even if they are wearing body armor.
Make sure you are being consistent across all platforms. Remember: consistency breeds precision.
Sight picture and alignment
Imagine looking at somebody. Because you’re seeing this person’s entire body, what you are looking at is a gross sight-picture. When this person starts talking, you’ll focus on the lips—a refinement of your sight picture.

Refining the sight picture lets you aim small to miss small. Sure, that’s a cliche but nonetheless correct from a technical perspective. It means you’ve turned gross sight-picture into a refined sight-picture.
Let’s briefly discuss the two types of sights. First is the single focal-point sight, also known as a red-dot sight. Second is the two-focal sight—iron sights are an example of these.
I am a huge fan of the red-dot sight because it keeps the natural process flowing. When running a dot, I stay target-focused, refine my sight picture as I draw, and create sight alignment by driving my gun to where this refined sight-picture is.
A lot of people when aiming have difficulty finding a dot. Quit looking for it. Rely on your mechanics and drive the sight straight up to your eye. With good pinky pressure, the dot comes in and refines your sight picture.
If you don’t have red-dot optics, then you’ll be relying on the two focal points of iron sights (target focus and aiming sight when you look through). With iron sights, we compromise speed and accuracy at longer distances as the eye can only focus on one thing at a time.
The following checkboxes should be ticked if we connect stance, grip, draw, outside presentation, sight picture, and alignment:
- Identify a target and orient yourself toward it.
- Find the natural athletic stance (shoulder-width apart, one-leg/one-foot forward).
- Grip the gun with your dominant hand and focus on applying/maintaining little-finger pressure.
- Cover the void surface area of the gun with your non-dominant hand.
- Draw the gun straight up and present it straight out.
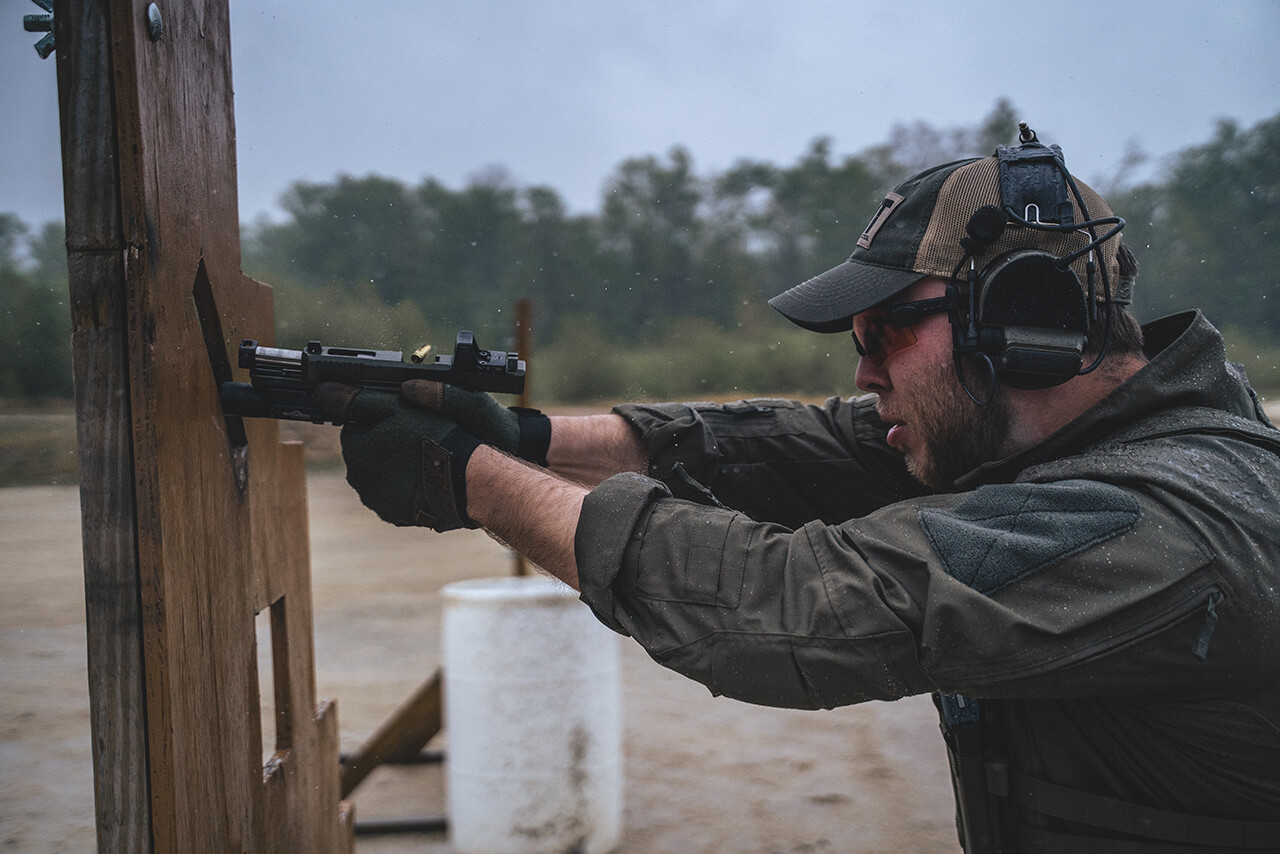
Trigger control and follow-through
Trigger control needs to happen sooner rather than faster. You need to be breaking the trigger when you come up, draw, and present. Safety rules apply, so prep the trigger as soon as the gun is oriented in a downrange position.
You should be prepping the trigger as you plan how you’ll engage the target. Upon presentation, prep the trigger and drive the gun straight to your eyes. As you execute the shot, sight alignment and sight picture happen simultaneously.
By this point, as we prepare to focus on follow-through steps, you should have mastered grip, hands marriage, stance, and posture.
The follow-through (or, recovery) steps begin after you prep the trigger and execute that round. As soon as that shot breaks, you should:
- Reset the sights down back on target.
- Drive the sights back to the refined sight-picture.
- Stay target focused within an RDS sight.
- Break that shot again.
In order to do all this in the most efficient way possible, we need to be in flight resetting this trigger. Every time we touch this weapon system, we enact human error upon it. So to reduce that human error, we want to interrupt the trigger press as much as possible.
Placement on the trigger has to be natural, breaking from one joint, not two. When you pull the trigger, try to isolate the joint.
The follow-through step is the most important part. I want to cycle my finger back to the sear reset, not to the manufacturer’s mechanical reset. The mechanical reset of the gun is the “click-bang.” As this gun cycles back and puts in a new round, you pin that trigger to the rear, slowly releasing until that audible click is heard and then felt.
As you pause, prep and press the trigger in the most interrupted manner possible without disrupting the sights. The shot breaks on its own.
When you're shooting multiple rounds, make sure you’re as efficient as possible in those follow-through steps.
Reloading and identifying common malfunctions
We have two types of pistol reloads—an emergency reload and a reload of opportunity (also known as tactical or tac reload).
Emergency reload
With an emergency reload, the last thing you want to do is lose time, so follow these steps:
- Your non-dominant hand breaks from the gun.
- The dominant hand drives the gun into your workspace, as it depresses the magazine.
- Once the mag has cleared the weapon, drive your thumb up to the slide release.
- Index the new magazine into the gun.
- Break the shot.
Tac reload
With a tac reload, follow these steps:
- Drive the gun back into your workspace.
- Lead your hand to the full magazine farthest away from the speed-reload source .
- Bring the magazine as close to the gun as possible.
- Rotate your index finger off to the side and crab-claw in the next full magazine.
Typical malfunctions
The most common malfunctions that appear with pistols are:
- Failure to feed.
- Failure to fire.
- Failure to eject.
Failure to feed will 90 percent of the time be the operator's error. For example, if you failed to chamber and then holster this weapon system, when next you come up and out and attempt to fire, the round wll fail to feed into the chamber.
From there, you’re going to tap the rack over the top of the slide. Push forward with the dominant-side hand and pull backward with the non-dominant-side hand.
So what happens when you set up a double feed or a failure to eject? Immediately grab rip stripping and reduce the friction.
For a failure to extract on that double feed. Lock the slide to the rear. Then place a piece of brass into the chamber and insert that magazine in the gun. That's how it happens organically in nature. Lock the slide to the rear and drop that mag. Either angle the gun back if that doesn't work just on the flight home free insert that gets that casing out of their chambers to go and get it getting it back up and hot.
Outro
Here’s where we need to mention human-error elements. Errors can happen at any stage (gripping, trigger control, sight alignment, and sight picture). With so many moving parts, it also happens that inconsistency propagates to subsequent elements like a cascade.
Implementing human error into our fundamentals is unavoidable. The answer to that is to stay proactive by mitigating errors and stay as marginal as possible. Good fundamentals lead to consistent shooting with your firearm.
Remember. Consistency breeds precision.