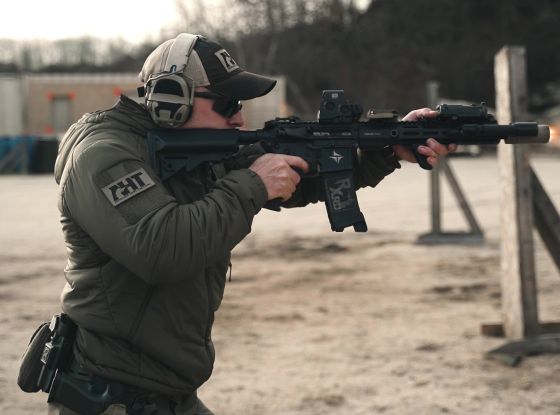
For military professionals, law enforcement officers, and anyone training with tactical equipment, the battle belt is more than a piece of kit. It’s the foundation of the first line of gear, the layer that stays with you when everything else can be set aside. Set it up correctly and it blends seamlessly into your movements. Set it up poorly and it becomes a constant source of frustration.
In this blog post:
- What Is a Battle Belt?
- The Three Lines of Gear Placement: Where the Battle Belt Fits
- How Many Items vs Bulk / Weight — Trade-Offs
- How to Decide What Not to Put in First Line
- Best Practices for First Line Gear Setup
- Key Considerations Before Building Your Battle Belt Setup
- Core Components of a Battle Belt Setup
- Tips and Best Practices
- Common Mistakes to Avoid
- Conclusion
This guide walks through the essentials of building a battle belt setup that works: from understanding its role in the bigger picture of your loadout, to deciding what belongs on the belt, and how to avoid the mistakes that waste time and cost efficiency.
What Is a Battle Belt?
A battle belt is a modular, load-bearing platform designed to carry essential gear at the waistline. It balances accessibility with weight distribution, keeping tools close at hand while freeing up your plate carrier, chest rig, or pack.
Unlike a standard belt, which simply keeps pants in place, a battle belt is built for operational use. Most designs use a two-piece system: an inner belt threaded through your loops and an outer belt that attaches with hook-and-loop.
A battle belt setup is most valuable when:
- You need a loadout that works independently of a plate carrier.
- Fast access to magazines, tools, or medical gear is critical.
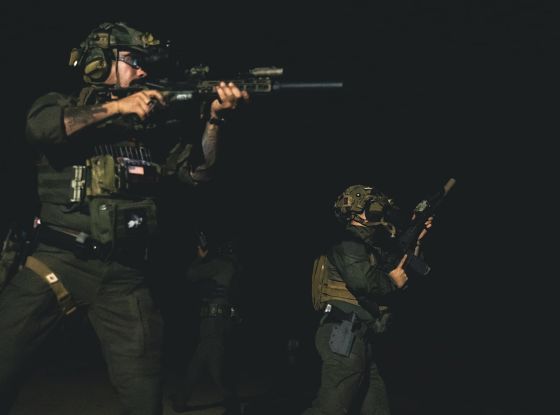
- You’re working in high-mobility environments where comfort and freedom of movement matter.
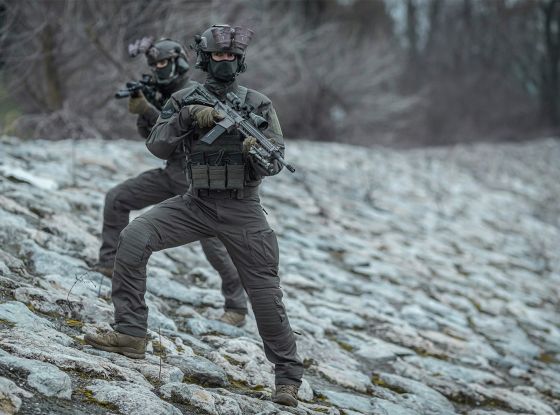
For many military and law enforcement professionals, the belt forms the first line of gear, the equipment that’s always worn, even when everything else is stripped away.
The Three Lines of Gear Placement: Where the Battle Belt Fits
The “three lines of gear” model is a helpful way to prioritize equipment. It divides what you carry into layers, from what never leaves your body to what you only use when the mission allows.
- First Line: Survival and fighting essentials. This is the foundation, and the battle belt is its core. If all you had left was your battle belt setup and what’s in your pockets, you should still be able to fight, navigate, and stay alive.
- Second Line: Mission gear. This includes chest rigs, plate carriers, or harnesses. Extra magazines, comms, hydration, and extended medical gear usually sit here—items that expand your capability but aren’t needed every second.
- Third Line: Sustainment gear. This covers packs or vehicle-based kit. Sleeping systems, spare clothing, food, and bulk supplies stay here until the mission calls for them.
Why It Matters for Your Battle Belt Setup
Thinking in lines keeps the belt focused on what it does best: carrying the non-negotiables. That means avoiding overload and saving space for items you can’t afford to be without. On most setups, the belt should hold:
- Sidearm and immediate-use magazines
- Tourniquet and compact trauma kit
- Knife or multi-tool
- Compact flashlight
- Map, compass, or GPS
Since the battle belt forms the core of the first line, choosing the right model matters. Lindnerhof tactical belts are built with this role in mind. Everything else, such as extra ammo, radios, hydration, or sustainment kit, belongs in the second or third line. This layering ensures your battle belt setup stays streamlined, balanced, and fast, while still being the piece of gear you can always rely on.
SUBSCRIBE TO UNLOCK OUR EXCLUSIVE CONTENT
Enter your email and get timely updates and relevant intel on tactical topics directly to your inbox.
Du meldest Dich für unseren Newsletter an und Du kannst Dich jederzeit abmelden. Lese mehr in unserer Datenschutzerklärung.
How Many Items vs Bulk / Weight — Trade-Offs
A solid battle belt setup means carrying gear you can’t do without, but it also means extra weight and bulk. To manage this:
- Focus only on what’s mission-critical; push extras to the second line.
- Prioritize compact, low-profile tools.
- Keep heavy items near your hips for balance.
- Allow redundancy—like a tourniquet on the belt, with backups elsewhere.
How to Decide What Not to Put in First Line
To keep the belt efficient and comfortable, avoid:
- Overcrowding: too many pouches create clutter and imbalance.
- Rarely used items: these belong in the second line, not on the belt.
- Bulky gear: anything that blocks movement or weapon handling.
- Weak attachments: first-line gear takes the most stress, so it must stay secure.
Best Practices for First Line Gear Setup
- Test in motion: run, kneel, crawl, and go prone to check for snagging or shifting.
- Fit correctly: the belt should ride at the waist so weight sits on the hips.
- Consistency matters: keep mags, sidearm, and med kit in the same position to build muscle memory.
- Trust your senses: you should feel instantly if something shifts or fails.
Key Considerations Before Building Your Battle Belt Setup
No two battle belts look the same. The right setup depends on your mission, how you move, and what you prioritize. Before adding pouches and holsters, consider:
1. Mission + Priority Lines
Your mission decides what must live on the first line. A short patrol may demand extra mags, while long-duration operations shift more gear into line three.
2. Ergonomics and Movement
Gear should move with you, not against you. Poor placement digs in when prone, catches when sprinting, or interferes with your draw.
3. Weight Distribution
Balance matters. Overloading one side slows you down and creates pressure points. A stiff belt spreads the load and keeps it stable.
4. Accessibility vs Real Estate
Every inch of first-line space is premium. Keep critical gear within reach, and move less urgent tools to the second or third line.
Core Components of a Battle Belt Setup
Holster and Sidearm
Placement must allow a smooth, consistent draw. Mid- or low-ride holsters with a leg strap often improve stability.
Magazine Pouches
Carry as many mags as the mission requires. Rifle mags usually sit behind the holster or on the support side. Pistol mags are often placed in front for faster reloads.
IFAK (Individual First Aid Kit)
Should be reachable with either hand. Often mounted rear-center or on the support side. Must open quickly and hold only essential trauma gear.
Dump Pouch
Placed behind the hip on the support side—reachable but out of the way. Used for spent mags, gloves, or sensitive items.
Multi-Tool, Knife, or Utility Gear
Placement depends on frequency of use. Multi-tools often sit behind mag pouches; knives can be mounted at an angle for quick access.
Optional Add-Ons
Flashlights, flex cuffs, or navigation tools—mission determines what makes the cut.
Looking for visual examples or layout inspiration? Our article How to Set Up Your Battle Belt offers real-world configurations tailored to various missions.
Tips and Best Practices
- Keep first-line gear always ready. Critical items belong on the belt, not buried in a pack.
- Distribute weight evenly to prevent bounce and fatigue.
- Train with your setup. Real drills expose flaws theory won’t.
- Streamline gear—loose straps and bulky pouches snag easily.
- Reevaluate often. What feels perfect at first may fail after extended use.
Common Mistakes to Avoid
- Gear blocking movement: holsters that dig in or mags that hinder your arm swing waste precious seconds.
- Wasting belt space: don’t use premium spots for gear you rarely touch.
- Ignoring belt fit: too loose and it slides, too tight and it cuts circulation.
- Skipping stress tests: standing in front of a mirror isn’t training. Practice under pressure.
Conclusion
A battle belt is more than a convenient way to carry gear; it’s a key part of your first line. Get the setup wrong, and the whole system suffers. Get it right, and it becomes invisible, moving with you like a natural extension of your body.