There are three trigger control/manipulation techniques you can use in practical shooting. They are index to fire, firing from the trigger wall, and firing from the wall after adding positive pressure. This blog post—based on information presented in Episode 2 of the UF PRO Instructors’ Series—explores each of the three techniques and explains which of them lets you shoot with greatest accuracy and hit the target with the tightest grouping of shots. Also examined is the technique of inflight resetting (a.k.a. reset under recoil) to shorten the time required to prep the trigger for breaking a follow-on shot.
In this blog post:
Introduction
A properly controlled/manipulated trigger can help you be a better shooter. Your shots will strike the target with greater precision than you might otherwise be capable of achieving.
And your rounds will be grouped closer together.
Sadly, all but the most serious-minded shooters tend to ignore the need to acquire and maintain good trigger control/manipulation skills. That’s unfortunate because the way the trigger is addressed by your finger has a direct and dramatic bearing on whether the rounds fired will fall outside or inside the target’s acceptable zone, let alone dead-center.
Every shot you take is affected for good or bad by the manner in which you squeeze the trigger (gently, firmly, or with a jerk), by how much pressure you apply when squeezing (light, moderate, or heavy), by the part of the finger you use (tip, crease, or fatty area), and by where you position your finger before you break the shot.
In this blog post, we’re going to focus on just that last parameter—finger placement. There are three modes of finger placement you can use to properly manipulate the trigger:
- Index to fire
- Fire from the wall
- Fire from the wall with positive pressure added
Let’s start with index to fire.
Index to fire
Index to fire is useful in situations where you have unholstered your weapon and taken aim at the target but have not made the conscious decision to fire.
The index to fire technique involves placing your trigger finger alongside the frame of the trigger—not on the trigger itself—and applying positive pressure to the frame.
You only move your finger to the trigger when you make the conscious decision to shoot.
Then, the instant your finger connects with the trigger, you break the shot.
However, because you need to move your finger from the frame to the trigger as fast as possible in order to achieve speed of firing, it’s almost impossible to do this without slapping or jerking the trigger.
Try it yourself next time you visit the range.
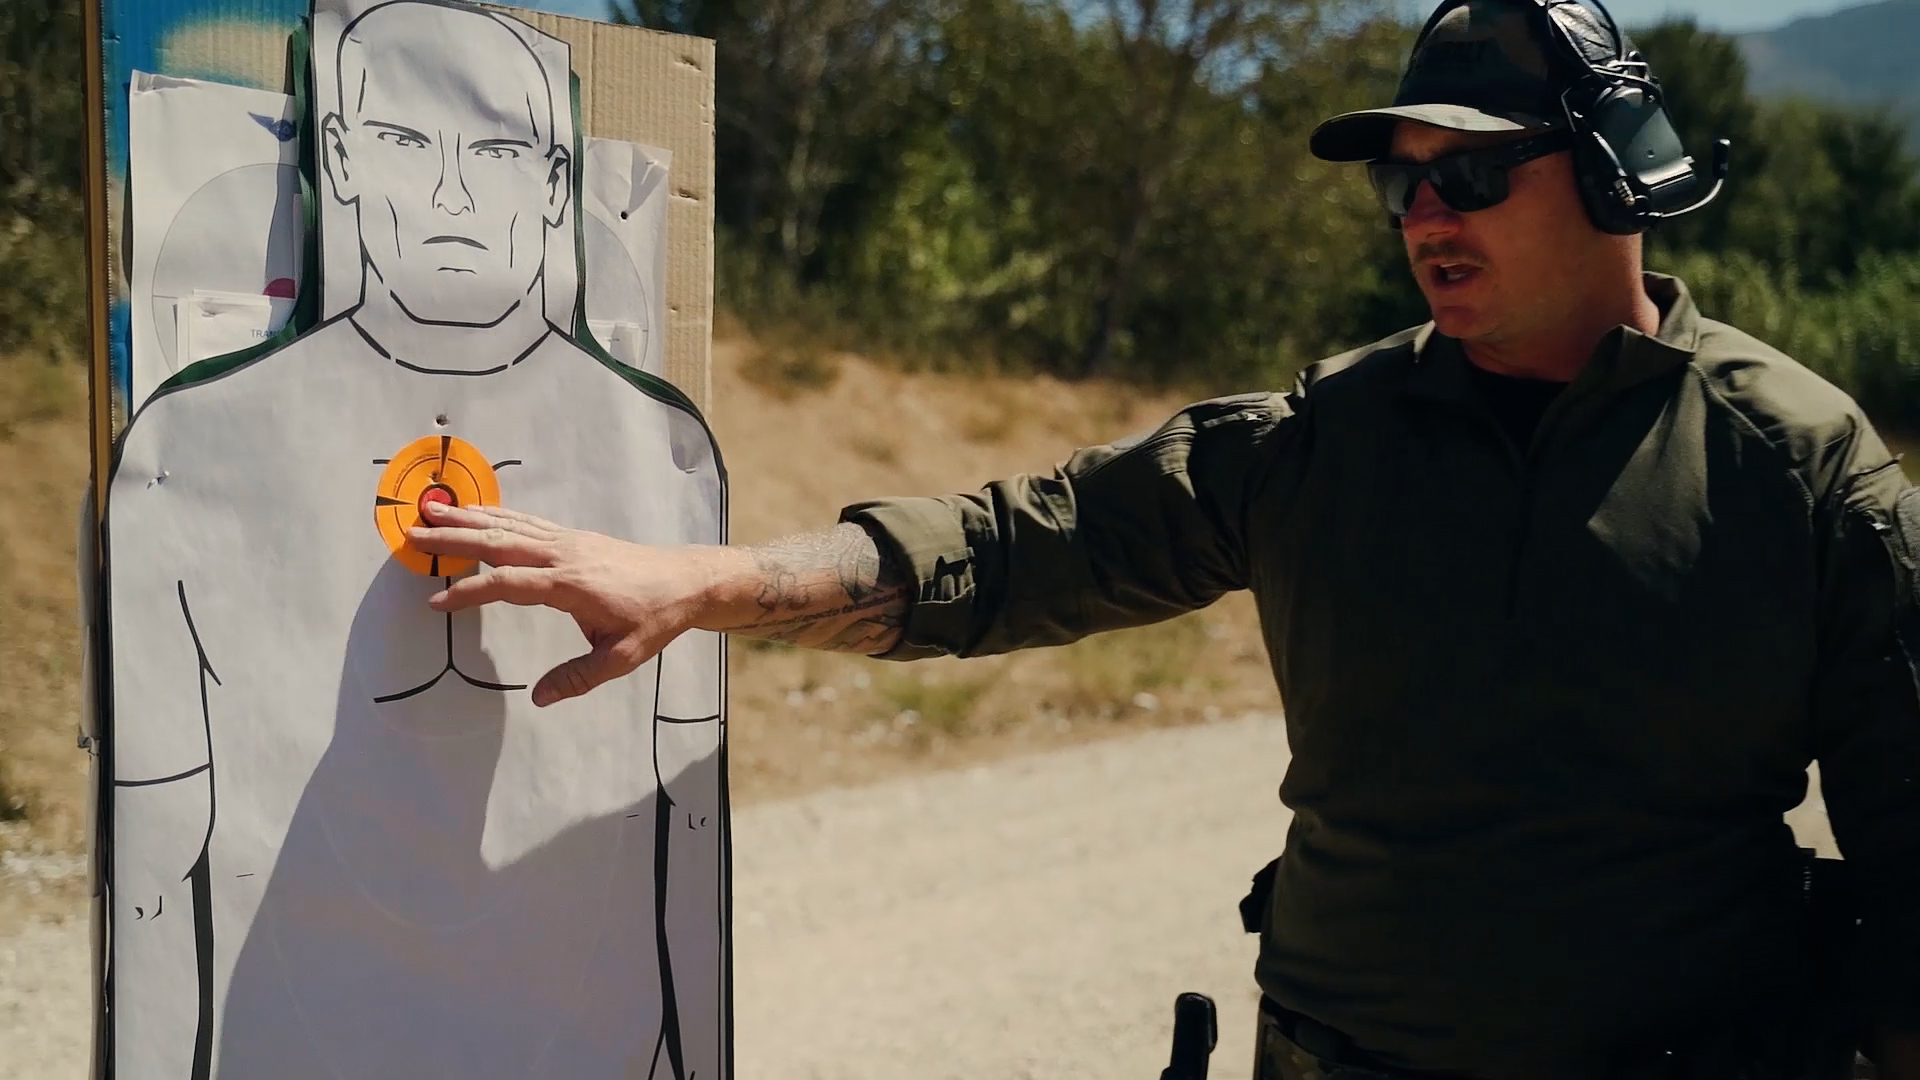
Begin by assuming the ready position in front of the target. Have an observer set a shot timer. Break the shot immediately upon hearing the beep from the shot timer.
Repeat until you’ve emptied your gun.
When you afterward walk up to the target to inspect it (or when the target traverses back to your firing station), you’ll probably see that your rounds weren’t as tightly grouped as they could have been and also that some of them missed the center.
Don’t feel bad about that.
Even if you’re a highly skilled shooter, you’re likely to have trouble making truly precise shots using index to fire.
That’s because the technique involves a long pull of the trigger, which—combined with trigger slapping—can easily screw up your sighting.
Truth be told, index to fire isn’t the most efficient way to manipulate the trigger. But it will get the job done in situations where you have to make a split-second shot.
Although your shots might not be precise, chances are good that they’ll hit the target inside the acceptable area.
Firing from the wall
You’ll almost surely get tighter shots and greater accuracy using the trigger manipulation technique of firing from the wall.
Firing from the wall involves placing your finger not on the frame but on the trigger and prepping it for the shot by eliminating the trigger’s range of pre-travel (or trigger slack, if you prefer).
By way of reminder, pre-travel is the distance the trigger can be squeezed until it comes into contact with the sear. Once the pre-travel is fully taken up, you have reached the trigger’s “wall” (continue squeezing beyond that point and the sear will engage the mainspring, causing the gun to discharge a round). One advantage of firing from the wall is less disruption of your sighting.
Since your trigger is already prepped when you make the conscious decision to squeeze, you’re not going to have to slap it as you would using index to fire.
No slapping should mean no jarring. No jarring should mean your sighting remains steady.
Another advantage offered by firing from the wall is enhanced efficiency. With this technique, trigger travel is minimized.
That should translate into you getting your shots off faster. To practice firing from the wall, assume the ready position in front of the target, prep the trigger, and make the conscious decision to fire.
When you hear the beep of the shot timer, break the shot with little to no delay. What you should see is that your shot groups have tightened up and your shooting has become much cleaner.
If your shots were falling outside the acceptable area when you employed index to fire, that should no longer be the case.
In fact, most if not all of your shots should be hitting the center of the target or at least a lot closer to it than before.
Something to keep in mind, though, is that the amount of pre-travel varies from one gun maker’s product to the next. For example, the wall on your Smith and Wesson won’t be in the same place where it is on your Glock.
Fire from the wall with positive pressure added
This is the trigger manipulation technique to use if you want those split-second shots to land with greatest possible accuracy and in the tightest possible grouping.
Firing from the wall with positive pressure added entails taking out all of the trigger’s pre-travel as before but now tossing in a minuscule amount of finger weight.
Practice this manipulation by again coming up in the ready position, prepping the trigger, and then making the conscious decision to fire at the target.
As before, break the shot at the sound of the shot timer.
The difference?
This time your shots likely will have hit the target in very tight groups and—if your skill level is high enough—most of them will have pierced the center of the target through the same hole.
Inflight reset or reset under recoil
This one’s a bonus technique we think you might like to consider.
Let’s say you’re up against an armed threat 3 or 4 meters away from you.
You unholster your firearm and draw a bead on this baddie. He goes for his gun. But, before he can fire off a shot, you plug him with one of your own.
What happens next?
Well, you can either wait to see if your first round stops the threat before determining that you’d better prep the trigger for a follow-on shot or—much, much better—you can be immediately ready to peel off a second one if it turns out the baddie poses a continuing danger.
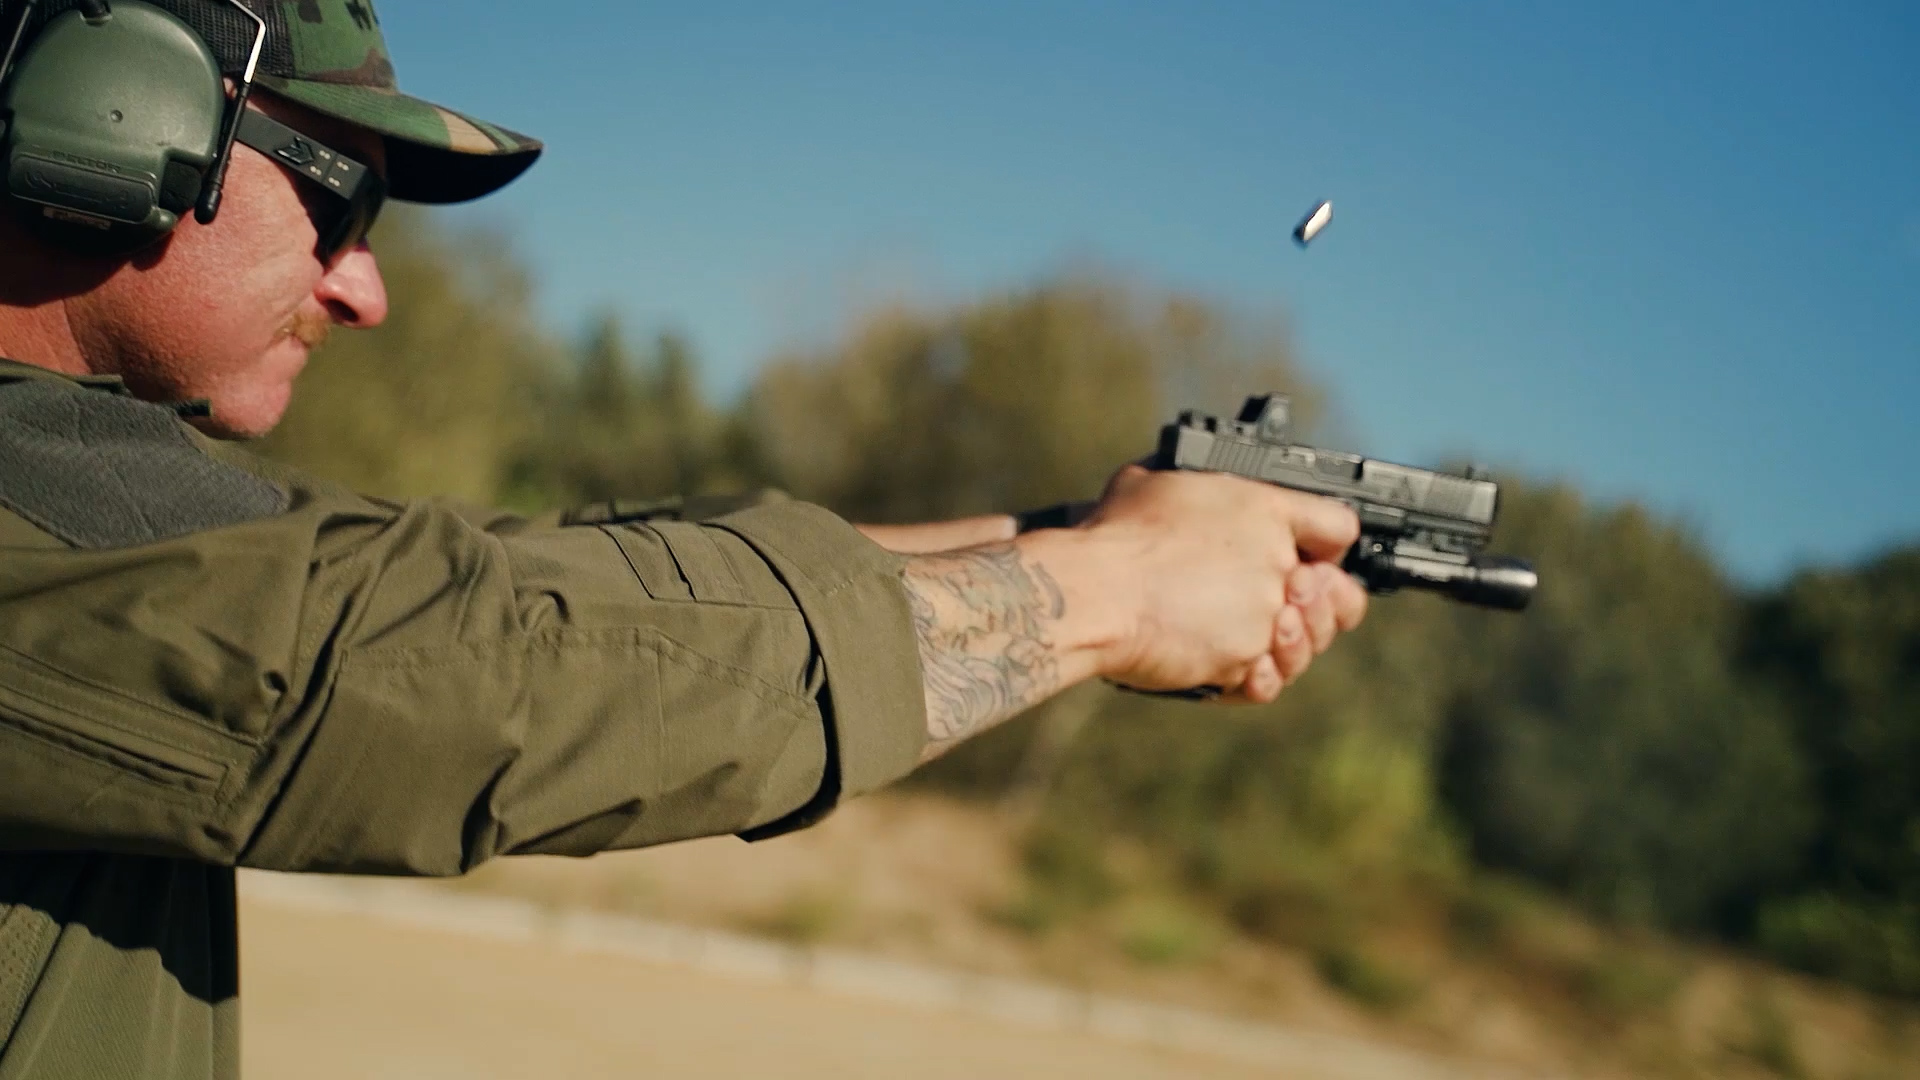
The way you achieve this immediate readiness is by resetting the trigger while—not after—your firearm is recoiling from shot number one.
The ability to reset under recoil takes a lot of practice, but it will allow you to run your gun to significantly more of your potential as an efficient, competent, and lethally accurate shooter.
Final thoughts
Trigger prepping and shot precision go hand in hand—the better you prep the trigger before you fire, the greater the accuracy with which your rounds will strike the target.
For that reason, it will pay you huge dividends to master fire to index, fire from the wall, fire from the wall with positive pressure added, and resetting under recoil.
You can see these trigger control and trigger manipulation techniques discussed and demonstrated by watching Episode 2 of UF PRO’s Firearms Instructor Series, now showing here.
Other topics presented in the series include sighting deficiencies, recoil management and weapon transitions (coming soon).
Would you like to learn more about sighting-in deficiencies and how to cure them? Then be sure to watch the first episode of the four-part UF PRO Firearm Instructor Series. Beyond sight-in deficiencies, topics covered in episodes to come include trigger control and manipulation, recoil management, and weapon transitions.