24-hour bag and a MASCAL bag are essential bags a Combat Medic should know in detail. The former is meant for treating no more than a few casualties. The latter is meant for treating casualties in mass. This UF PRO blog post describes a variety of ways to fill and organize these bags.
In this blog post:
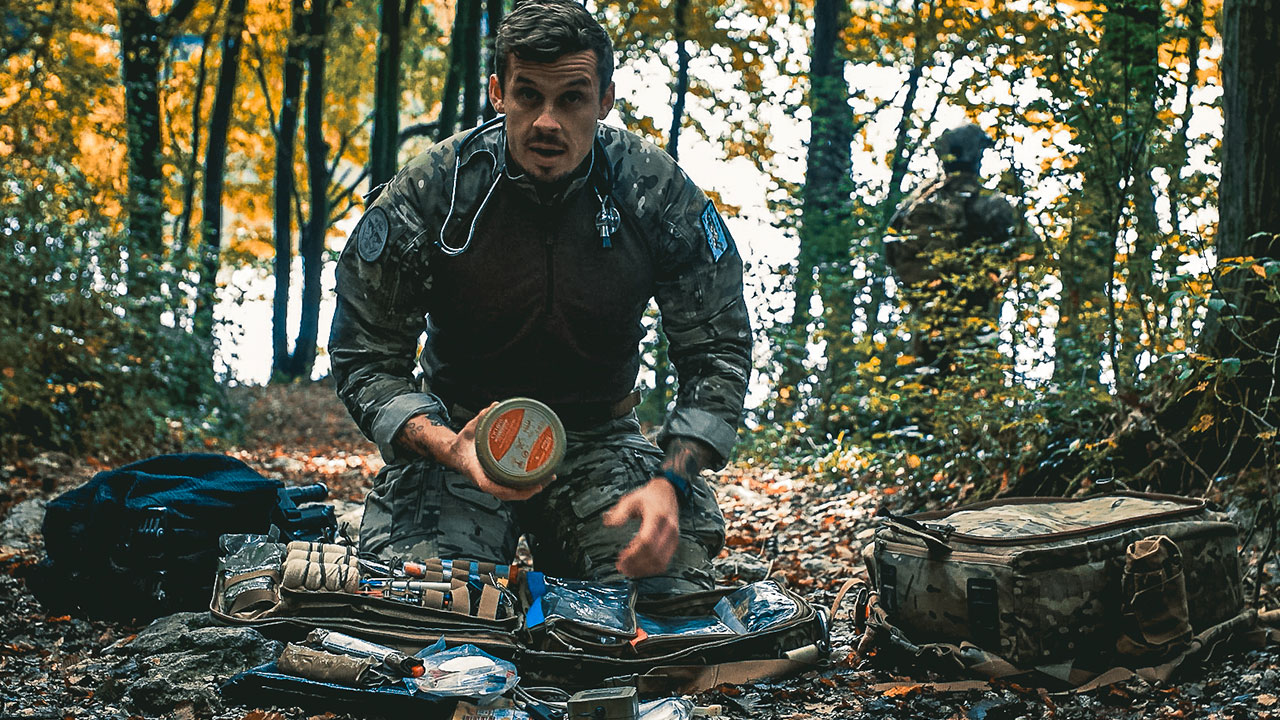
How to Pack a 24-Hour Bag
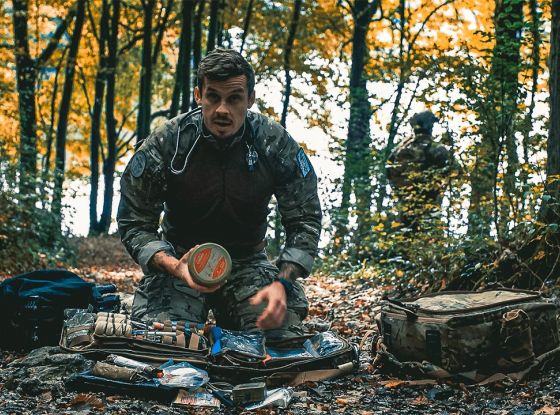
Guest post by Luka Zorenč
A 24-hour bag is a collection of medical equipment and related supplies you carry during short ops, or when going to the range to get in some shooting practice, or pretty much for anything they tell you to do (after all, at the end of the day, you’re in the military, right?).
There needs to be a method to your madness when it comes to what you pack inside a 24-hour bag. Organized chaos is another way to view it; it has to make sense in your head for it to be successful. Organized chaos is the way you think through things and it’s something the people who work with you should know that you do and be accustomed to seeing.
As for myself, I try to organize my 24-hour bag in accordance with the order of treatment priority spelled out in the TCCC-M.A.R.C.H. PAWS protocol.
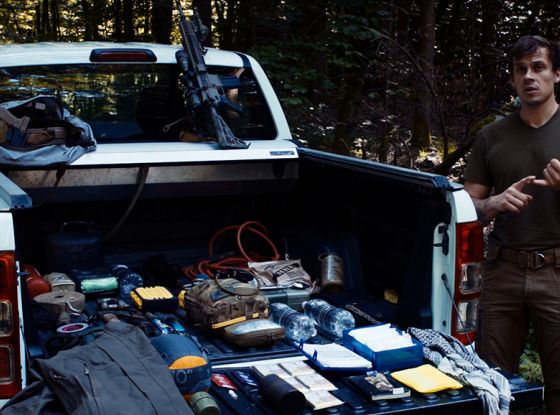
I start with a bag that has an exterior snap link. This is important because it provides you lots of options as to where you’ll hang, mount, or secure the bag (one place you want to avoid hanging it if you can is on the outside of a vehicle—in the event you make contact with an opposing force, there exists the possibility of the bag being stolen or shot up; if you encounter an IED, there exists the risk of the bag and its contents being blast-damaged or blown to bits).
Attached to the outside of my 24-hour bag I have these items:
- Tape
- Scissors
- Zip ties
- Soft litter
- CAT tourniquet
- Rescue blankets
- Fast1TM (intraosseous infusion system)
- Quantum fluid warmer
Now let’s jump inside the bag (OK, that’ll make for a pretty tight fit if you’re a big guy, so maybe let’s instead just look inside the bag).
I recommend you organise your equipment so that it’s arranged in the order by which you’ll treat the patient. I do this because it makes the most sense to me; there’s no law that says you have to do it this same way.
However, if you follow my lead here, when you open your bag, the gear immediately greeting you will be:
- Combat gauze
- CAT tourniquet
- Elastic bandages
- Sharpies
- Pen light
- Eye shields
- EPI pen
- Sharp container (for storing sharp objects)
- Chest seals (2) with an NCD attached to each
- Stethoscope
- Pocket BVM
- PEEP valve
- Cric kit
- NPA with lube
- IVX kit
- Trauma medications
- Cravats
- Abdominal dressings with clamps
- Plastic bag
Stowed beneath these I have:
- Paperwork
- Field blood transfusion kit
- Blue gloves (which make it easy to see blood on your hands)
- Additional light
- TCCC card
- Bubo kit
- Swiss army knife
Food for thought: consider putting your new guys to good use by having them do prep work. For example, you could task them with combining NCDs and occlusive dressings, affixing to your equipment “ears” made of tape so you can more easily grip and open the gear, and putting labels on the compartments of your bag and writing on them in big bold letters the category of items contained within. These little tricks of the trade will help you do a better job providing care while you’re under high stress.
Another great trick: have your preppers affix Velcro strips to each piece of equipment and to the interior sides and bottom of the bag. That way, your gear won’t go flying if the bag gets kicked or thrown. Yeah, for sure, making your new guys do all this stuff amounts to slave labor, but think of the benefits: you get a tidy bag and they get to know everything that’s inside it.
Now, when you’re done packing, do airbag drills. After that, start doing those drills blindfolded (or at least with your eyes shut)—that will help automatise your actions so they become second nature to you and you won’t have to think about what you’re doing in the heat of the fray.
It might happen that you yourself become a casualty. If you do get hit and the junior/senior medic is too busy to attend to you at that moment, it’ll be your buddy who grabs your aid bag and tries to help you. OK, so maybe everything he knows about prolonged field care comes from watching reruns of “M*A*S*H*”, but, luckily for you, everything in your bag is labelled and you thoughtfully turned all the vials and equipment to face outward so he can easily read them.
And, if you were really on top of your game beforehand, you would have thought to make “cheat” cards for everything, so that your helpful buddy can read them and remain calm as he tries to stop you from bleeding out.
Like I always say, preparation is 70 percent of success. You can’t be a perfect medic, but there is always something that you can do better. And one of the things you can do better is prepare your kit more effectively.
How to Pack a MASCAL Bag
A MASCAL bag is similar to a 24-hour bag except it’s meant to provide care for more than just one or two patients. Indeed, MASCAL is short for Mass Casualty.
Loosely speaking, a MASCAL bag is the equivalent of 3 IFAKs in terms of what goes in it. By that, I mean there’s not a lot of variety to the equipment and supplies it contains, but when it comes to quantity, you’re allowed to go overboard and can toss in a lot more beyond that.
Even so, I like to keep my MASCAL bag simple. The reason is that, during a mass-casualty triage situation, patients are treated using the KISS method—that is, you’ll be doing life-saving interventions only.
On the outside of my MASCAL bag I keep:
- Carabiner
- SAM splints (2 or more)
- Improvised wooden splint
- Helicopter splint (2 sticks)
- Cravats
On the inside:
- Bleeder kit
- CAT tournaquets
- Quick cloth
- Cric Kit
- NPA with lube
- Combat gauze
- Emergency dressings
- Elastic bandages
- Chest seals (with NDC attached)
- Blizzard survival blankets
- Ready heat
- Rescue sheets
- Paperwork (for triage)
- Trash bags
- Gecko tape
- Hard/soft litter
Be sure to check your equipment at regular intervals. Look for malfunctions and for supplies that have gone past their expiry date. Repair or replace as needed.
Speaking of expiries, don’t let your skills become out of date. You don’t need a whole exercise regimen or training course to keep your abilities and know-how fresh. Just a quick down-and-dirty aid-bag training run should do the trick. The main thing is, you want to maintain familiarity with every item of equipment and supplies, and know where in the bag they’re situated.
Recap
A 24-hour bag is the one to carry when you’re heading out to conduct short ops and the number of casualties is expected to be very small. Organize it by following the treatment protocols of TCCC-M.A.R.C.H. PAWS, and so that you can access items in the order by which you’ll treat the patient.
A MASCAL bag is the one to carry when you expect lots of casualties, so you need to keep it simple in order to focus on life-saving interventions only.
Follow my suggestions and you’ll be able to produce field care bags that help you do the best job of keeping injured teammates alive while awaiting higher-level medical intervention.