Utilizing different types of surfaces and signs found on them can greatly improve your skill as a tactical tracker. In this post, Tracking Instructor Boris Vos shares an exercise you can do on a grass surface to help you get started.
In this blog post:
Introduction
By Boris Vos
So far, you have been tracking on sand and dirt. These are great surfaces to start tracking, as they give you good definition in the track and you learn about sun angles, positioning, and the first three characteristics of sign.
Very important as well: if you have diligently followed the previous pace-to-pace exercise, you should have developed a good feeling for the track interval. (We call this stride, more about that in a future post.) All of this will aid you when you progress to other types of surfaces.
In this post we will cover tracking on grass, talk about pointers, key sign, and introduce the next characteristic of sign: transfer. Ready?
Tracking on grass
It is important to remember one thing when starting to track on other surfaces: when walking normally, the amount of force exerted on the surface by your footwear remains the same as you continue to walk. What changes is the way the surface reacts to that force.
With the arrival of spring, fresh young grass makes for a great medium for this tracking exercise.
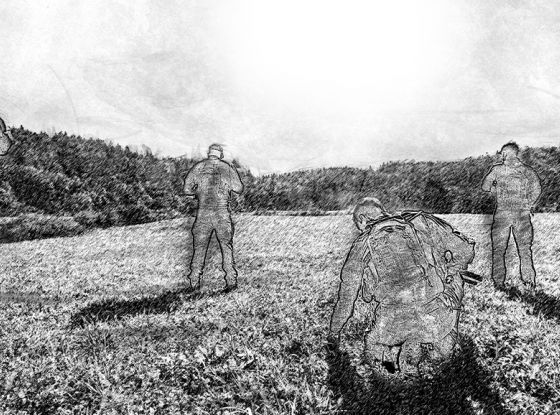
Exercise 20 | Pace-to-pace on grass
Time to complete approx. 60 mins.
What do I need?
No special equipment is needed for this exercise.
When should I do this exercise?
The best time of day for this exercise is either early in the morning or late in the afternoon when the sun is at a low angle.
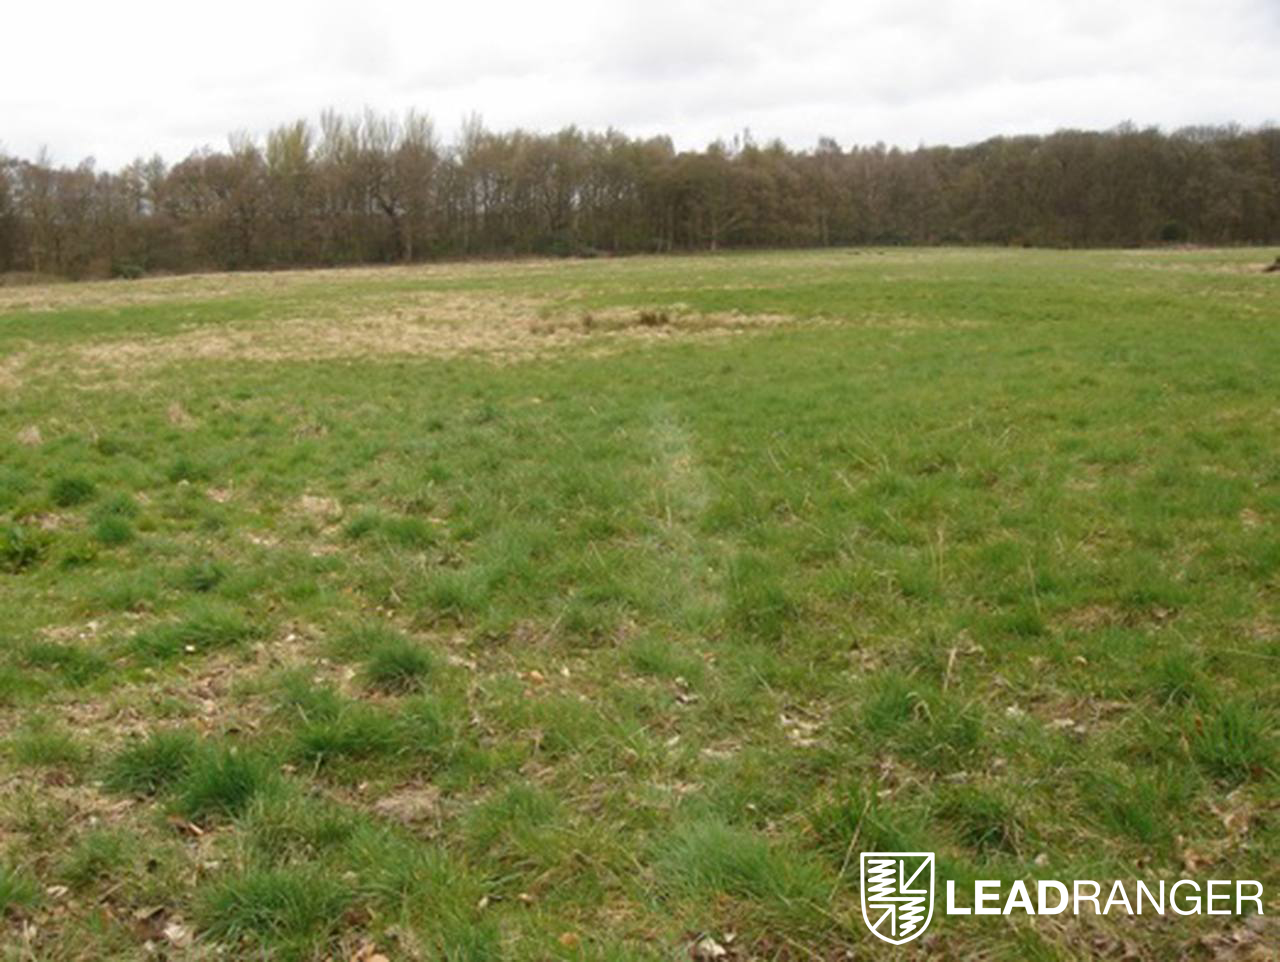
On what kind of terrain should I practice?
Find a grass field that has not been manicured or is used extensively. You will find suitable grass meadows at the edges of forests and farmers’ fields. Pro tip: Make sure you don’t upset the farmers.
How to lay out the exercise
Try to find a place where you start on sand or dirt, and after two or three steps, you step onto the grass. Lay out the pace-to-pace the same way you did with the previous exercises: draw a circle in the sand, put your right shoe in the circle, and walk naturally from the sand onto the grass and walk in a straight line. If you feel confident, you can increase the number of steps you take. Mark your endpoint and circle around to your start point.
The track
You are now positioned again behind your start point. Look up in the direction of your tracks.
You may see that you can actually see the line of where your tracks are leading. The tracks appear lighter than the surrounding grass.
This color change is caused by how the grass is pushed down by your footwear in the direction of your movement. Because the grass stems are not pointing up toward the sun but are bent forward, they create almost a mirror-type surface and reflect the light more directly into the eye. Tracks on grass leading away from you appear lighter than the surrounding grass.
There is an exception however! If you are tracking on grass that still has early morning dew on it, this track will appear differently. The undisturbed dew drops on the grass act like thousands of mini-mirrors, giving the grass that really nice early morning glint.
When you walk through the grass, you break the surface tension of these water drops, and they wash out, losing their light reflecting ability. Therefore, a track like that may appear darker than the surrounding grass.
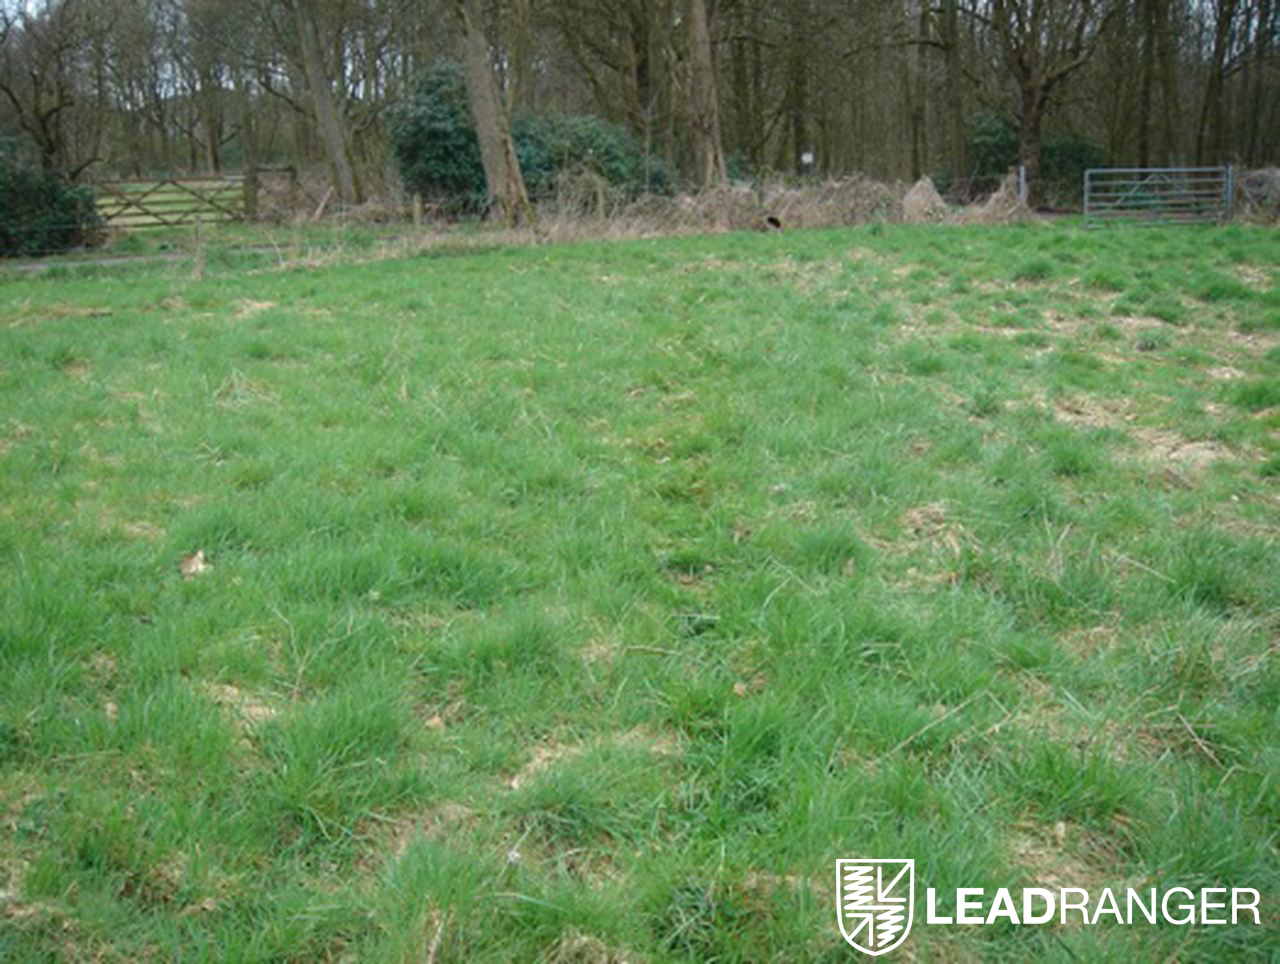
Now, still standing behind your start point, move sideways to the left and right and look down the track. You may notice that as you are moving sideways, the track becomes less clear.
Move as far sideways until you can no longer see the track leading into the distance. It doesn’t take a lot of lateral movement to lose sight of the track. This tells us that positioning when tracking on grass is very important. Move too far to the sides and you will lose the track!
OK, you are now ready to start your pace-to-pace. The first few steps are on the sand and you are on familiar ground. Note the flattening, color change and regularity. Find every step until the last step prior to stepping on the grass.
On the grass the sign will start to change. Take your time.
The grass absorbs a lot of the force by bending down (flattening) in the direction of travel. These indicators of direction are called pointers. Pointers do exactly that—they point in the direction of movement.
You may notice that you can see the outline of your shoe print (regularity) but you lose a lot of definition in comparison to tracking on sand or dirt. When looking at the shoe print up close, you may see you don’t get as much color change.
However, there are other things to look at. The grass being pressed down may be compressed (flattening), show bruising from the shoe sole or stems pushed into each other (color change), or the grass may be bent sharply in straight edges (regularity). The sign is still there, but it looks different.
Another thing you may notice is that the sand you picked up in your thread pattern is deposited on the grass. This is what we call transfer. Remember when you walked into the house with your dirty shoes as a kid, and mum gave you a bollocking?
What you were really doing was practicing transfer! Transfer is the fourth characteristic of sign and is defined as the transit of material from one environment to the other. See if you can find any transfer on the grass—look carefully, it may be minute!
![]()
Transfer of sand on the grass, and bruising on grass stems.
![]()
Straight edge (regularity) caused by the sharp side of the boot.
![]()
Some more transfer of sand onto the grass.
Take your time and try to find every shoe print on the grass. Note the sign you are seeing. Also note which characteristic of sign is most prominent to you. This is what we call the key sign for that specific environment. It’s quite personal and it’s different in every terrain type.
Remembering the key sign (is it regularity, or flattening, or maybe transfer?) for different terrain types helps you to change from one environment to the other. We call this tuning-in. Every time you change environment types, you will have to tune-in. Forget to tune-in, and you may overshoot your sign and lose the track when tracking into another environment.
Keep going forward, finding and investigating every single shoe print. Take your time and allow your brain and eyes to do their thing. Don’t forget about positioning or about not losing sight of your surroundings.
Once you make it to your endpoint, turn around and look back at the track. Can you see the track line? Do you see how it appears darker than the surrounding grass?
Remember when we talked about pointers and about the grass being pushed down in the direction of movement? The pointers are now pointing towards you, creating a shadow effect under the stems, making the tracks appear darker than the surrounding grass. Neat right?
Conclusion
When we start going into actual tracking—not pace-to-pace, but at speed—you will find that you can really speed up your tracking when your quarry steps on the grass. Grass is great, and Willy Nelson will concur ;)
Great job, it’s time for a brew!
As always, take some pictures, tag us on Instagram (@rangerboris and @ufprogear), and let us know how you’re getting on with these tracking exercises. In the next post we will talk about the information you can gain from tracks. Go get it!