Recoil management aims to increase the precision of your shooting by limiting muzzle rise when you fire the gun. The phenomenon of recoil operates under Newton’s Third Law of Motion (“for every action, there is an equal and opposite reaction”). Various ways of achieving recoil management are available to shooters, but the most effective of these is proper grip. Included in this blog post is a discussion of a method some instructors use to teach proper grip.
In this blog post:
Introduction
To shoot better, you need to develop recoil management skills. Those skills are especially vital if you want to be able to squeeze off your follow-up shots faster and more tightly.
Recoil management aims to increase the precision of your shooting by limiting the upthrust of the muzzle when you fire the gun and by making sure that after the bullet exits the muzzle the gun returns to its point of origin (“point of origin” refers to the position the gun occupied in relation to the target before the first shot was fired).
Now it might just be that you’re already adept at recoil management.
Even so, chances are that your technique could do with at least some tweaking to improve upon what you already know. On the other hand, if you’re still developing your shooting skills, recoil management is very likely a fundamental to which you need to devote more time and attention—it’s that important.
So, wherever you are on the spectrum of recoil management skills, let’s start at the beginning.
What is recoil?
Recoil is proof of Sir Isaac Newton’s Third Law of Motion (as articulated in his 1687 book, Philosophiae Naturalis Principia Mathematica, probably written after he discovered gravity while sitting beneath a tree and being hit on the head by a falling apple—okay, so the apple-to-the-cranium thing is just folklore, but still).
At any rate, back to that Third Law of Motion.
You’ve probably heard the expression that “for every action, there is an equal and opposite reaction.” Well, that’s Newton’s Third Law expressed in lay terms.
Here’s how physics professors explain it: When two objects interact, they exert equal amounts of force upon one another, causing them to move in opposite directions.
What that means when applied to ballistics is this. You squeeze the trigger of your firearm, the gunpowder contained in the chambered cartridge ignites, and the projectile at the tip of the cartridge is expelled out through the gun’s muzzle by an explosive pressure of approximately 35,000 pounds per square inch.
Because the projectile moves forward, the cartridge moves in the opposite direction—namely, back toward you.
However, the cartridge can’t go anywhere because it abuts the firing pin. So what moves instead is the entire firearm. The only thing preventing the gun from moving straight back into your face is the fact that you’re holding the gun.
Specifically, you’re holding it at its approximate center of balance and below its longitudinal axis. Consequently, it can only rotate up. Hence muzzle rise.
For the record, Newton’s First Law of Motion also applies, but only to the bullet in flight. Newton’s first law says that an object in motion will stay in motion as long as nothing else—such as gravity, air resistance, crosswinds, and, of course, a threat’s body—gets in the way.
That has zero to do with the topic of this post; therefore, let’s move on to what you actually came here for—intel on the various ways recoil can be managed.
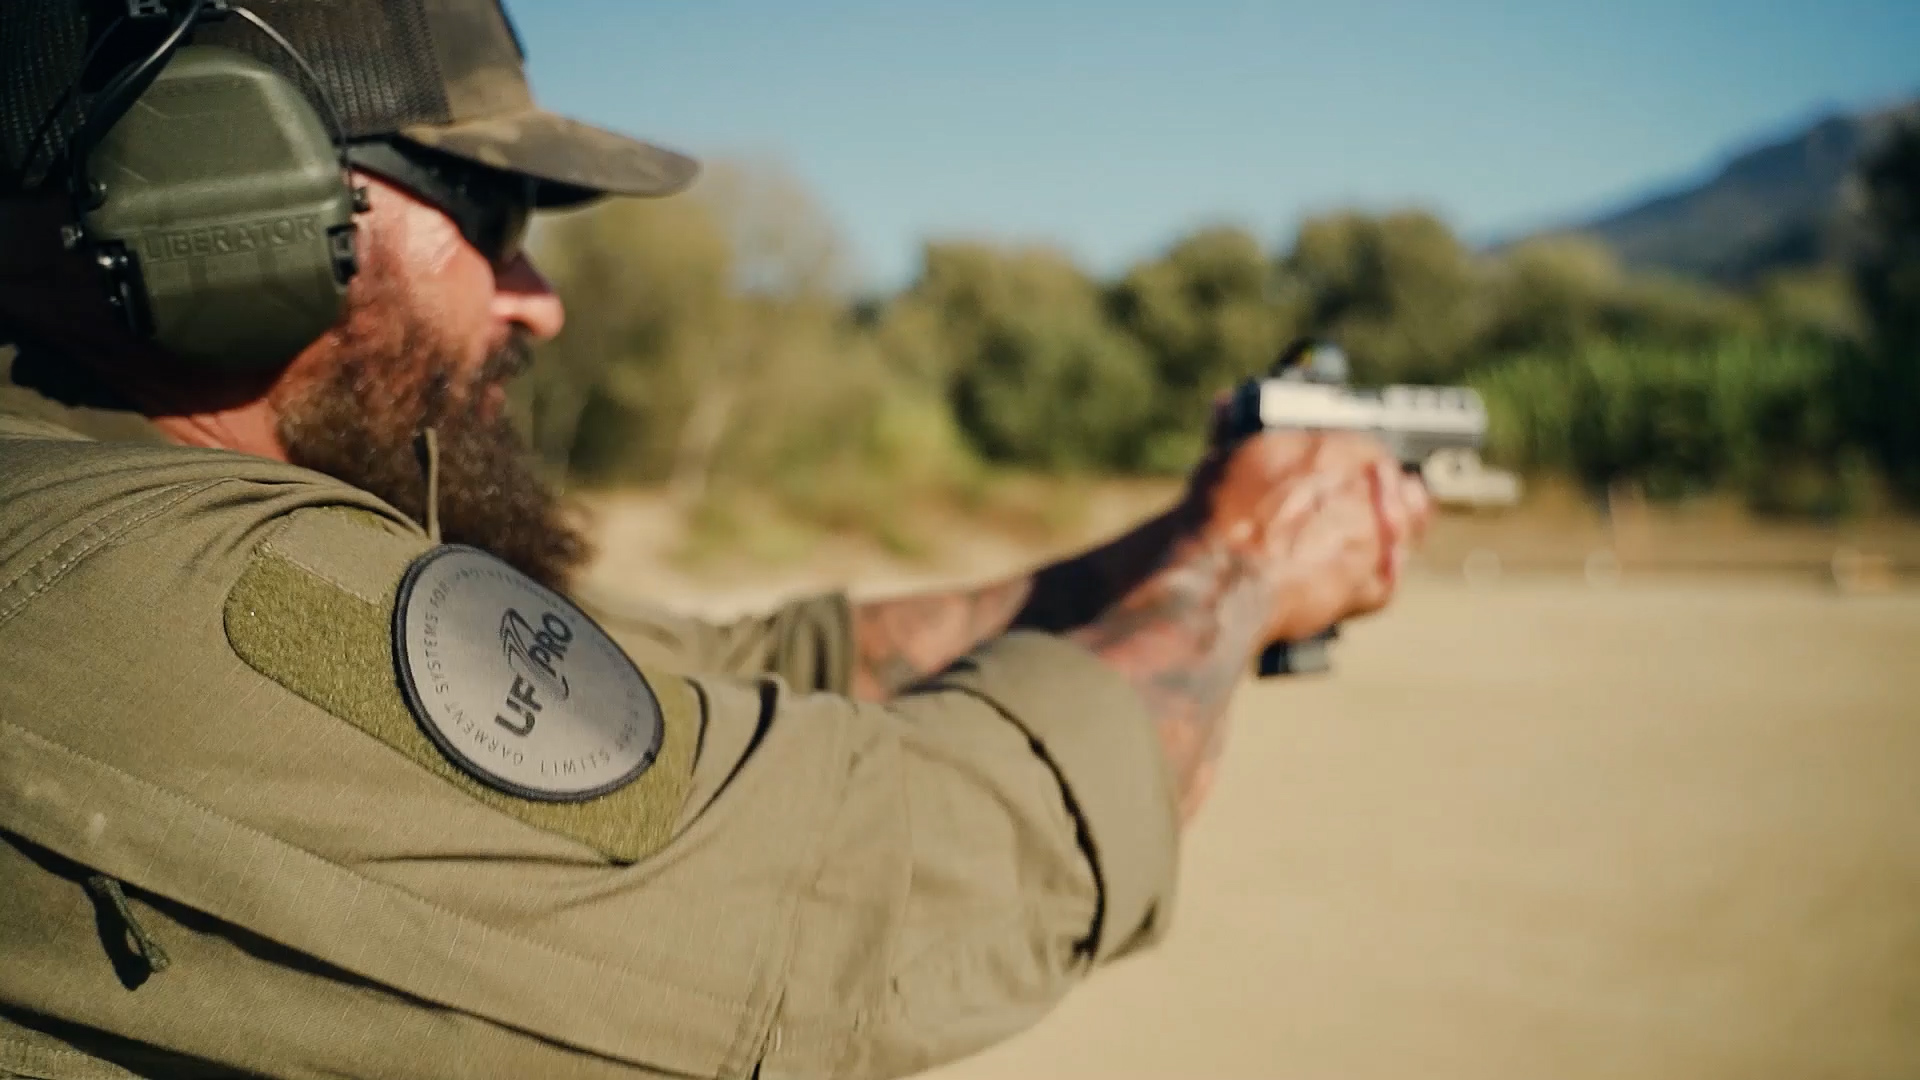
Best way to manage recoil
Recognise that there is no single blanket technique you can learn when it comes to recoil management.
There’s no one-size-fits-all solution to the challenges you may be facing in your efforts to become proficient at keeping your gun near-perfectly level no matter how rapidly you fire.
Indeed, quite a few techniques for this purpose exist. Let’s take a look at a few of them. One way you can manage recoil is by using a suppressor. Another way is to trade in your Glock 22 or Desert Eagle 44 magnum hand-cannon for a less-powerful gun. At the very least, you should make sure your stance is correct—feet at shoulder-width (or more) apart, your weight carried by the balls of your feet, your upper torso leaning a little forward, and your knees slightly bent (all of which will ensure that your body is balanced, steady, and ready to tame that recoil).
However, many firearms instructors agree that the best way to manage recoil is to get a grip.
Not a grip on your emotions, but a grip on your firearm.
A super-strong grip and a grip in the right place, to be precise. As you’d correctly assume (if you don’t already know from experience), the correct grip location varies from one make and model of firearm to the next.
But what won’t vary is the amount of tension you use to grip that weapon. If your grip on the gun is even a little loose, the muzzle will rise when you fire. This will force you to re-aim and undertake some fairly elaborate trigger prepping before you fire each of your follow-up shots.
This is inefficient shooting, and it has no place in situations where the only way to stop a crazed, wild-eyed threat before he can fire off a shot of his own is by ventilating him with a hail of rounds discharged in extremely rapid succession and having all of them strike him in the same high-vulnerability location on his body.
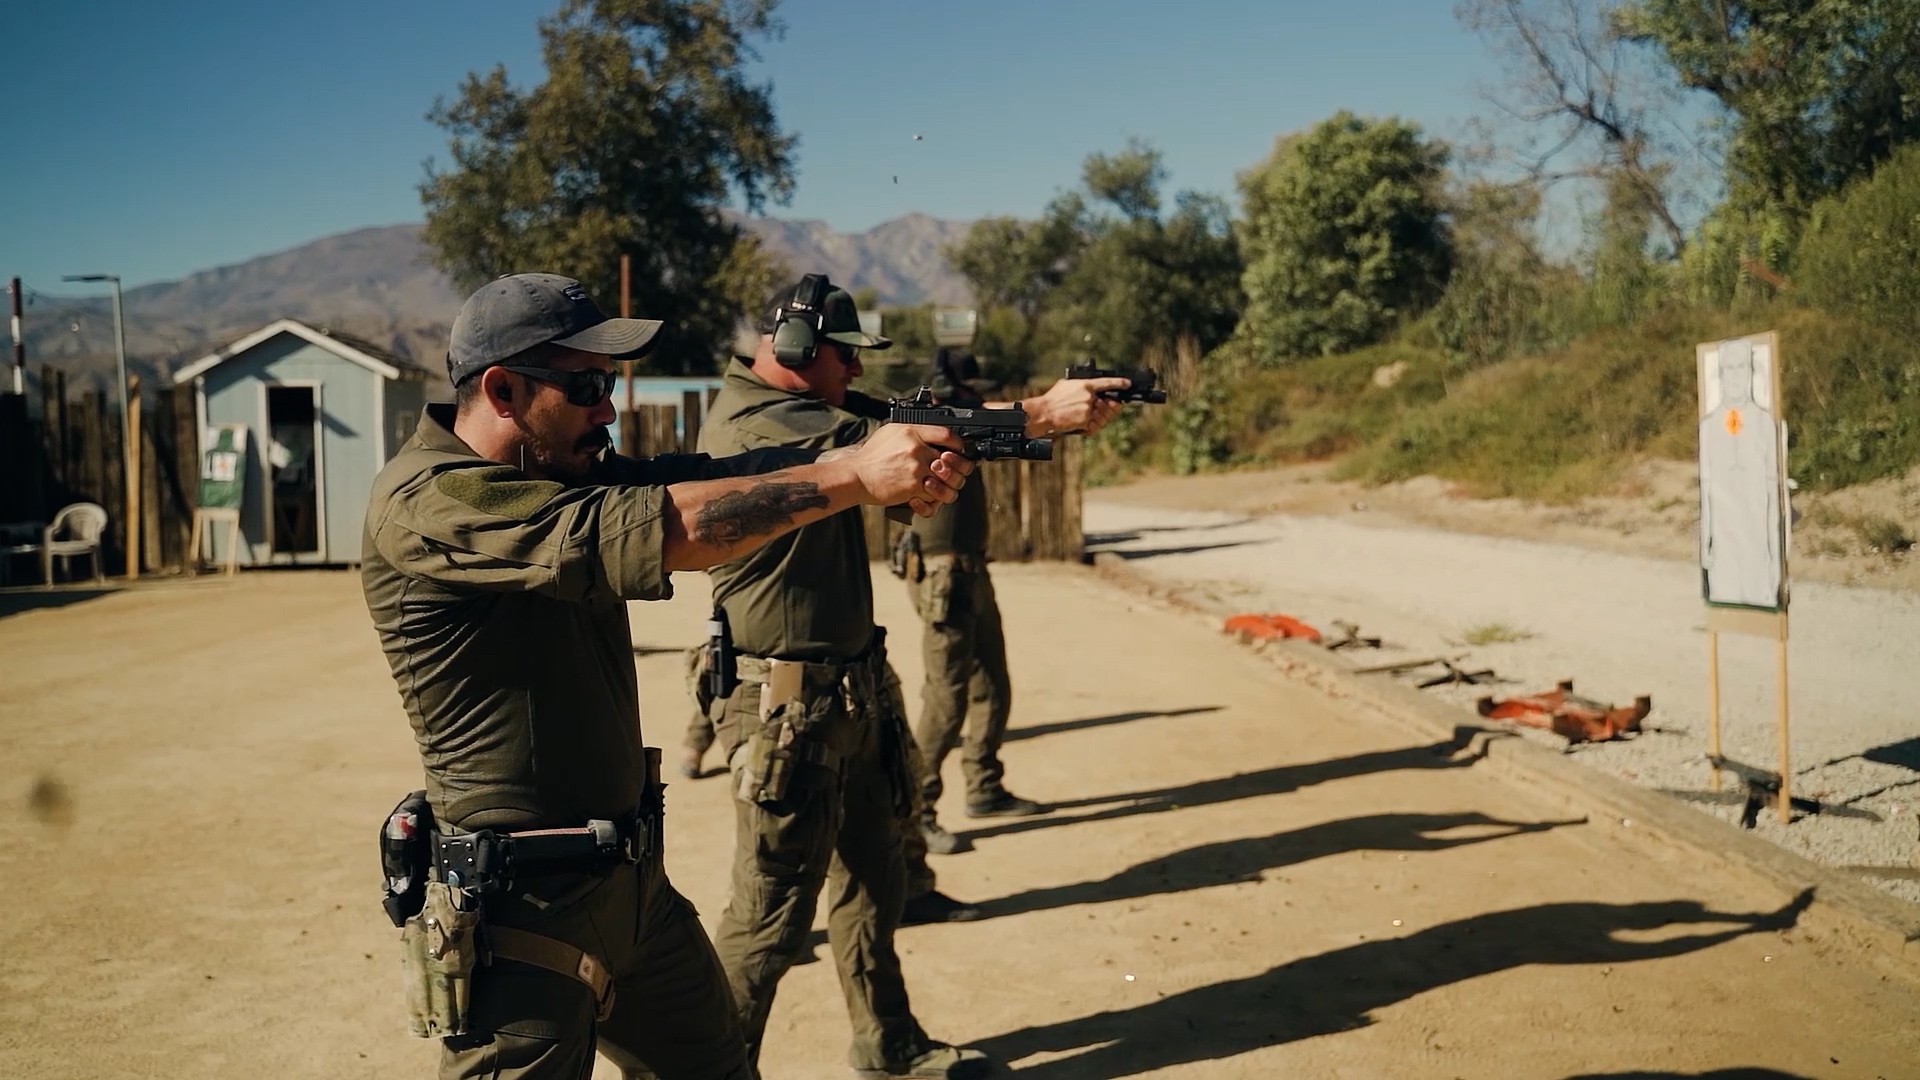
Practice makes perfect
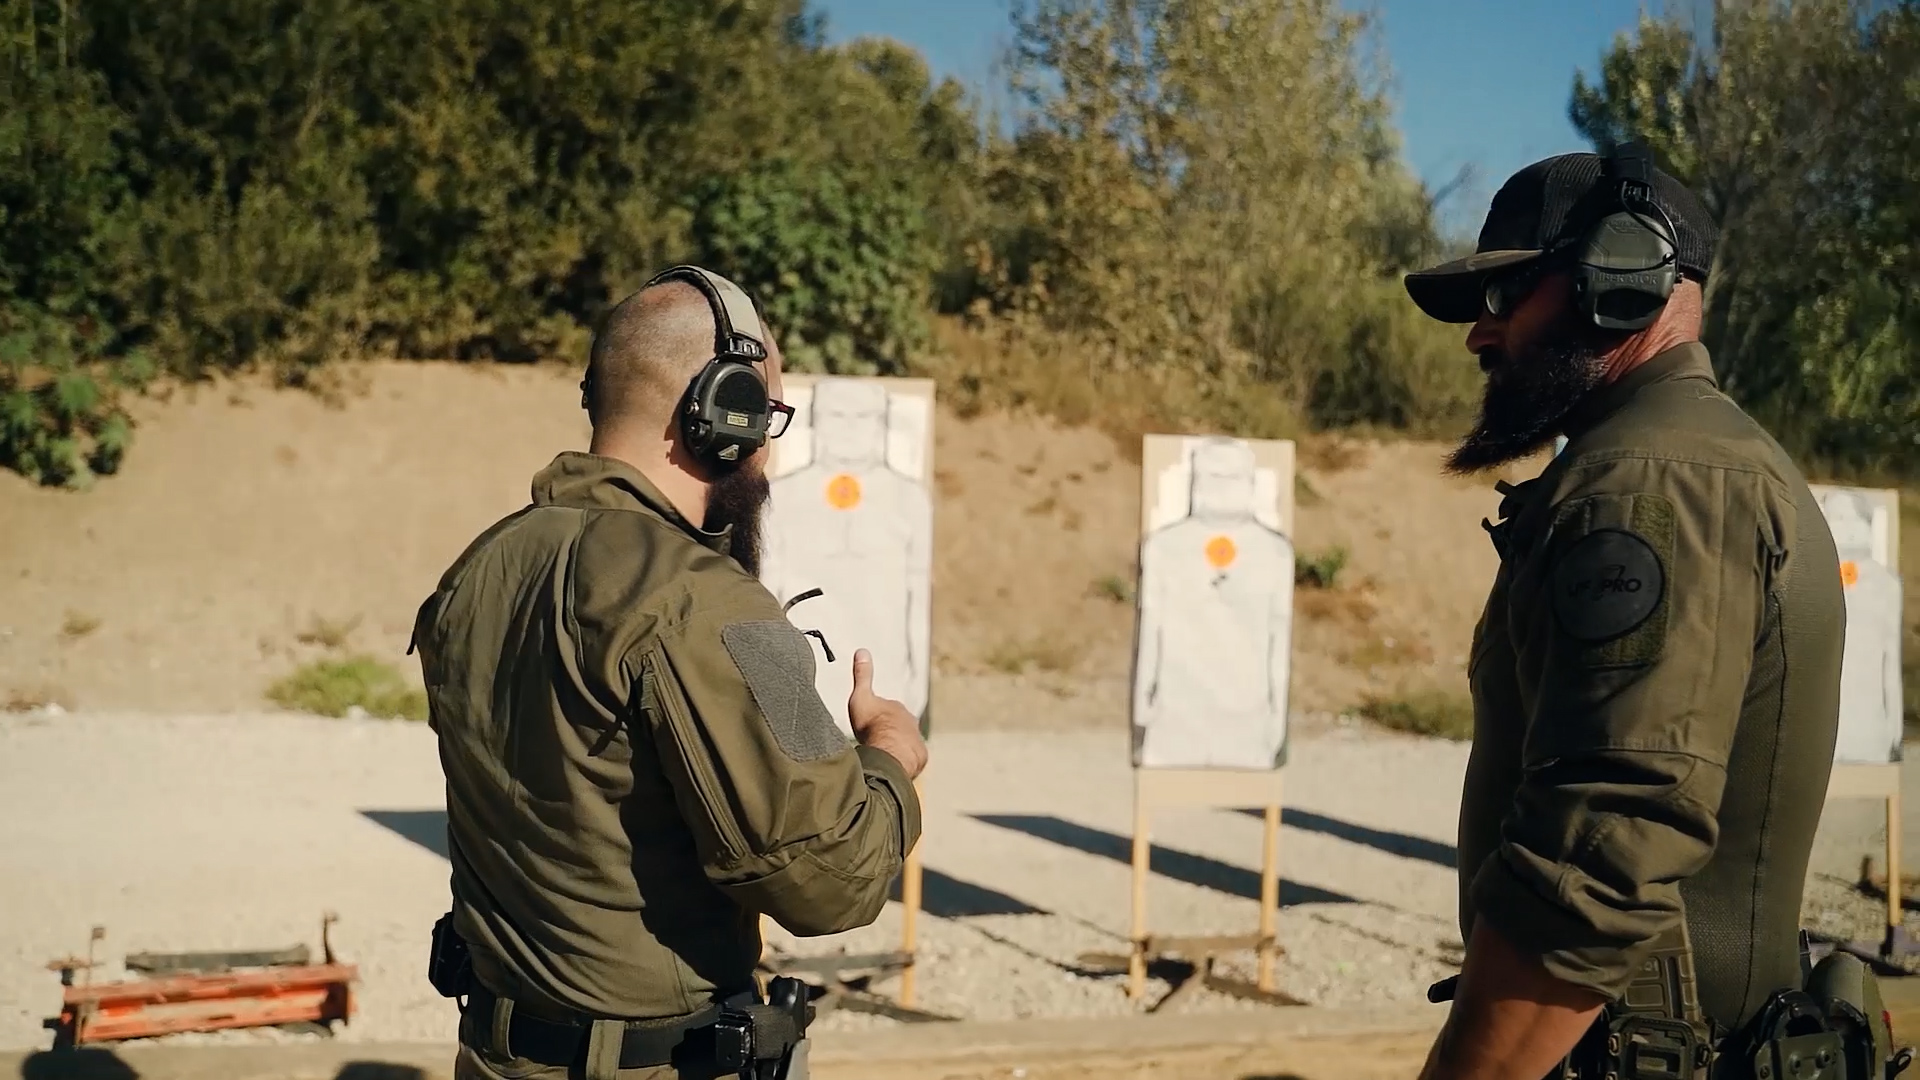
To properly develop your recoil management techniques, start by inviting a qualified instructor to watch and critique your shooting style as it currently exists.
That second pair of eyes will be able to spot problems you can’t see.
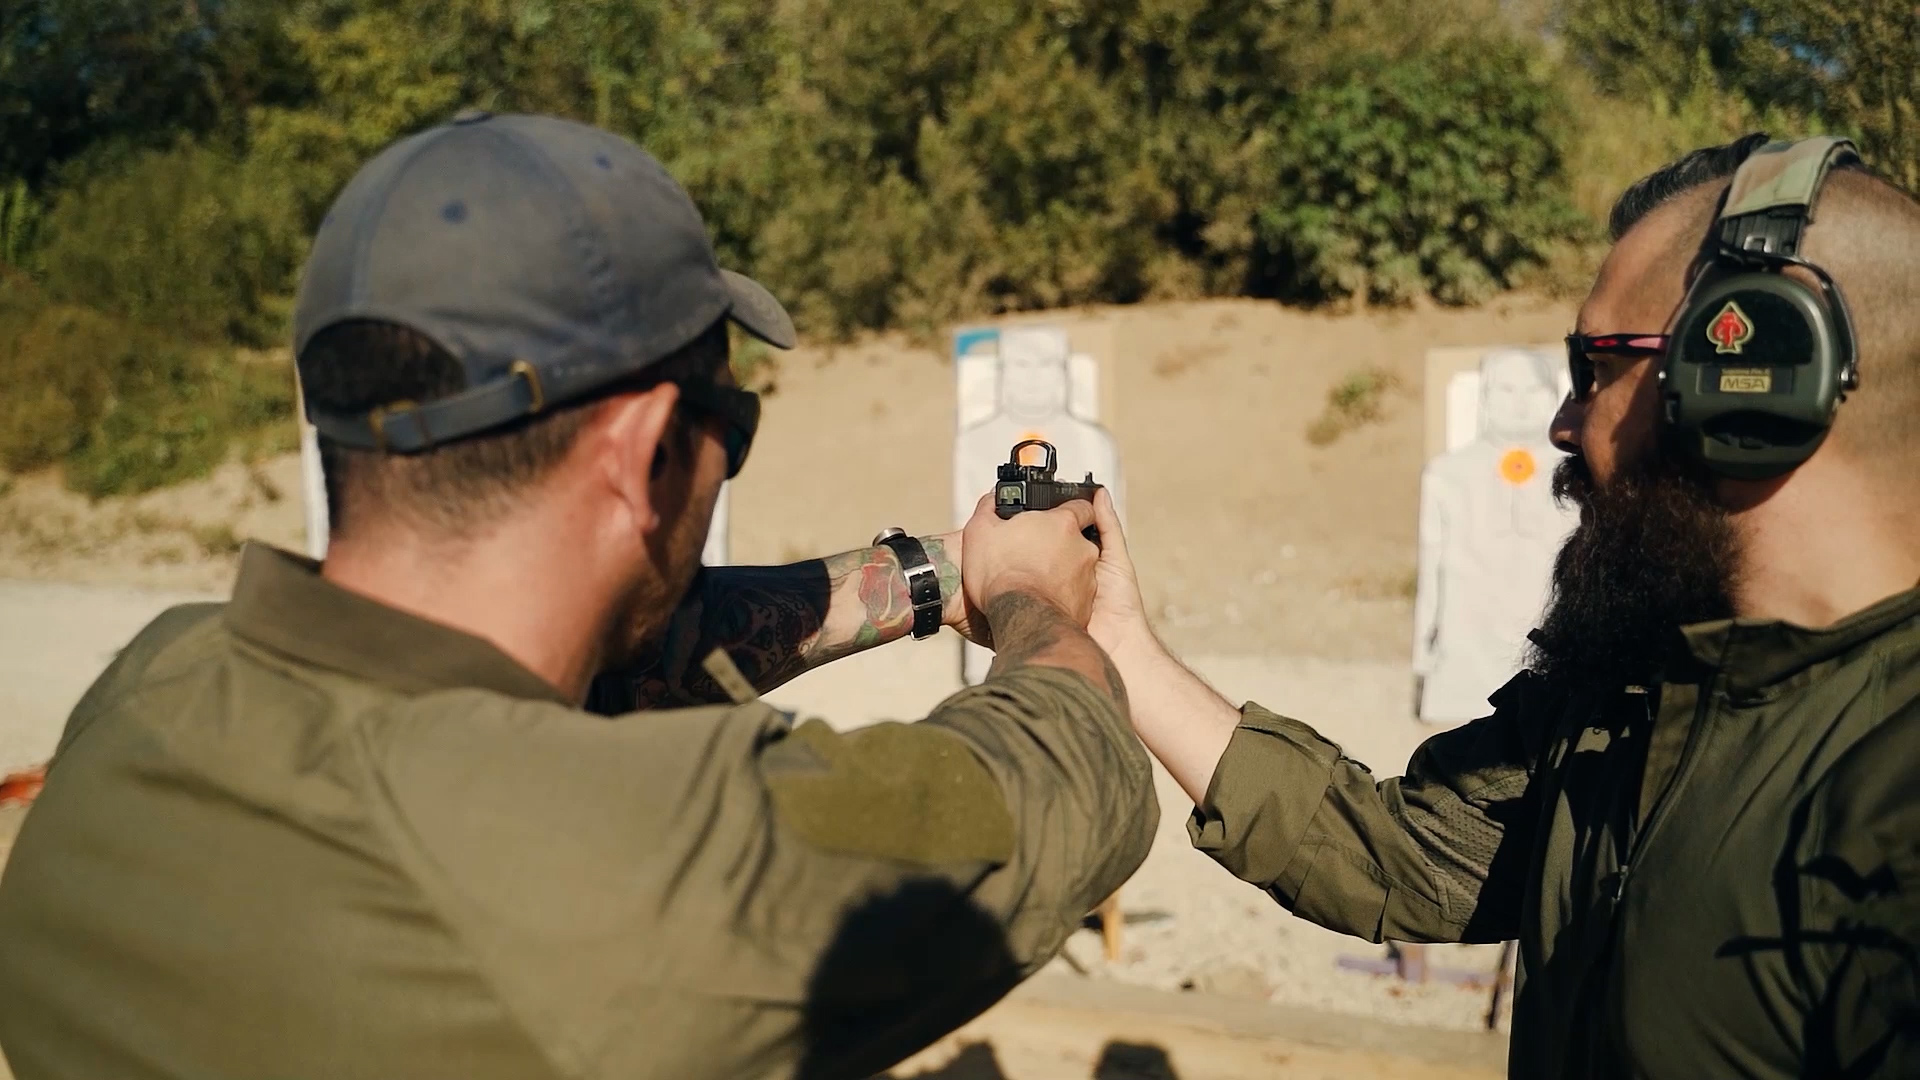
The instructor will be able to offer suggestions for improving on what you already have in terms of recoil management proficiency. If you have no such ability, you might want to consider asking the instructor to train you. With the instructor alongside you, unholster your gun and aim at the target. Ask the instructor to check your grip and correct it as necessary. One way the instructor might do this is by having you take your left hand off the gun while you continue to hold the firearm with your right (or the opposite if your strong hand is your left).
The instructor will then extend his hand and invite you to grasp it with your free hand, much like you would do in greeting at the start of a business meeting.
After the instructor clasps your hand, he’ll try to twist it. If he succeeds, he’ll tell you to lock your wrist using strength sufficient to stop him from twisting it again.
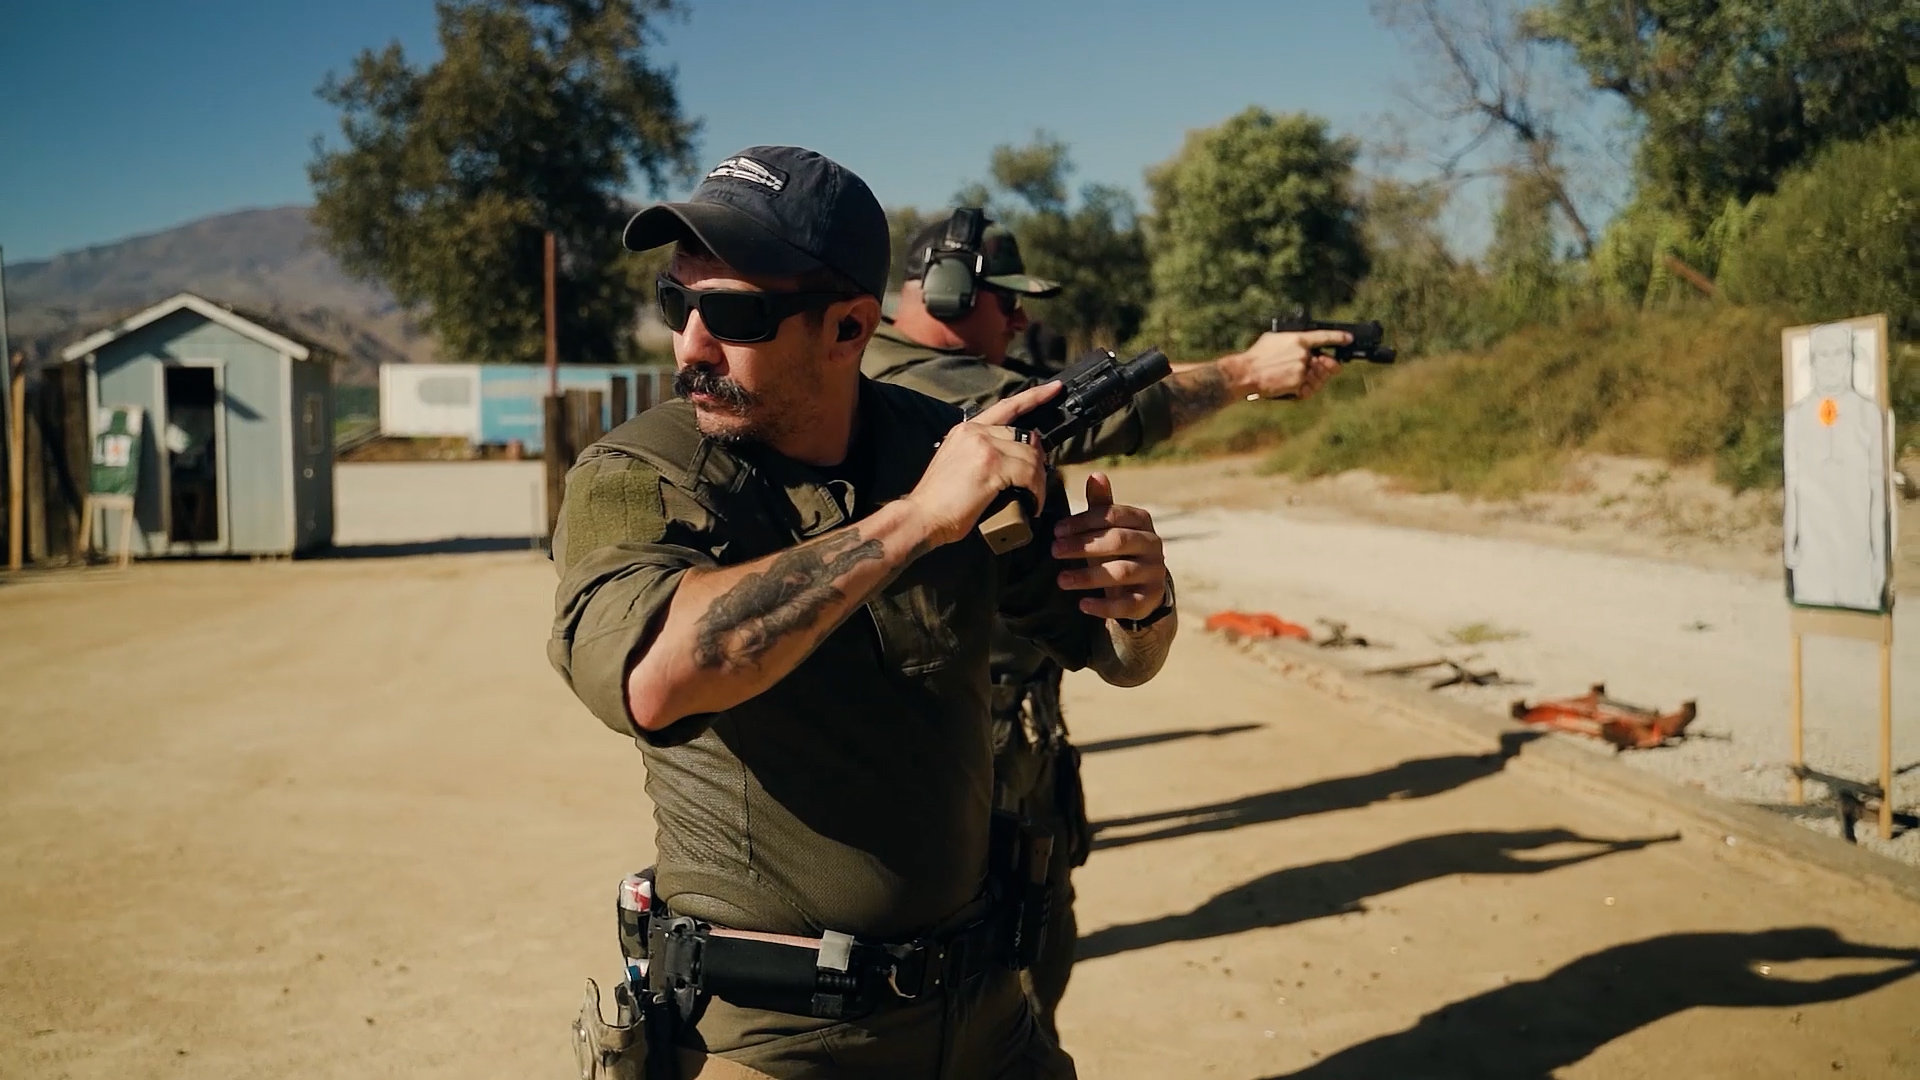
If on the second try your wrist doesn’t twist, the instructor will tell you to put that hand back on the gun but this time with your wrist locked as tightly as when you stopped him from twisting it.
You’ll then be directed to lock the wrist of the opposite hand, so that the amount of strength you use to lock both wrists is equal.
You’ll also be told to hold your arms straight out and to lock your elbows (much as you might do when your body reaches the top of a pushup rep in the gym).
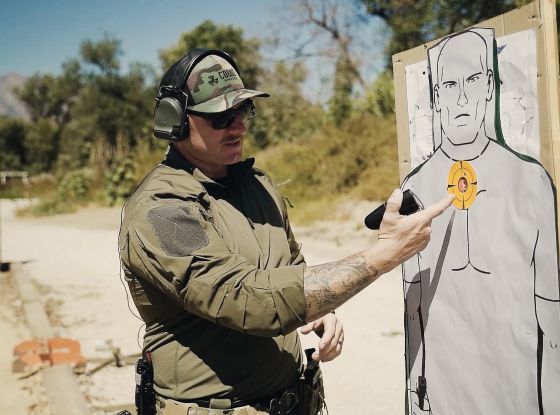
Now you’re ready to manage the recoil of the first shot and of each follow-up shot. What you shouldn’t see when you afterwards examine the target is some shots hitting higher or off to one side.
If you do see shots hitting higher, it probably means you’re still not gripping the gun hard enough (alternatively, it could mean you’re having sighting issues—in which case, you should go back and re-read our post about overcoming sighting problems here or better yet have a second look at Episode 1 of our UF PRO Instructor Series video set here). If the target shows signs of shots wandering to the left or right, it probably means one wrist is locked too tightly or too loosely in relation to the other.
The remedy is to adjust the grip strength of the errant hand so that it is exactly equal to that of the other hand.
Final thoughts
Recoil management is essential, but it isn’t something you can pick up in a day or two.
It must be implemented into your fundamentals from the ground up.
Eventually, though, recoil management will become second nature to you. Practice recoil management every time you go to the range.
By developing the techniques of recoil management, you’ll soon be able to shoot faster and straighter—and to do both with greater ease.
Would you like to learn more about recoil management and get better at it? Then don’t miss Episode 3 of the four-part UF PRO Firearm Instructor Series. Watch it here.
Other topics presented in the series include sighting deficiencies, trigger control and manipulation, and weapon transitions (coming soon).
Never miss the release of future UF PRO video episodes and series. Each gives you indispensable knowledge presented by subject-matter experts from around the tactical world. All you have to do to receive word of the next one’s imminent arrival is to sign up for the UF PRO Firearm Instructor Series here.
Still want more?


