Proper care of your gear can help ensure that it keeps working for the longest possible time. This article offers detailed care instructions plus tips for removing stains.
In this article, we explain how to take proper care of the different types of gear we offer. To read about washing a specific type of gear, just skip to that section.
Why is proper care important for tactical gear?
Cleaning your tactical gear should be a daily habit whether worn for work, exercise, or off-duty casual activities. Gear kept in great condition is gear that can remain functional and capable of delivering the performance you need when you need it most.
Maybe you’ve heard the saying, “Take care of your gear and it will take care of you.” In whatever context you heard it, just know that it’s true.
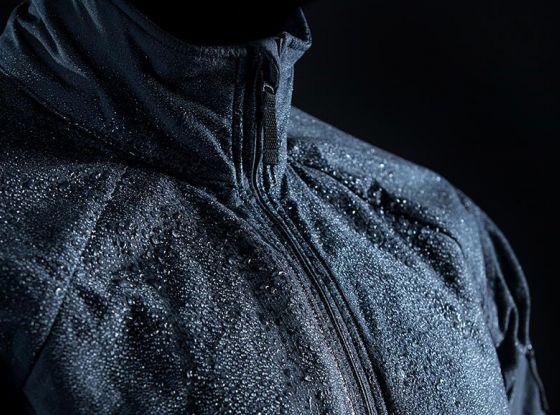
To illustrate, let’s take a look inside the average operator's arsenal and consider a typical piece of gear found there: waterproof tactical clothing.
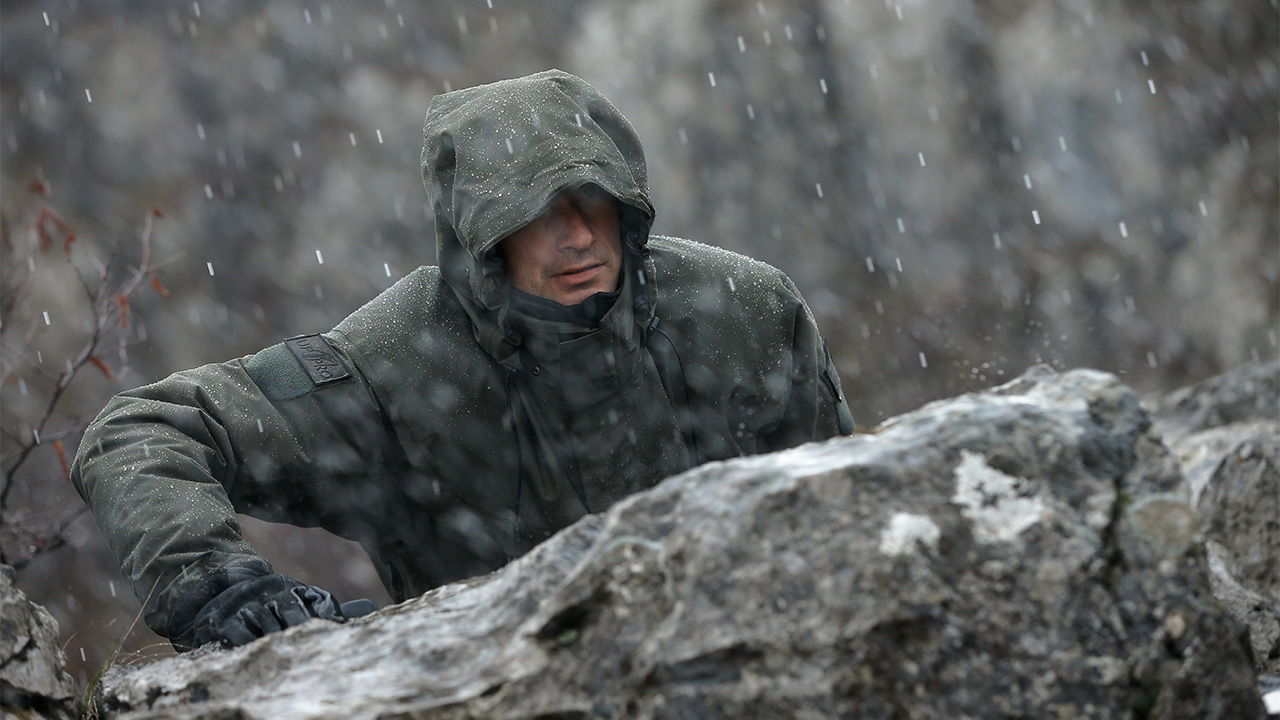
Rain clothing well-cared for can make all the difference when you are stuck in a monsoon downpour for many hours—even more so if you have to remain motionless the whole time.
One of the main features of this garment is its DWR coating. This serves to repel rain instead of letting it soak in. It’s not good if your rain gear sponges up water because the garment will get heavier and will also lose some or all of its breathability.
The point is, taking proper care of your rain gear can extend the life of its DWR coating.
Another example. Dirt and grime from oils and fats that your body emits and from salt crystals found in your sweat can become lodged within the waterproof membrane itself. In a worst-case scenario, those impurities can even perforate the membrane (that happens as you move, which causes them to rub against the membrane’s layers).
Regularly washing your rain clothing removes these particles from the membrane, thereby preventing damage.
General care tips for tactical gear
When it comes to washing tactical garments, the best advice is to follow the manufacturer's care instructions.
These instructions are always provided with every piece of clothing you purchase from UF PRO. You’ll find the instructions attached to the garment—just look for the care tag.
Care tags may be small in size but their importance is huge where proper care is concerned because they hold the key to the longevity of the pieces you own. We believe it’s vital that you have a basic understanding of them, so we created a separate article about care tags (which you can read here).
So, apart from the general care tag instructions for washing, what else is there to know? Isn’t it enough to just follow those instructions to the letter?
Not entirely. There are a few general “rule of thumb” things you should also know about. For example:
Don’t overload your washing machine
That’s common sense, sure, but it still deserves mention in an ultimate guide to washing tactical gear.
And the reason why you shouldn’t put too many items in the washing machine is it does a better job cleaning your gear when not overloaded. Assuming you’ve chosen the correct laundering cycle, your gear will also come out with fewer wrinkles. As a bonus, your washing machine will thank you for treating it in a friendlier way.
We recommend loading your washing machine to 70 percent of capacity. We also recommend washing light and dark coloured clothing in separate loads to preserve the colour properties of each.
It’s not a requirement, but in our book we consider it a best-practice to also separate rugged items (like the Striker X Combat Pants) from those that professional laundry people would deem “delicates” (like the Urban Polo shirts or functional T-Shirts, which, in actuality, are not “delicate” at all—they’re just a lot lighter in weight than our other gear).
Remove all items from the garments before washing
Before you wash any gear, check the pockets. This is especially important when washing rain gear: as the washing machine runs through its agitation and spin cycles, sharp objects (like keys, knives, pins, and other pointy gear) can penetrate your rainwear’s triple-layer waterproof membrane and permanently ruin its waterproof performance.
Even leaving paper or tissues in the pockets can cause problems. During washing, those items can shred and become lodged between the fabric. This causes a slight but noticeable decrease in breathability. Also, cleaning up the mess left behind by washing machine-shredded paper and tissues is annoying to say the least.
Avoid setting the dryer for highest RPMs
It’s true that high-RPM (revolutions per minute) drying extracts post-wash dampness faster and more completely than lower settings. But high-RPM drying also leaves your gear more wrinkled.
Another way to avoid wrinkles is to skip using the dryer (easily done if you own an Urban Polo Shirt or T-Shirt). After washing, simply put the damp garment on a hanger and let it air-dry overnight. Come morning when you go to put it on—no wrinkles.
Use caution when ironing
High heat from an iron can damage the face fabric and permanently disable the functionality of your garments.
To prevent that from happening, choose the low-heat setting and—just before you apply the iron to the fabric—visually confirm that it is indeed at the right temperature.
How to wash tactical pants and combat pants (P-40 tactical pants & Striker Combat Pants)
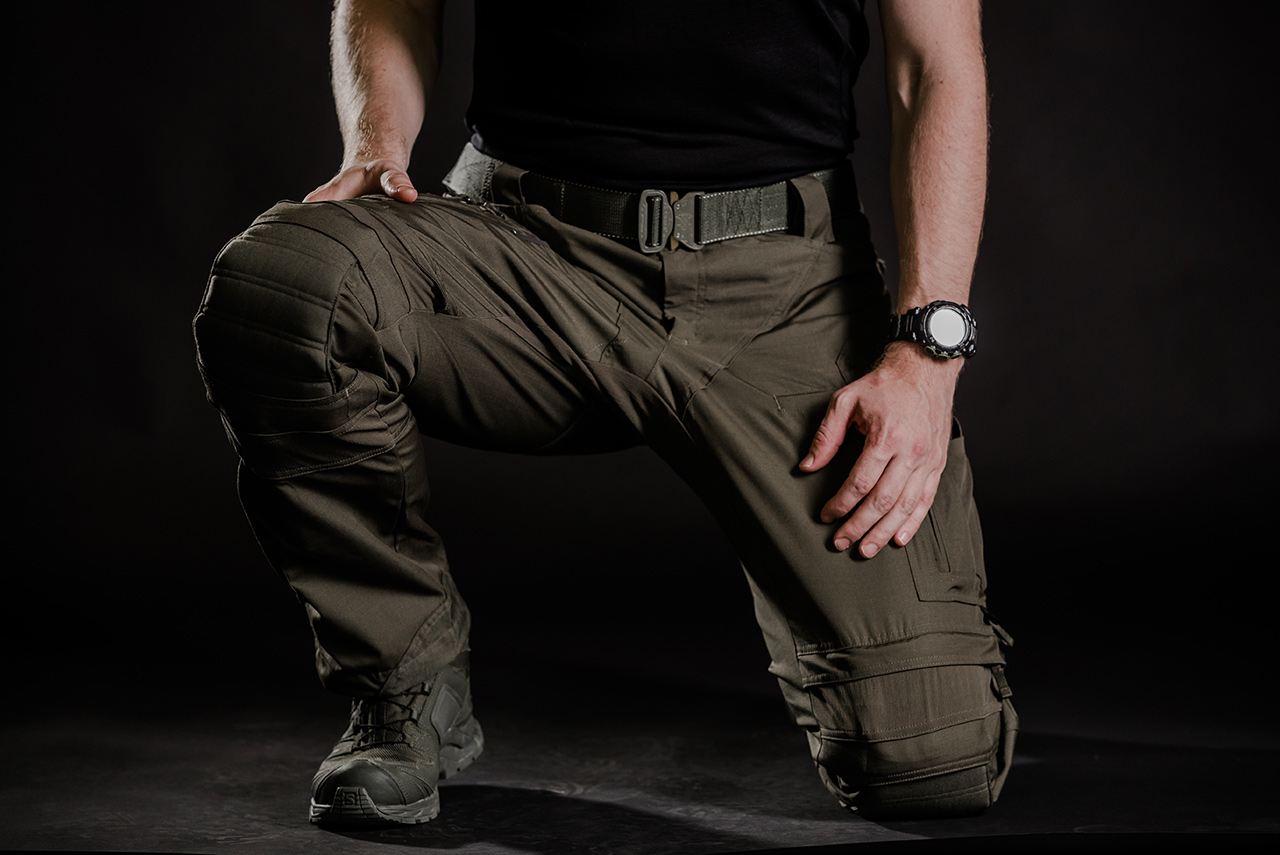
Here’s a handy checklist of things you need to do before washing your tactical and combat pants:
- Remove all pocket items (tissues, knives, etc.) and Velcro covers (patches, etc.).
- Remove knee pads (these should be washed only by hand).
- Affix/secure Velcro straps (i.e. side pocket strap).
- Close zippers, buttons, Velcros, and other fasteners (this helps prevent rough mechanism parts from damaging the fabric).
- Turn pants inside out.
- Choose mild-strength laundry detergent (harsh detergents dull the colour vibrancy of NYCo material).
- Wash in cold water (the higher the temperature, the duller the NyCo).
- (Striker Combat Pants only) Close the solid pad knee pocket. Otherwise, hard Velcro will be exposed and may act as an abrasive during washing.
- Air-dry overnight on a hanger (best practice).
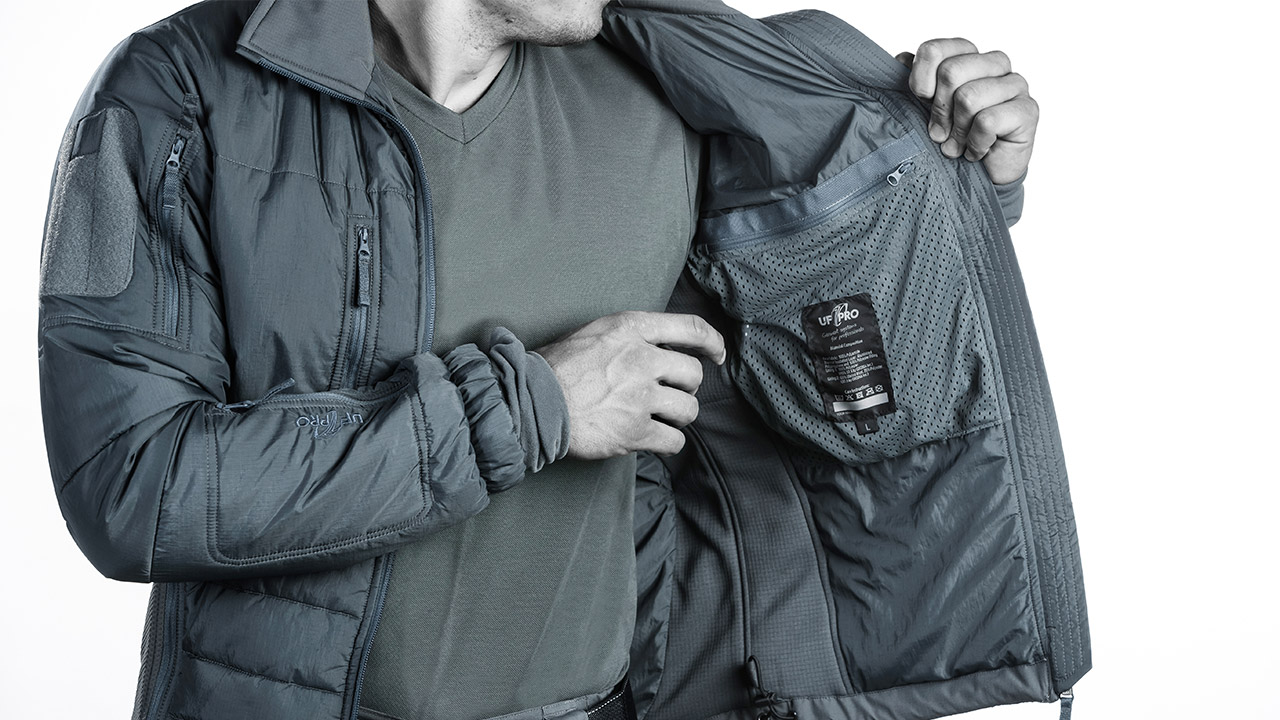
How to wash tactical jackets (Delta and Monsoon tactical jackets)
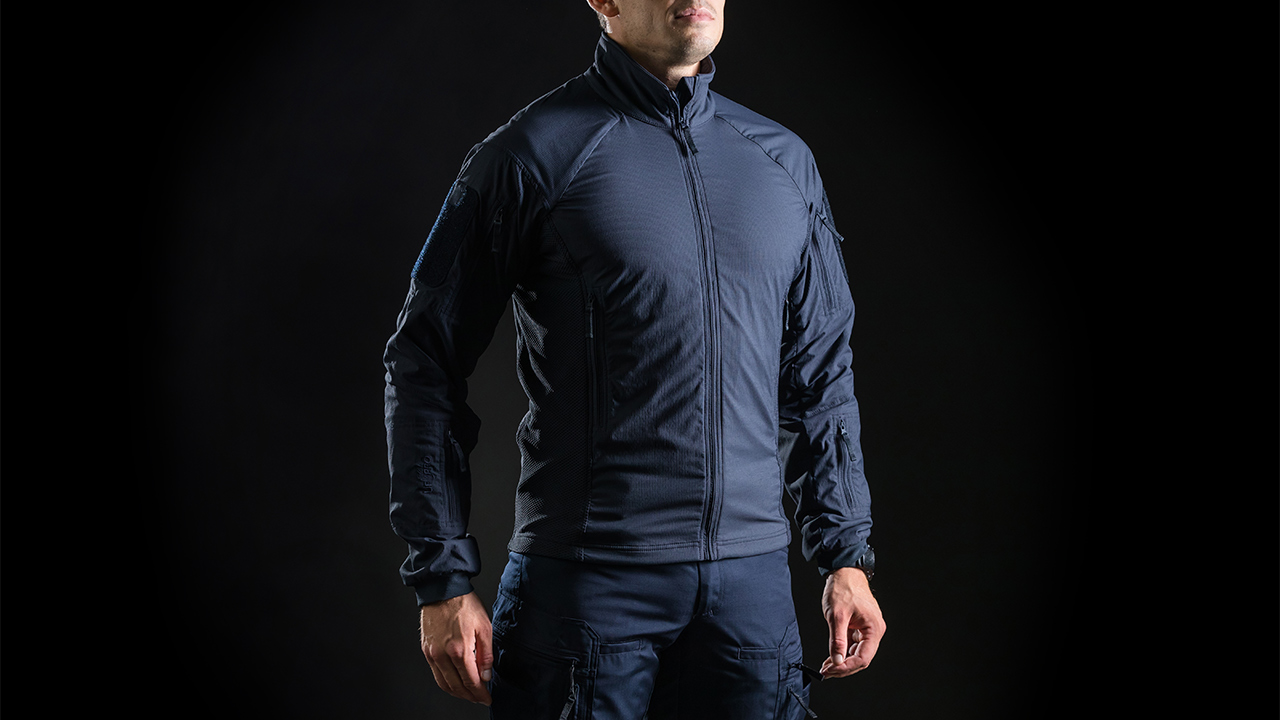
Our tactical jackets and combat jackets require no special care and can be washed with their additional elements (Hood/Harness, air/pac inserts) left in place (although we recommend removing the air/pac inserts if possible to decrease drying time).
While the Hood/Harness can be washed with the jackets, we recommend separate washing. If you opt to separately wash the Hood/Harness, you should place it in a wash bag to ensure thorough laundering.
Here’s a checklist of things to do before washing these jackets:
- Remove all pocket items (tissues, knives, etc.) and Velcro covers (patches, etc.).
- Remove elbow pads (these should be washed only by hand).
- Close zippers, buttons, Velcros, and other fasteners (this helps prevent rough mechanism parts from damaging the fabric).
- Turn the jacket inside out.
If you own a Monsoon Rain jacket, take proper care of its DWR coating and waterproof properties by ironing the jacket at a low temperature after washing it. Learn more in this article.
Pro tip: We recommend air-drying these jackets on a hanger. Doing so will reduce wrinkling and prevent possible deformation of the shape.
The Delta Eagle Gen.2 Softshell Jacket
We recommend opening the collar pocket and removing the Hood/Harness system. This will allow for more effective washing than if the Hood/Harness is stored inside the pocket during laundering.
How to wash boonies and caps
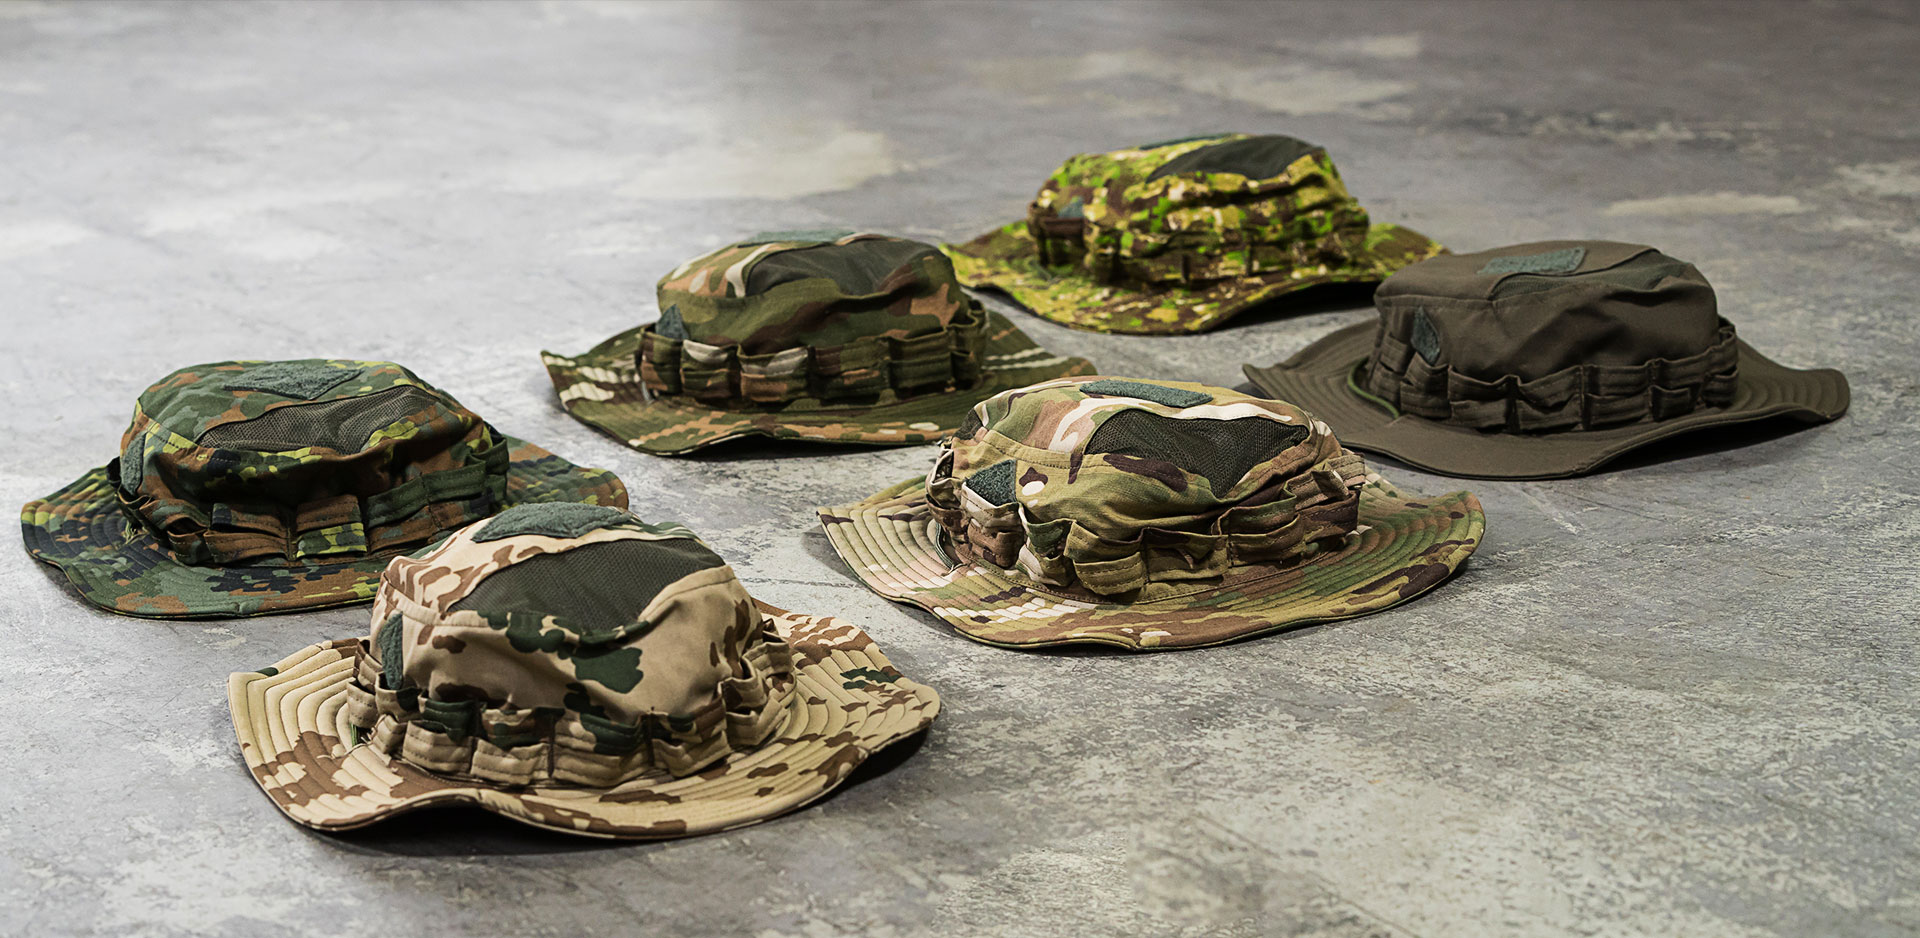
The Velcro pieces on these hats are the soft part of the hook-and-loop material, so no need to worry about potential damage to the fabric or other gear during washing.
Washing our Boonie hats and caps is a straightforward proposition, meaning you’ll find it very easy to do. However, before washing them:
- Remove all documents and any other items you’ve stowed inside.
How to remove stains from tactical gear
Over the years, your gear has probably become stained. You’re also probably wondering what to do about those stains, especially the tough ones that are hard to remove.
No worries. The next time you encounter a tough stain, just consult this list for tips on how to easily remove it.
Blood
Always wash fresh blood stains with cold water. Never use hot (that causes blood to coagulate, making it harder to remove).
Removing blood stains with salt
One of the best natural removers of blood stains is salt. Before putting the garment in the washing machine, soak it in cold water to which salt has been added. The salt from your kitchen is perfect for this purpose.
Old, dried blood can be removed by first wetting the stained area with cold water and then covering it with salt.
Immediately or as soon as possible after your clothes come into contact with blood, simply keep your clothes on and hop into a bathtub full of cold water to which has been added a large amount of salt. When you emerge from the tub, your clothes will be coated in salt, but don’t worry: during laundering in the washing machine, the detergent will easily carry away both the blood and the salt. You’ll be amazed at the excellence of the result you get from this.
Detergent
Apply detergent directly to the stain, allow it to sit a few minutes (to let the detergent’s stain-removing power kick in), and rinse with cold water. Wash the garments on a regular schedule from then on.
Alcohol vinegar
Another way to remove blood stains is by immersing your gear in a mixture of water and vinegar. Let the garment soak overnight and then machine wash in the morning.
Baking Soda
Apply baking soda directly to the fresh stain, wait a few minutes, and proceed to laundering the garment in your washing machine.
Pro tip: When washing whites, mix baking soda with your laundry detergent. The two together make clothing come out whiter and brighter.
Mud
Allow wet mud to dry, then remove as many of the large chunks as possible by whisking them away with a brush. Rub clear detergent over the entire remaining stained area and place the garment in a plastic bag for five to six hours. Remove from the bag, load into your washing machine, and launder.
Banana
Wash the stain immediately with hot water. After washing, if the stain persists, apply clear detergent or soak the stain in warm milk. If that doesn’t do the trick, saturate a cloth with glycerine and rub deeply into the stain; allow it to set for 10 hours, then launder the garment in a washing machine.
Food stain
Apply a clear detergent to the affected part of your gear and wait five to six hours while it works its magic.
Alternatively, soak the clothing in a 50/50 mixture of water and glycerine. If after one wash cycle the stain is still visible, mix one large tablespoon of ammonium with 1 litre of water and rub the resulting solution into the stain. Next, again run the garment through the washing machine. Note that you can use in place of this 25-percent ammonium mixture undiluted benzine.
Vomit
Gently rub the stain with clear detergent and place the soiled clothing in a plastic bag for five to six hours. Then, machine wash.
Tea
If you are a big fan of tea who can’t seem to avoid spilling it on your gear, worry not. Tea stains are easily removed.
Start by soaking the clothing in half-skimmed milk. Allow to sit until the milk begins to change colour. Then, apply a clear detergent directly over the spot and tightly wrap the garment in a plastic bag for five to six hours. Launder the garment in a washing machine.
A second option is to apply glycerine directly to the stain and let it sit for 15 minutes. At the end of that time, machine-wash the garment.
Chocolate
Dissolve the stain by applying soap, clear detergent, or glycerine before tossing the garment in a washing machine.
If the garment comes out of the wash with an oily stain, saturate the affected area with sparkling water or club soda, then rewash.
You can also soak the stain with half-skimmed milk and let it sit for about 15 minutes (have some cookies to go with the milk while you’re waiting). Next, gently rub the stain with a cloth until the spot disappears. Rewash.
Coffee
Apply glycerine or milk to the stain. For best results, use both: first, rub the stain with glycerine and then allow it to soak overnight in milk. Run the garment through a washing machine in the morning.
Glue
Acetone-based glues can be removed by using acetone or non-oil-based nail polish removers (ask your buddy if he has some; you never know).
Deodorant stains
Rub with a mixture of one part white vinegar and four parts water. Rinse with plain water.
Alternatively, use water to moisten the stain and then sprinkle it with baking soda. Let stand overnight before laundering.
Milk
Apply a clear detergent over the stain, deposit the clothing in a plastic bag, seal the bag, and keep the garment in it overnight. By dawn, if the stain remains, pour sparkling water or club soda on the affected area. Launder in a washing machine afterward.
Mold
Wash the garment in water heated to at least 60 degrees Celsius.
Important! If the care tag tells you not to wash in water heated above 40 degrees Celsius, you can instead rub the affected areas with white vinegar. If after that the distinct smell of mold remains on the clothing, apply a bleach-free disinfectant to eliminate the odour and then launder in a washing machine.
Dirt
Briefly soak the gear in cold water, then rub it with soap or clear detergent.
If oily stains remain, remove them by applying some sparkling water or club soda.
Finally, launder the clothing in a washing machine.
Beer
You’ll be happy to know you can easily remove beer stains with regular washing. We discovered this by accident after multiple spills gave us multiple opportunities for testing.
Rust
Let the gear soak in a mixture of 2 tablespoons of white vinegar and 1 litre of milk (alternatively, use a mixture of lemon juice and water). Afterward, rub the gear with salt and take it outside to dry in the sun.
Finally, machine-wash the gear.
Ashes
Vacuum up large chunks or collect them by overlaying with sticky tape. Next, soak the garment in clear detergent. Deposit the detergent-saturated garment in a plastic bag. Seal the bag and allow the garment to remain within it for five to six hours. Machine-wash afterward.
Epoxy
Set the gear on any absorbent surface and rub it with acetone or mixture of cleaning alcohol and turpentine. Dry the stain immediately with a paper towel.
Remove the clothing from the surface and wash it in the washing machine.
Tobacco
Soak the garment in regular laundry detergent containing enzymes (any type). Apply extra detergent directly to the stain. Allow to sit for at least two hours before laundering in a washing machine.
Grass
Apply glycerine directly to the stain and allow it to sit for 10 to 15 minutes before laundering.
Another pre-wash tactic involves applying toothpaste to a brush and gently rubbing the stain until it begins to dissolve.
Burnt material
*Disclaimer. This only works for small burns and not on laminate materials. We can’t promise this method will work for you, so best to avoid it unless truly necessary.
Place the garment in a stovetop pot. Fill the pot with a mixture of one part milk and two parts water. Turn on the stove and cook the garment at a low temperature (one that does not exceed the recommended wash temperature).
Then, remove from the pot and place the garment in the washing machine. While the machine runs through its cycles, be sure to keep your fingers crossed.
Chewing gum
Put the gear in a plastic bag. Seal the bag and place it in the freezer for at least two hours or until the gum hardens. Take the bag out of the freezer and scrape off the chewing gum from the garment. If a stain is left behind, loosen it by placing beneath it a benzine-soaked cloth. Wait for indications that the stain has loosened, then directly rub it with the benzine cloth. Continue rubbing until the stain comes off. Machine-wash for one cycle.